What a Curing Chamber Actually Does
Every ferment on this site is an exercise in giving the microbes you want a better environment than the ones you do not. A curing chamber is the same idea, just with two dials instead of one.
Dry curing needs meat to lose 35 to 40% of its weight in water, slowly and evenly, at a temperature cold enough to suppress spoilage bacteria but warm enough that drying actually happens. Two numbers control everything:
- Temperature: 53 to 57°F (12 to 14°C). Cold enough that spoilage organisms stay slow, warm enough that moisture keeps migrating out. A normal fridge at 38°F is far too cold — drying nearly stops.
- Humidity: 75 to 80%. This is the number that matters most and the one people get wrong. Too dry and the outside of the salami hardens into a shell that traps water inside, which is called case hardening and it ruins the piece. Too wet and you grow the wrong mold.
A basement or garage will not hold those numbers through a year, and neither will a normal fridge. Hence the chamber.
💡 The cheapest version that works
You do not need a purpose-built unit. A free secondhand fridge off Craigslist, an Inkbird ITC-308, an Inkbird IHC-200, a $33 humidifier, and a small fan on a timer is a fully functional chamber for about $175 in new parts. The controllers are the only components where the brand genuinely matters, because a controller with a wide temperature swing will undo everything else.
How the Parts Fit Together
Nothing here requires touching the fridge's own wiring, which is the part that scares people off. Both controllers are plug-through devices: the fridge plugs into the controller, the controller plugs into the wall, and the controller decides when to pass power along.
- Temperature controller. Its probe hangs inside the chamber. The fridge plugs into its cooling outlet. When the probe reads above your setpoint, it powers the fridge; when the probe is satisfied, it cuts power. The fridge's own thermostat gets turned to its coldest setting and then ignored.
- Humidity controller. Its probe also hangs inside. The humidifier plugs into its humidify outlet. When humidity drops below the setpoint, the humidifier gets power and runs until the target is met.
- Fan on a timer. Independent of both. It exchanges air a few minutes an hour so the chamber does not develop a stagnant, high-humidity pocket at the bottom.
The Build
Source the fridge. Any working fridge with a flat interior works. Full-size units give you room to hang whole muscle; a 30-bottle wine fridge is quieter and fits in a kitchen but limits you to shorter salami. Two things to avoid: freezer-only chest units, which cannot hold a temperature this warm, and anything with an auto-defrost cycle you cannot disable, which will spike humidity on a schedule. Pull out the plastic shelving and the door bins to open up hanging space.
Route the probe cables. You need two thin cables and one humidifier power cord to get inside without wrecking the door seal. The cleanest route is a half-inch hole drilled through the rear wall above the compressor area, well clear of the cooling lines. If you are not confident about what is behind the wall, feed the cables through the gasket channel at the hinge side instead — the seal tolerates it better than you would expect. Seal any hole you drill with silicone on both sides.
Wire the temperature controller. Turn the fridge's internal thermostat to its coldest setting. Plug the fridge into the controller's cooling outlet, plug the controller into the wall, and hang the probe at roughly the mid-height of the chamber, not touching a wall. Set the target to 55°F with a 1°F differential. Leave the heating outlet empty unless your chamber lives somewhere that drops below 50°F in winter, in which case a small seedling heat mat on that outlet solves it.
Wire the humidity controller. Plug the humidifier into the humidify outlet and set the target to 78% with a 3% differential. Sit the humidifier on the chamber floor with its output pointed at a wall rather than up into the hanging space. Fill it with distilled water — tap water leaves mineral dust over every surface in the chamber, including the meat.
Add air movement. Mount the 120 mm fan high on a side wall, aimed across the chamber at the opposite wall. Put it on a repeat-cycle timer running about 5 minutes per hour. The goal is gentle circulation, not a breeze. A fan pointed directly at a hanging salami will dry one side faster than the other and case-harden it.
Validate for 48 hours, empty. This is the step people skip and then regret four weeks into a batch. Put your independent hygrometer inside, close the door, and leave it alone for two days. Then check it against what the controllers claim. You want a stable 53 to 57°F and 75 to 80%, with no wild swings. If the controller probes disagree with the independent hygrometer, trust the hygrometer and offset your setpoints to compensate.
Load it. Hang everything with real space around it — a couple of inches minimum between pieces, and nothing touching a wall. Do not fill more than about two-thirds of the interior on your first run. An overloaded chamber cannot keep up with the moisture the meat is giving off, and humidity climbs past your target no matter what the controller wants.
🧪 Dial in with something cheap first
Do not make your first chamber run an expensive one. Hang a couple of pork loins for lonzino, or a few small salami, before you commit a whole leg to a year of drying. You will learn where the humid corner is and how fast your particular fridge dries, and the cost of getting it wrong is a few pounds of pork rather than a prosciutto.
Troubleshooting
Humidity sits above 85% and will not come down
Almost always too much meat in too small a chamber. Meat gives off water constantly, and a humidify-only setup has no way to remove it. Reduce the load, increase the fan cycle to 10 minutes per hour, and if it persists, put a small tub of calcium chloride desiccant on the floor. Plugging a compact dehumidifier into the controller's dehumidify outlet is the permanent fix for a full-size chamber.
Humidity crashes into the 50s
Either the humidifier ran dry, or it has an auto-shutoff that engaged and never came back. This is why the humidifier has to be a dumb one: any unit that remembers its own state will stay off the next time the controller gives it power. Check the reservoir first, then check whether your humidifier needs a button press to restart. If it does, replace it.
White powdery mold on the salami
That is almost certainly Penicillium nalgiovense or a relative, and it is desirable — the same family of surface molds you see on commercial salami. It protects the surface and contributes flavor. Leave it. Fuzzy green, black, or anything wet and slimy is a different story: wipe it off with a cloth dampened in vinegar, and if it returns aggressively, your humidity is too high.
The outside is hard but the inside is still soft
Case hardening. The surface dried faster than moisture could migrate out from the center, and now there is a barrier trapping water inside. Raise the humidity by 5%, cut the fan cycle back, and give it time — mild cases will re-equalize over a week or two. Severe cases do not recover, and the piece is a loss.
The fridge runs constantly
Check that you actually turned the fridge's internal thermostat to its coldest setting. If the internal thermostat is fighting the external controller, the compressor never gets a clean cycle. Also confirm your differential is not set so tight that the controller is switching on and off every few minutes, which is hard on the compressor.
➡️ What to put in it
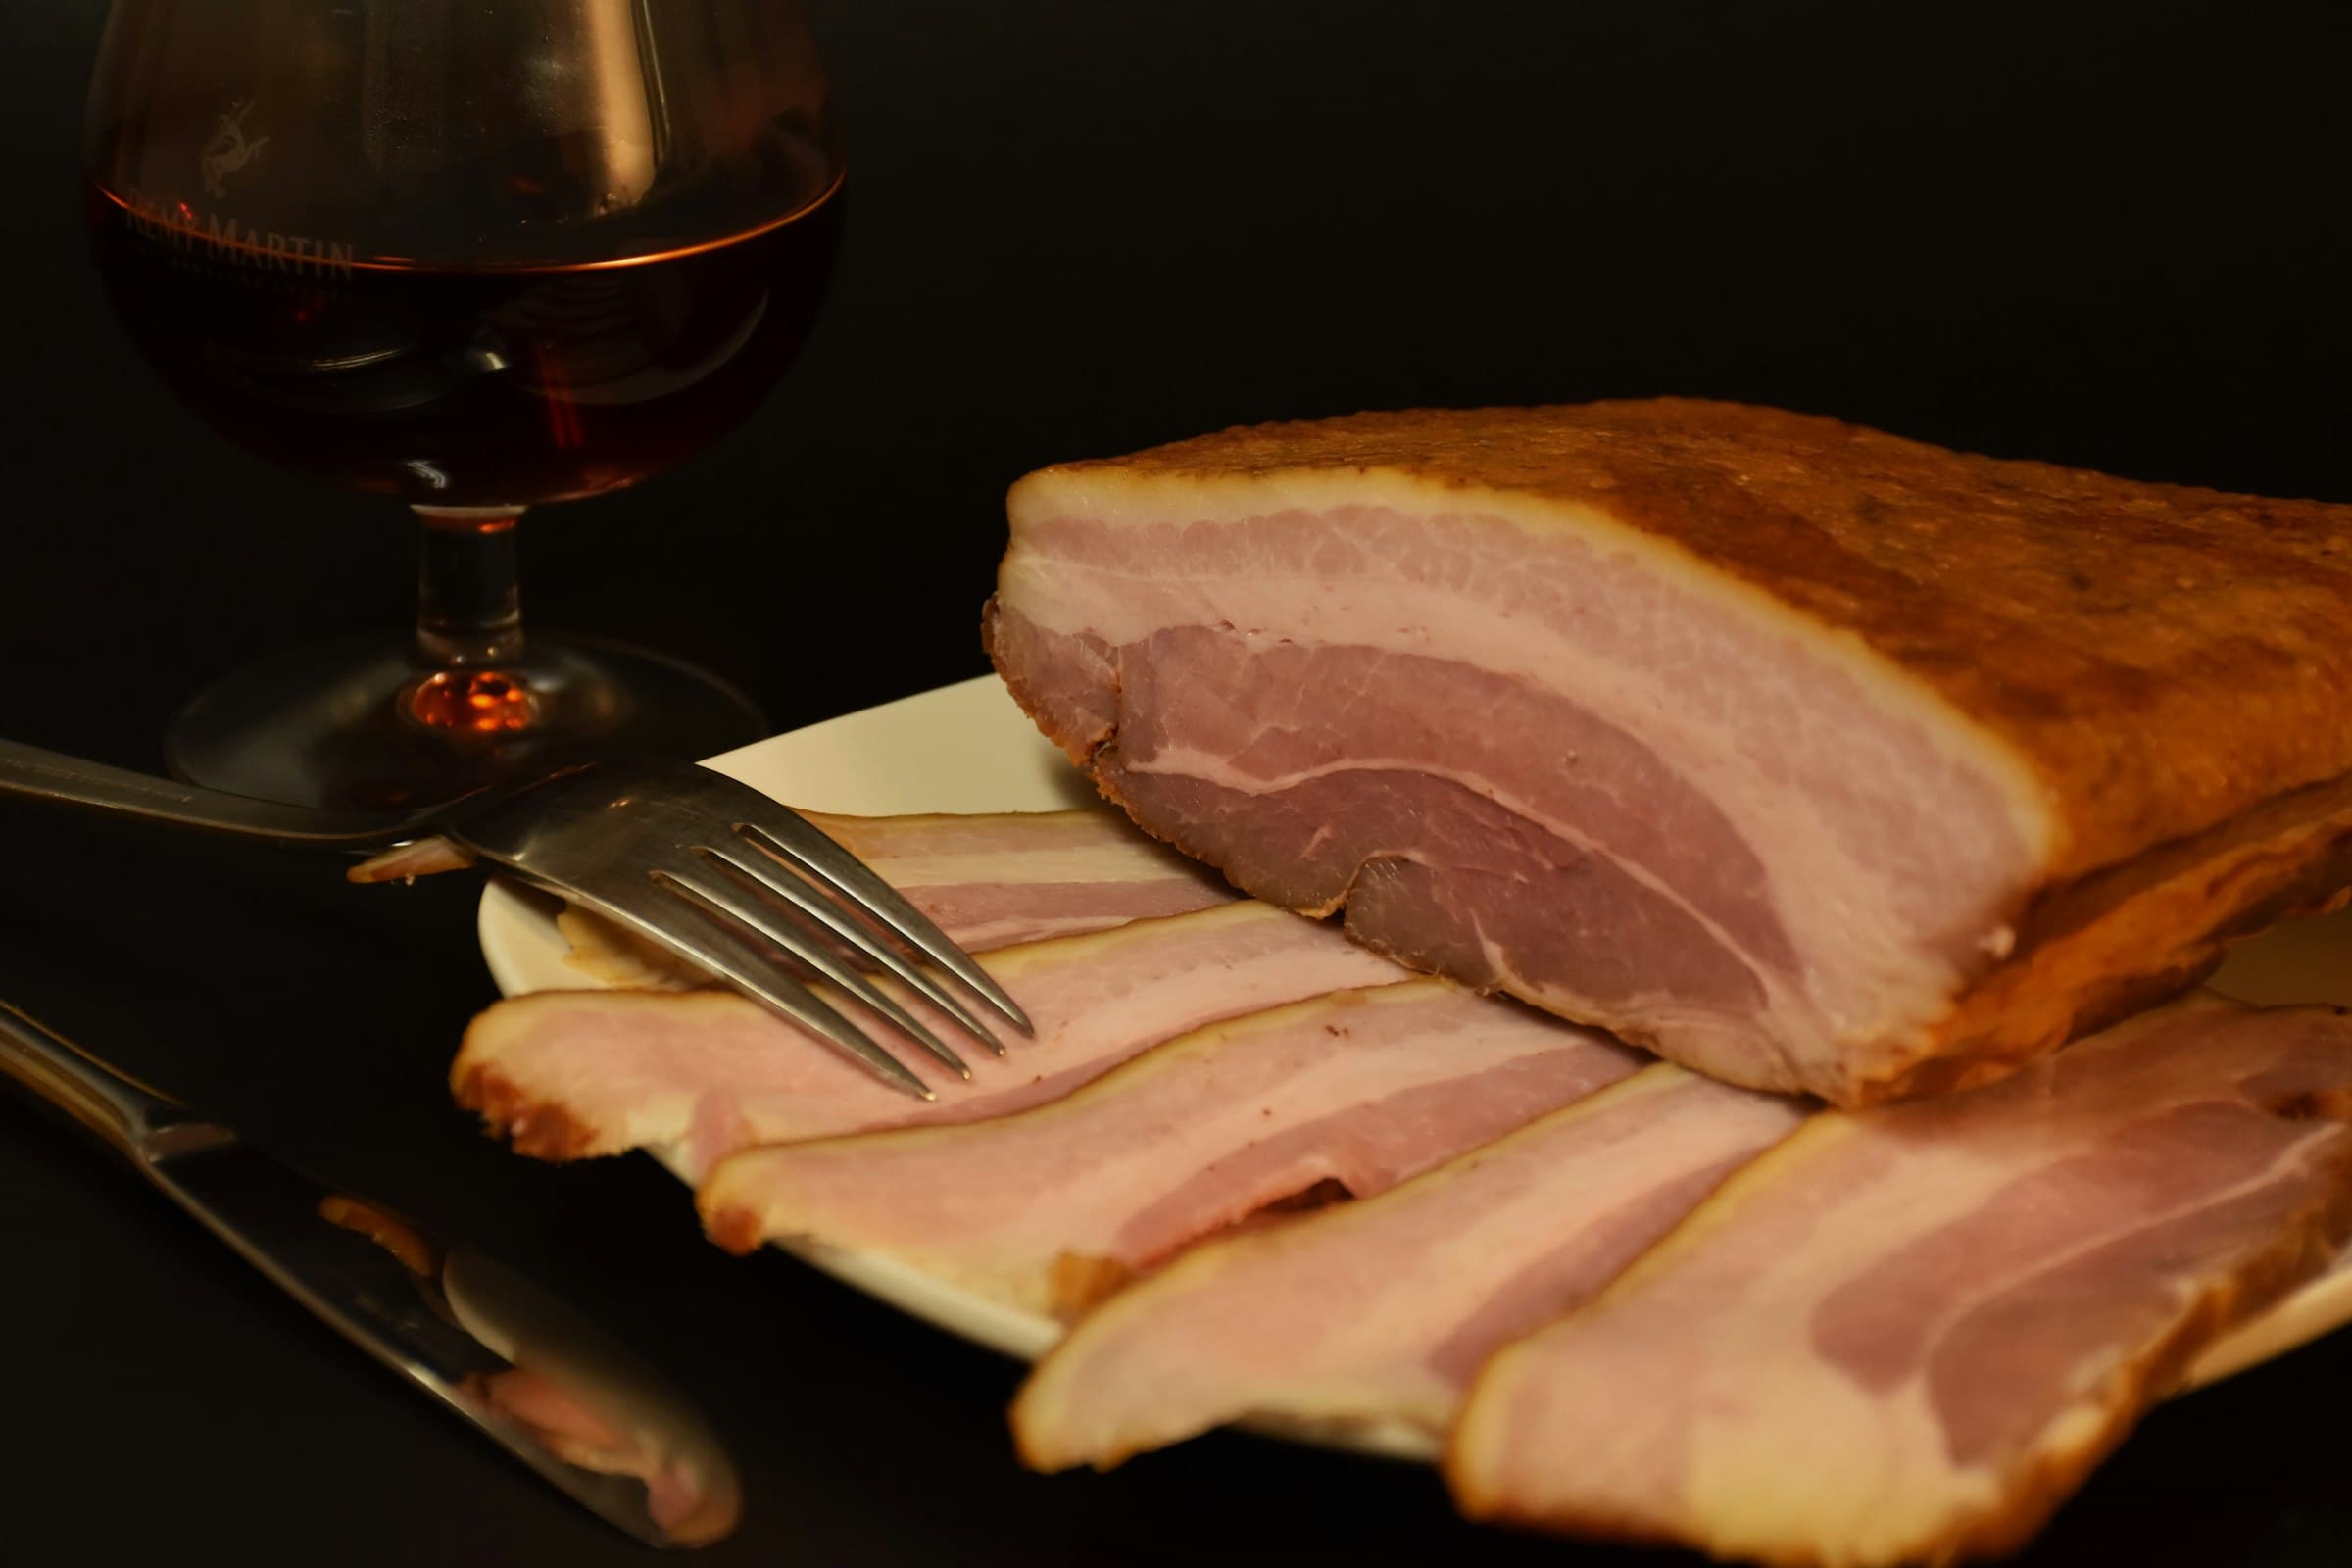
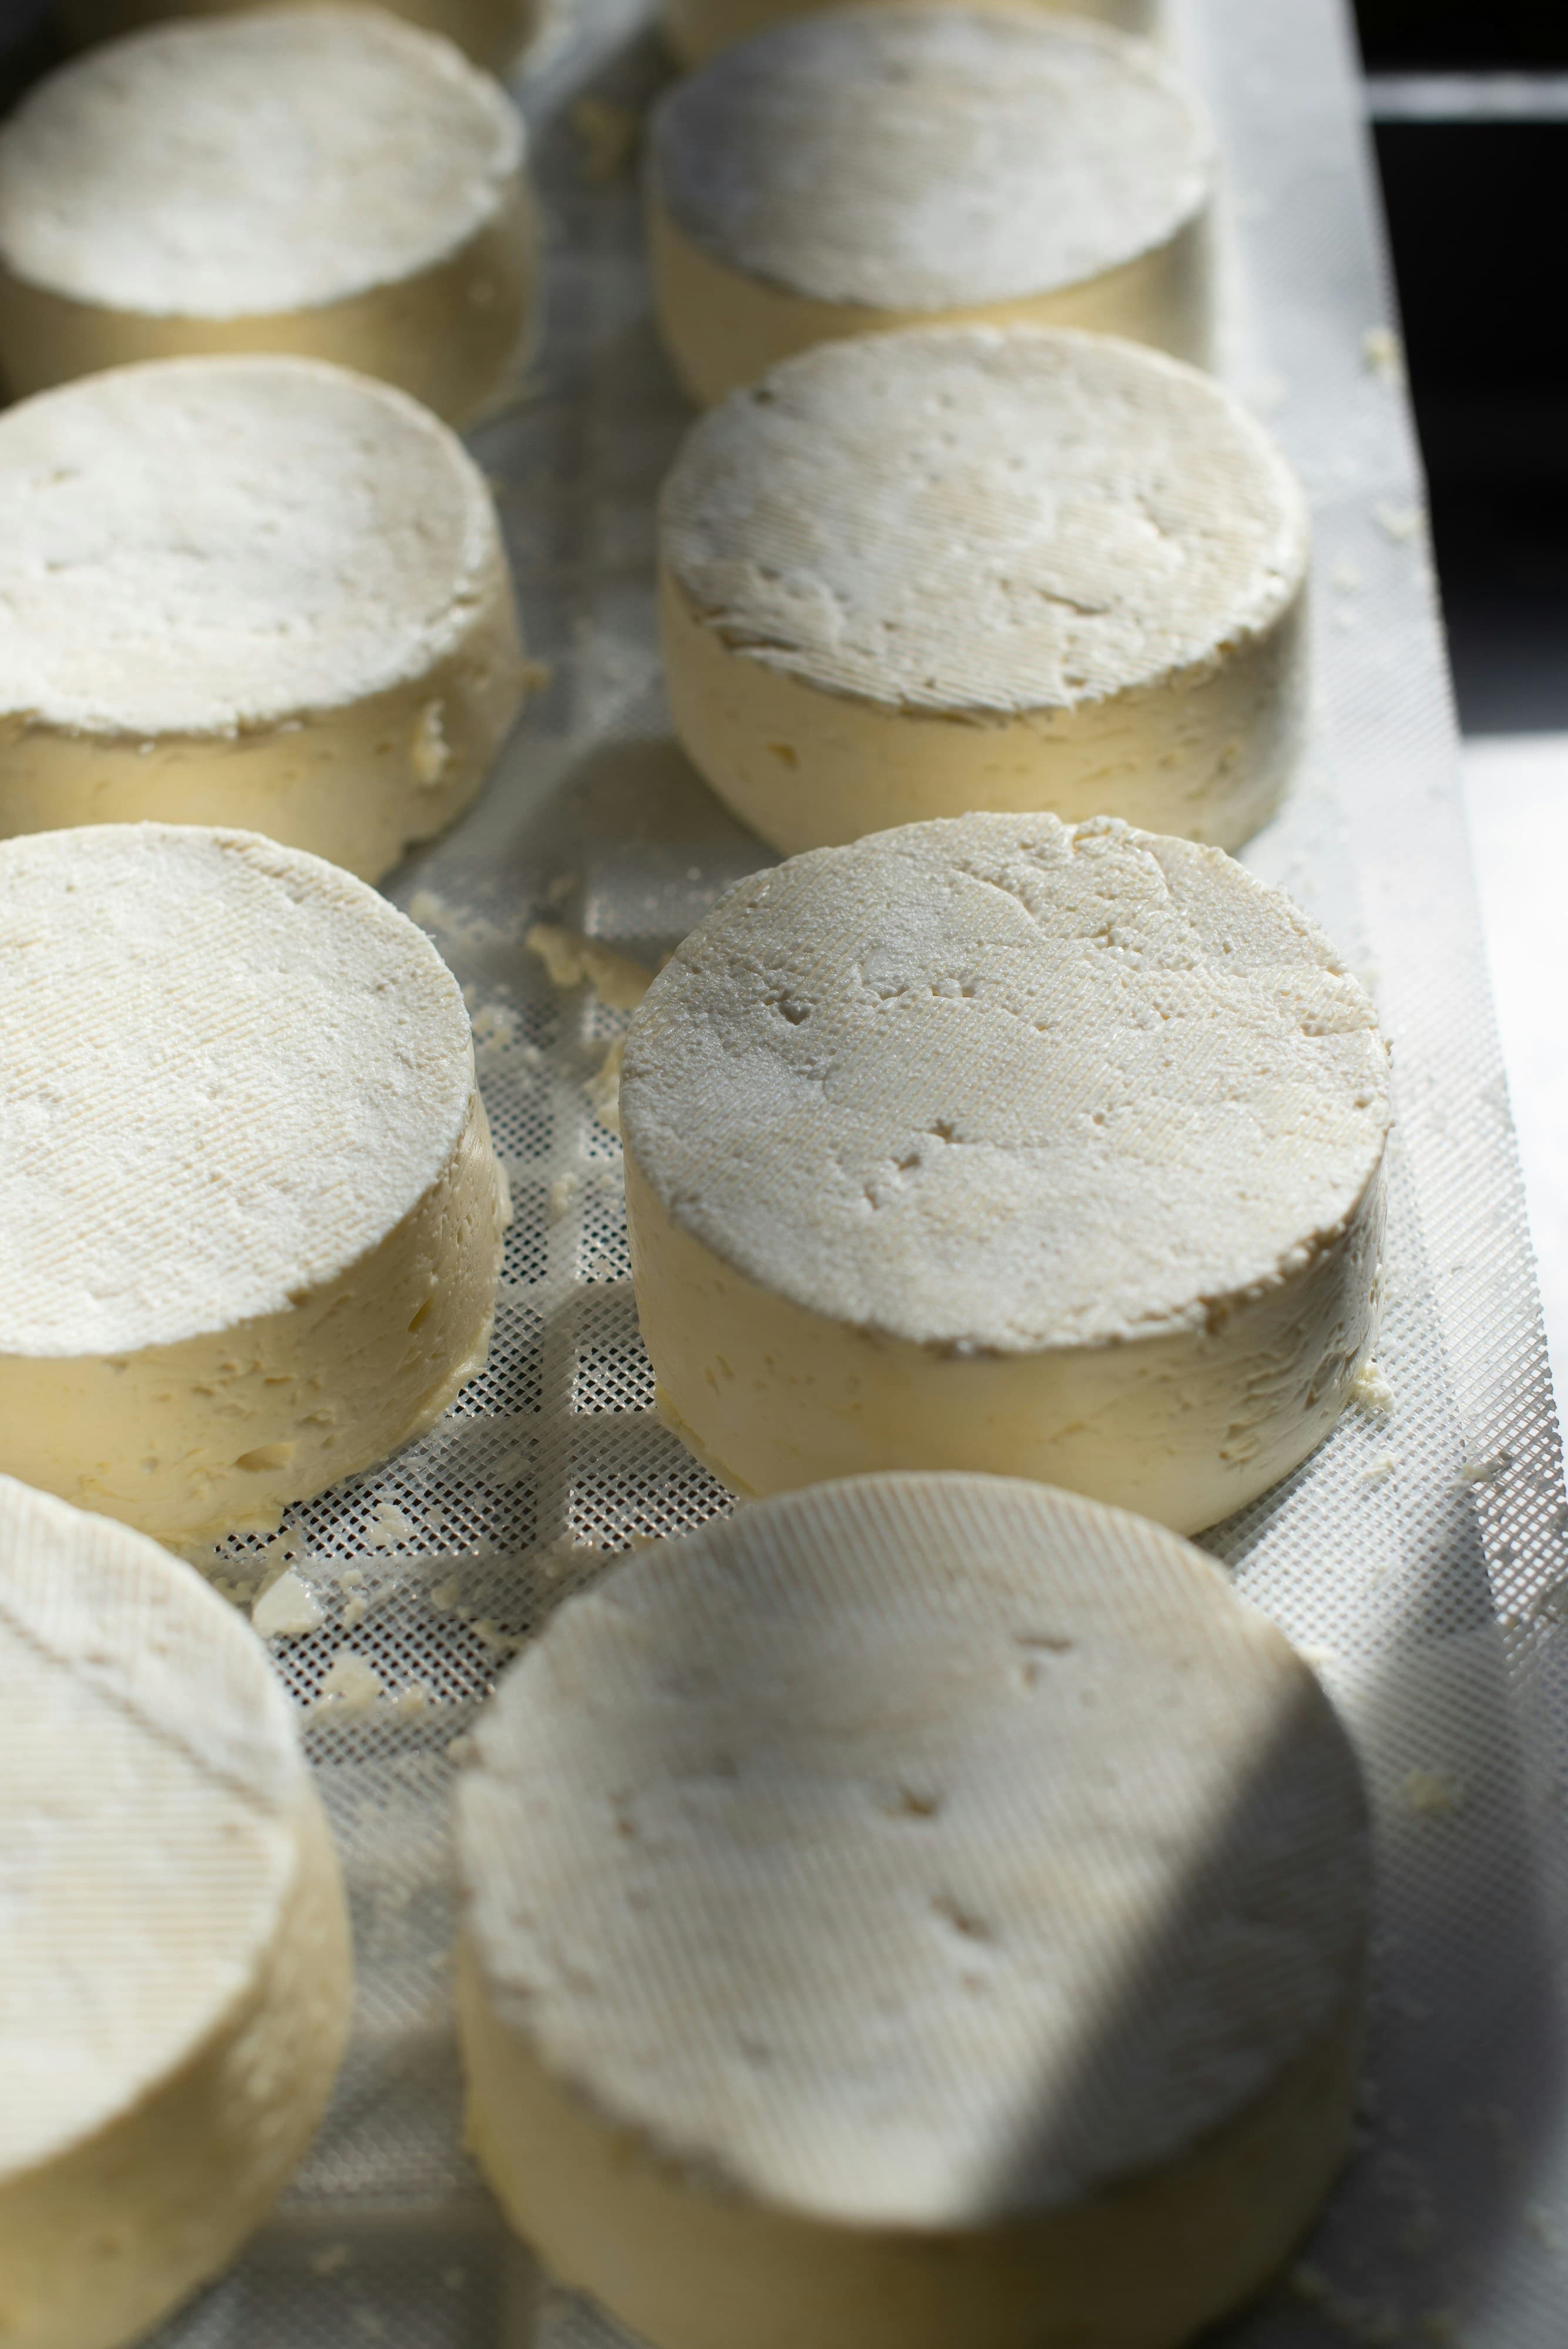
The obvious first project is dry cured salami, which is where a chamber earns its keep — and which is genuinely a fermentation, with a starter culture and a pH target, before it is a drying project. If you have not cured anything at all yet, bacon needs nothing but a fridge and a week, and it is the right place to start. And if you already keep a cheese habit, you may notice a chamber is not far off a cheese cave.