Salami Is a Ferment First
If you have made sauerkraut, you already understand the important half of this project. You are adding lactic acid bacteria and a sugar for them to eat, and they are producing lactic acid that drops the pH into a range where nothing dangerous can establish itself. Cabbage does it in a jar on the counter. Salami does it in a casing at 70°F.
The difference is that with cabbage, being wrong means a bad jar of kraut. With salami, being wrong means a genuinely dangerous product, because it is never cooked. That is why this guide is full of numbers and why two of them are non-negotiable: pH at or below 5.3, and 35% weight loss. Everything else is flavor.
⚠️ Cure #2, not Cure #1
Cure #1 is sodium nitrite in salt, and it is spent within days. That is fine for bacon, which gets cooked at the end of a week. Salami hangs for two months and is eaten raw, so it needs Cure #2, which adds sodium nitrate that converts slowly to nitrite over the whole drying period and keeps protecting the meat the entire time. Using Cure #1 in a long dry cure leaves the back half of the process unprotected. Use 0.25% of meat weight, weigh it on a 0.1 g scale, and store it labeled and away from children. The National Center for Home Food Preservation is the reference worth reading before your first batch.
The Formula
Everything is a percentage of the combined weight of lean meat plus fat. For a 2,000 g batch at an 80/20 ratio:
- Lean pork shoulder — 1600 g (80%). Shoulder has the right connective tissue for a good bind. Trim heavy silverskin and gristle.
- Pork back fat — 400 g (20%). Back fat, specifically. Belly fat is too soft, melts at a lower temperature, and smears during grinding.
- Salt — 56 g (2.8%). The workable range is 2.5 to 3%. Lower than 2.5% is a safety problem, not a seasoning preference.
- Cure #2 — 5 g (0.25%). Fixed. Not a flavor dial.
- Dextrose — 8 g (0.4%). This is the bacteria's food supply, and it determines how far the pH can fall. Skip it and the ferment stalls.
- Starter culture — per the packet. Doses vary by manufacturer and packet size, so follow the label rather than a number from a blog.
- Seasoning — about 1%. Coarse black pepper, minced garlic, and a splash of dry red wine is the classic starting point.
Pick your culture based on the flavor you want. T-SPX ferments slowly and finishes around pH 5.0, giving a mellow, traditional European profile. F-RM-52 works faster and lands lower, closer to pH 4.8, for a distinctly tangy American-style salami. T-SPX is the more forgiving choice for a first batch.
The Process
Get everything cold. Cube the shoulder and back fat into grinder-sized pieces, spread them on a sheet pan, and freeze until the edges are firm and the centers are not — around 32°F. Put the grinder head, auger, blade, and plate in the freezer for an hour too. This is the single biggest determinant of whether your salami has clean, distinct flecks of white fat or a greasy grey smear. Warm fat does not cut, it spreads.
Weigh and calculate. Weigh the meat and fat together and run the percentages above against that actual number. Weigh the salt, Cure #2, and dextrose separately on the 0.1 g scale. Do this before you start grinding, because once the meat is ground you want to move fast and keep it cold.
Rehydrate the culture. Dissolve the starter in a few tablespoons of distilled water and let it stand 20 minutes to wake up. Tap water is chlorinated, and chlorine kills exactly the bacteria you are paying for. This is the same reason we tell you not to use tap water when feeding a sourdough starter.
Grind. Run the meat and fat through a 6 to 10 mm plate into a bowl set over ice. A 10 mm plate gives you a coarse, rustic soppressata texture; 6 mm gives a finer, more uniform slice. Keep the mixture below 40°F the entire time. If the grinder starts producing paste rather than distinct strands, stop, put everything back in the freezer for 20 minutes, and resume.
Mix to primary bind. Add the salt, Cure #2, dextrose, spices, wine, and rehydrated culture to the ground meat. Mix hard for 2 to 3 minutes, by hand or with a paddle on low. You are looking for a specific change: the mass turns tacky and will cling to your palm when you turn your hand upside down. That stickiness is extracted myosin, and it is what holds the slice together instead of crumbling. Undermixing here is the most common cause of a salami that falls apart on the board.
Stuff the casings. Soak the casings in warm water for 30 minutes first. Pack the stuffer without trapping air, then stuff firmly — you want the casing full and taut but not splitting. Air pockets are where spoilage starts, so hold each finished salami up to the light, prick any bubbles you see with a sterilized needle, and press them out. Tie both ends with butcher's twine, leaving a loop for hanging.
Record the green weight. Weigh each salami individually and write the number on its tag. This is the most important record in the whole project — every decision for the next two months is measured as a percentage lost from this number, and a salami you cannot weigh against a starting figure is a salami you cannot judge as safe.
Ferment for 48 to 72 hours. Hang at 68 to 75°F with humidity around 90%. An oven with just the light on, a proofing box, or the curing chamber with the temperature setpoint raised all work. After 48 hours, test the pH: push the meter probe into the center of a salami. You are looking for 5.3 or below. If it is not there yet, give it another 12 to 24 hours and test again.
Dry to 35% weight loss. Move everything into the curing chamber at 55°F and 78% humidity. Weigh once a week and record it. Expect 4 to 8 weeks depending on diameter — a 40 mm salami might finish in a month, a 70 mm one takes twice that. The salami is done when it has lost 35 to 40% of its green weight and feels uniformly firm from end to end with no soft center.
📐 The two numbers, again
pH 5.3 or below within the fermentation window, and 35% weight loss before you eat it. The acid handles the first three days; the water removal handles the next two months. If a batch misses the pH target, do not just push on and hope the drying saves it. Throw it out. A stalled ferment is the one failure mode in home charcuterie that is genuinely worth being strict about.
Troubleshooting
The pH did not drop below 5.3
Three usual causes: the culture was dead, the dextrose was short, or the fermentation temperature was too cold. Old culture stored at room temperature loses viability, so keep it in the freezer and check the date. Tap water instead of distilled will do it too. Whatever the cause, the batch is not safe to carry forward. Discard it, and next time verify your ferment temperature with a thermometer rather than trusting the oven light.
A hard dry shell with a soft, wet center
Case hardening, from drying too fast. Raise chamber humidity by 5%, reduce the fan cycle, and give it a week or two to re-equalize. Mild cases recover. If the center still feels soft after that, the moisture is trapped for good and the salami is a loss.
The fat looks smeared and grey rather than white and distinct
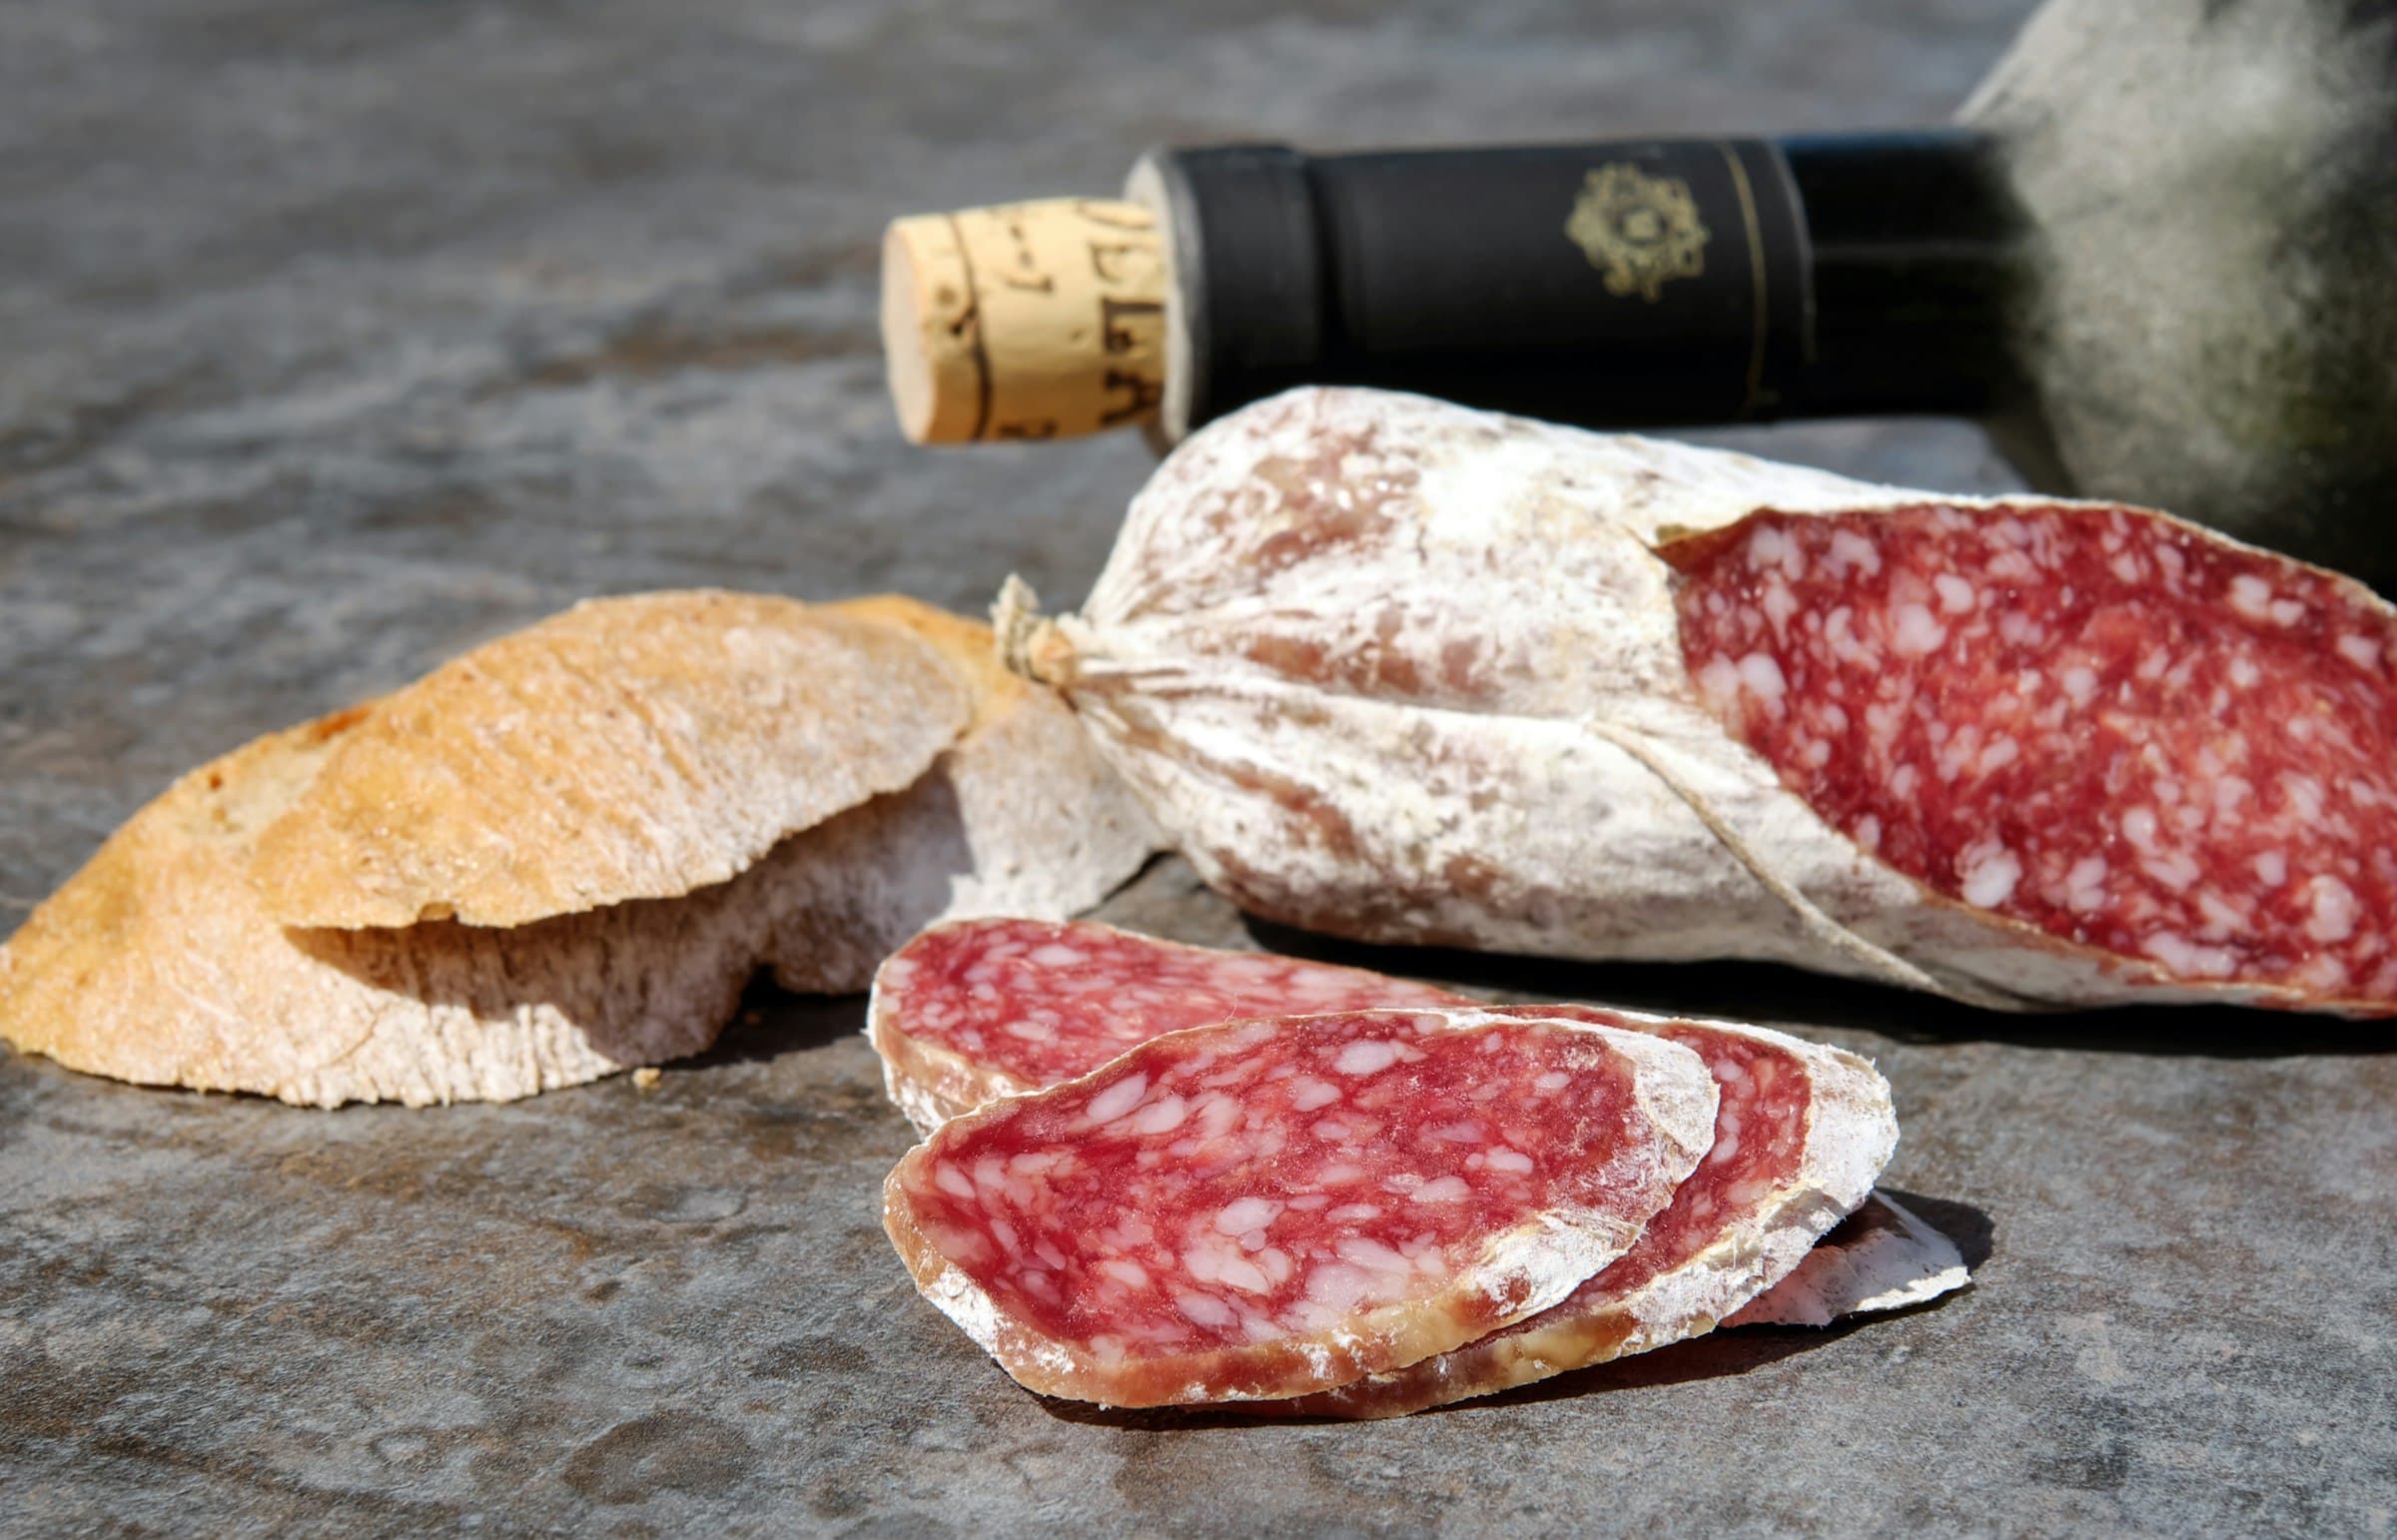
The fat got warm during grinding. It is a texture and appearance problem rather than a safety one, so the salami is still edible, but it will be greasy on the palate. The fix is entirely upstream: colder meat, colder grinder parts, and work faster next time.
The slices crumble instead of holding together
Not enough mixing after the salt went in. Without primary bind there is no protein matrix to hold the fat and lean together. Mix until the meat is genuinely sticky and passes the upside-down-hand test.
Fuzzy green or black mold on the outside
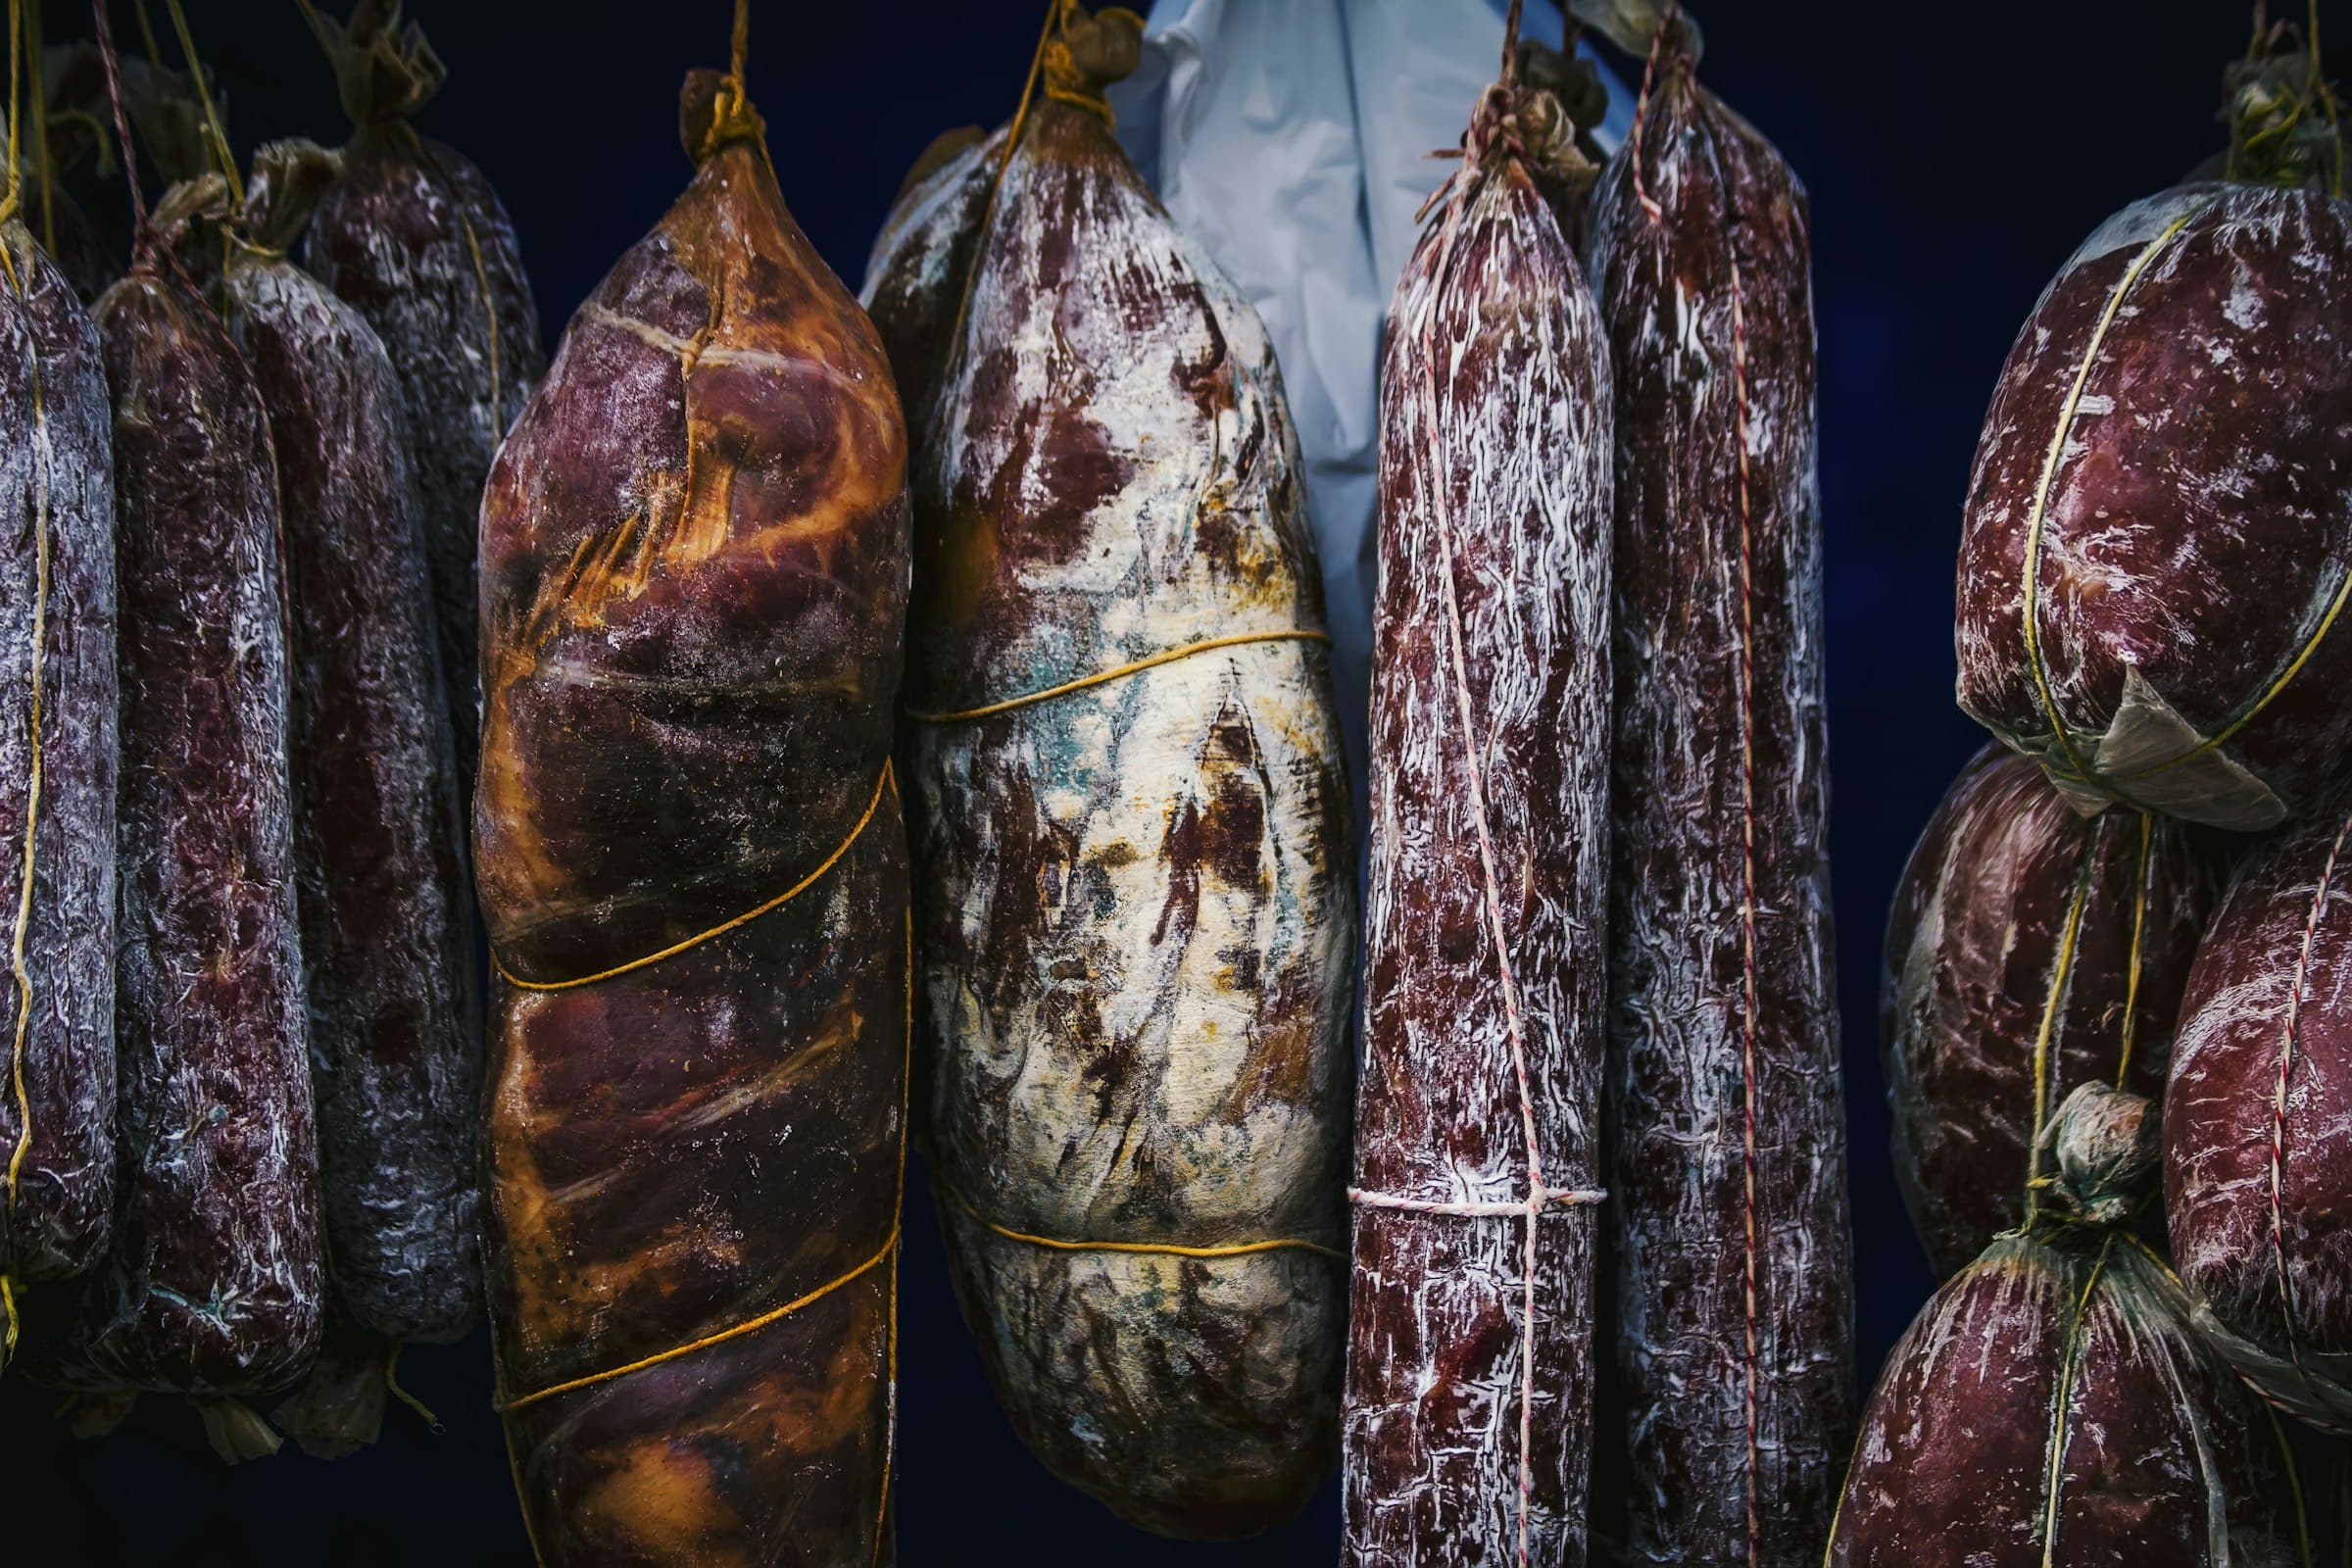
White powdery mold is the good kind and should be left alone. Green, black, or slimy growth should be wiped off with a cloth dampened in vinegar or wine. If it keeps returning, your chamber humidity is too high or air is not circulating. Persistent black mold that has penetrated the casing means the salami goes in the bin.
It smells sharply sour or of ammonia
A clean lactic tang is what you want, similar to what you would smell over a healthy jar of fermented pickles. Ammonia, putrid, or barnyard smells are spoilage. Do not taste it to check. Discard the batch.
🍽️ Storage and serving
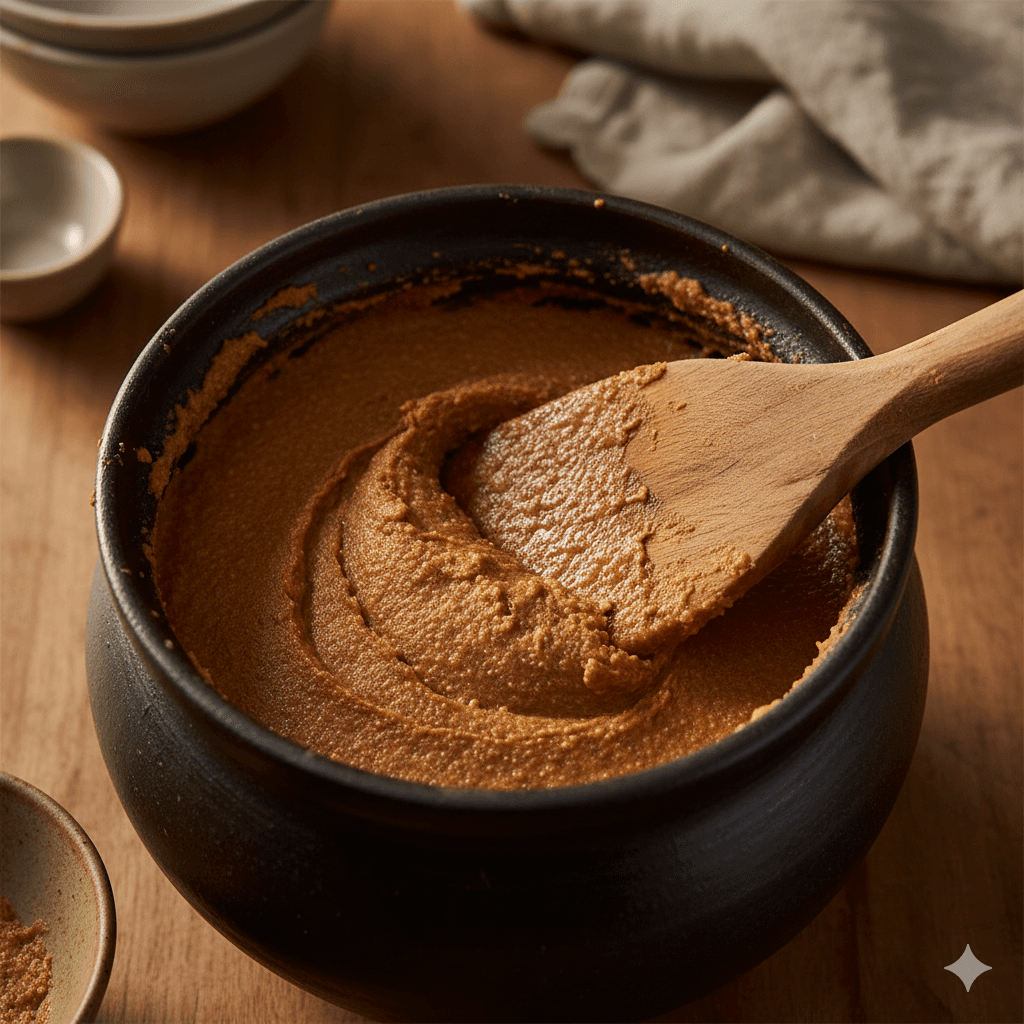
Once a salami hits its target weight loss, vacuum seal it and refrigerate. It will keep for months and the flavor keeps developing slowly. Slice thin, and let the slices sit out for 10 minutes before serving — cold salami tastes flat, and room temperature is where the fat and the fermented tang actually come through. It is very good next to a spoonful of fermented mustard.