Why Cure Your Own Bacon?
Commercial bacon is pumped with brine to add weight, which is why so much of it shrinks to nothing and spits water in the pan. Curing your own is the opposite process — you pull moisture out, concentrate the pork flavor, and control exactly how salty and how sweet the result is. You also get to slice it as thick as you want, which is reason enough on its own.
If you have made it through any of our vegetable ferments, this is an easier project. There is no daily babysitting, no mold to identify, no burping jars. You mix a cure, put it in a bag, and flip it once a day for a week.
⚠️ Read this before you start
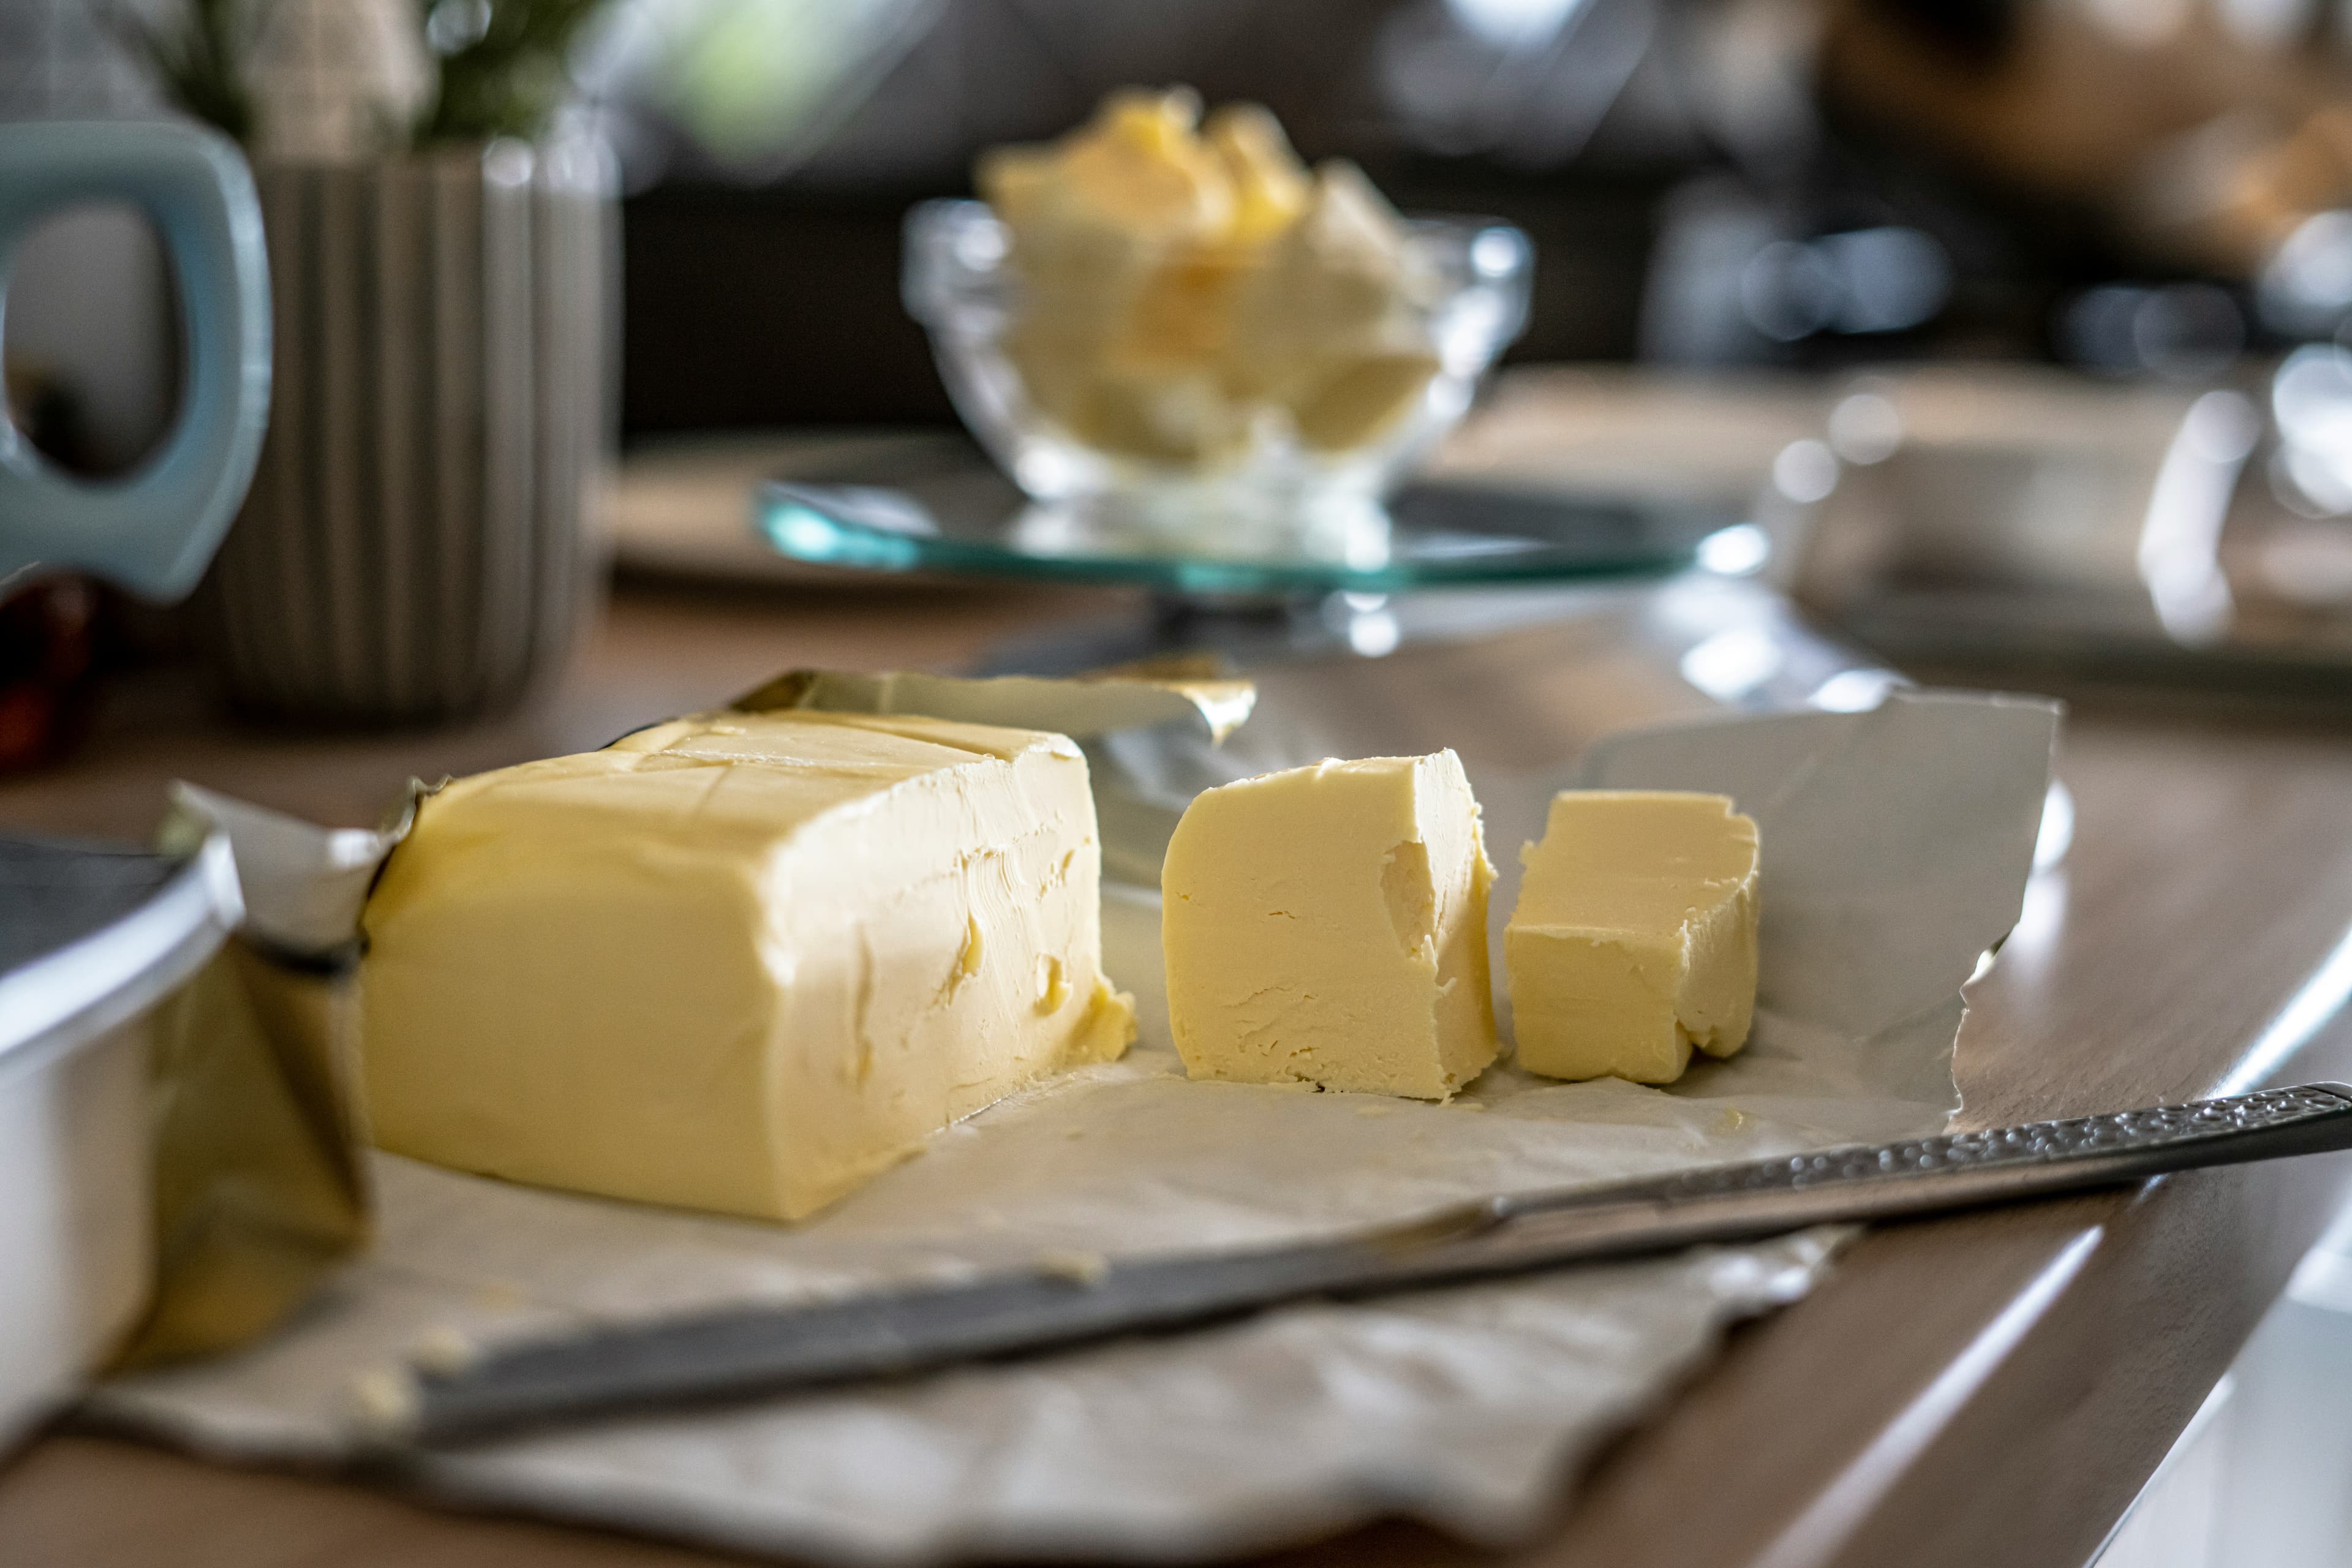
Cure #1 is not optional and it is not table salt. It contains 6.25% sodium nitrite, which prevents Clostridium botulinum from producing toxin during the days your meat sits in the fridge between 38 and 50°F. Use it at 0.25% of the meat weight — that is 2.5 grams per kilogram — and weigh it on a scale, never with a spoon. In concentrated form it is genuinely toxic, so store it labeled and out of reach of children, and never substitute it for salt in any other recipe. The National Center for Home Food Preservation is the reference to check if you want to go deeper on the science.
The Equilibrium Cure Method
Older bacon recipes tell you to bury the belly in a mountain of salt and pull it out after a few days. That works, but the result is unpredictable — you have no idea how much salt actually went in, so you have to soak the finished slab and hope.
The equilibrium method fixes this. You weigh the meat, add a precise percentage of salt, and let it equalize. Whatever you put in is what you get, so the bacon cannot come out too salty and you never have to guess. Everything below is a percentage of your meat weight:
- Salt — 2%. The structural ingredient. Go to 2.5% if you like a saltier, more old-fashioned bacon, or down to 1.75% for something mild.
- Sugar — 1.5%. Brown sugar is the default. Maple sugar, honey, or sorghum all work and all show up in the finished flavor.
- Cure #1 — 0.25%. Fixed. This is not a flavor dial, it is the safety ingredient, and 0.25% is the correct rate.
- Pepper and aromatics — about 1%. Coarse black pepper, juniper, bay, garlic powder, whatever you like.
For a 2,000 gram belly that comes out to 40 g salt, 30 g brown sugar, 5 g Cure #1, and 20 g pepper. Run the numbers on your actual weight rather than reusing those.
The Process
Weigh the belly. Trim it into a rough square so it cures evenly, then weigh it in grams and write the number down. Skin off is easier to slice later; if your belly came with the skin on, take it off now and save it — it makes excellent crackling or a good addition to a pot of beans.
Calculate and weigh the cure. Multiply your meat weight by each percentage above. Weigh the Cure #1 on the 0.1 g scale, not by volume — the difference between a level and a heaped teaspoon is enough to matter here. Mix everything together in a bowl so the nitrite is evenly distributed through the salt and sugar before it touches the meat.
Apply the cure. Rub the mixture over every surface, including the four edges. Press it in. It will not all stick, and that is fine — the loose cure goes in the bag too and dissolves into the liquid that forms over the next few days.
Bag and refrigerate for 7 days. Vacuum seal it, or use a 2-gallon zip-top bag with as much air pressed out as you can manage. Lay it flat in the fridge. Once a day, flip the bag over and massage the liquid around so both faces stay wet. By day three there will be a surprising amount of brine in there. That is the point — that is moisture leaving the pork and salt going in.
Rinse and test-fry. After 7 days the belly should feel firm all the way through, with no soft spot in the middle. Rinse off the surface cure and pat it dry. Cut a thin slice from the end and fry it. This is your only chance to correct the seasoning — if it tastes too salty, soak the whole slab in cold water for 30 minutes and test again.
Form the pellicle. Set the belly on a wire rack over a sheet pan and put it back in the fridge uncovered for 12 to 24 hours. The surface dries to a slightly tacky finish called a pellicle, and smoke adheres to it far better than to a wet surface. Skipping this step is the most common reason home-smoked bacon tastes faintly of smoke instead of properly of smoke.
Cook it to 150°F. Smoke at 200 to 225°F with a mild wood — apple, cherry, or hickory if you want it assertive — until the internal temperature hits 150°F. Expect 2 to 3 hours. No smoker? Roast it in the oven at 200°F to the same internal temperature. You are cooking to a number, not a clock, so use the thermometer.
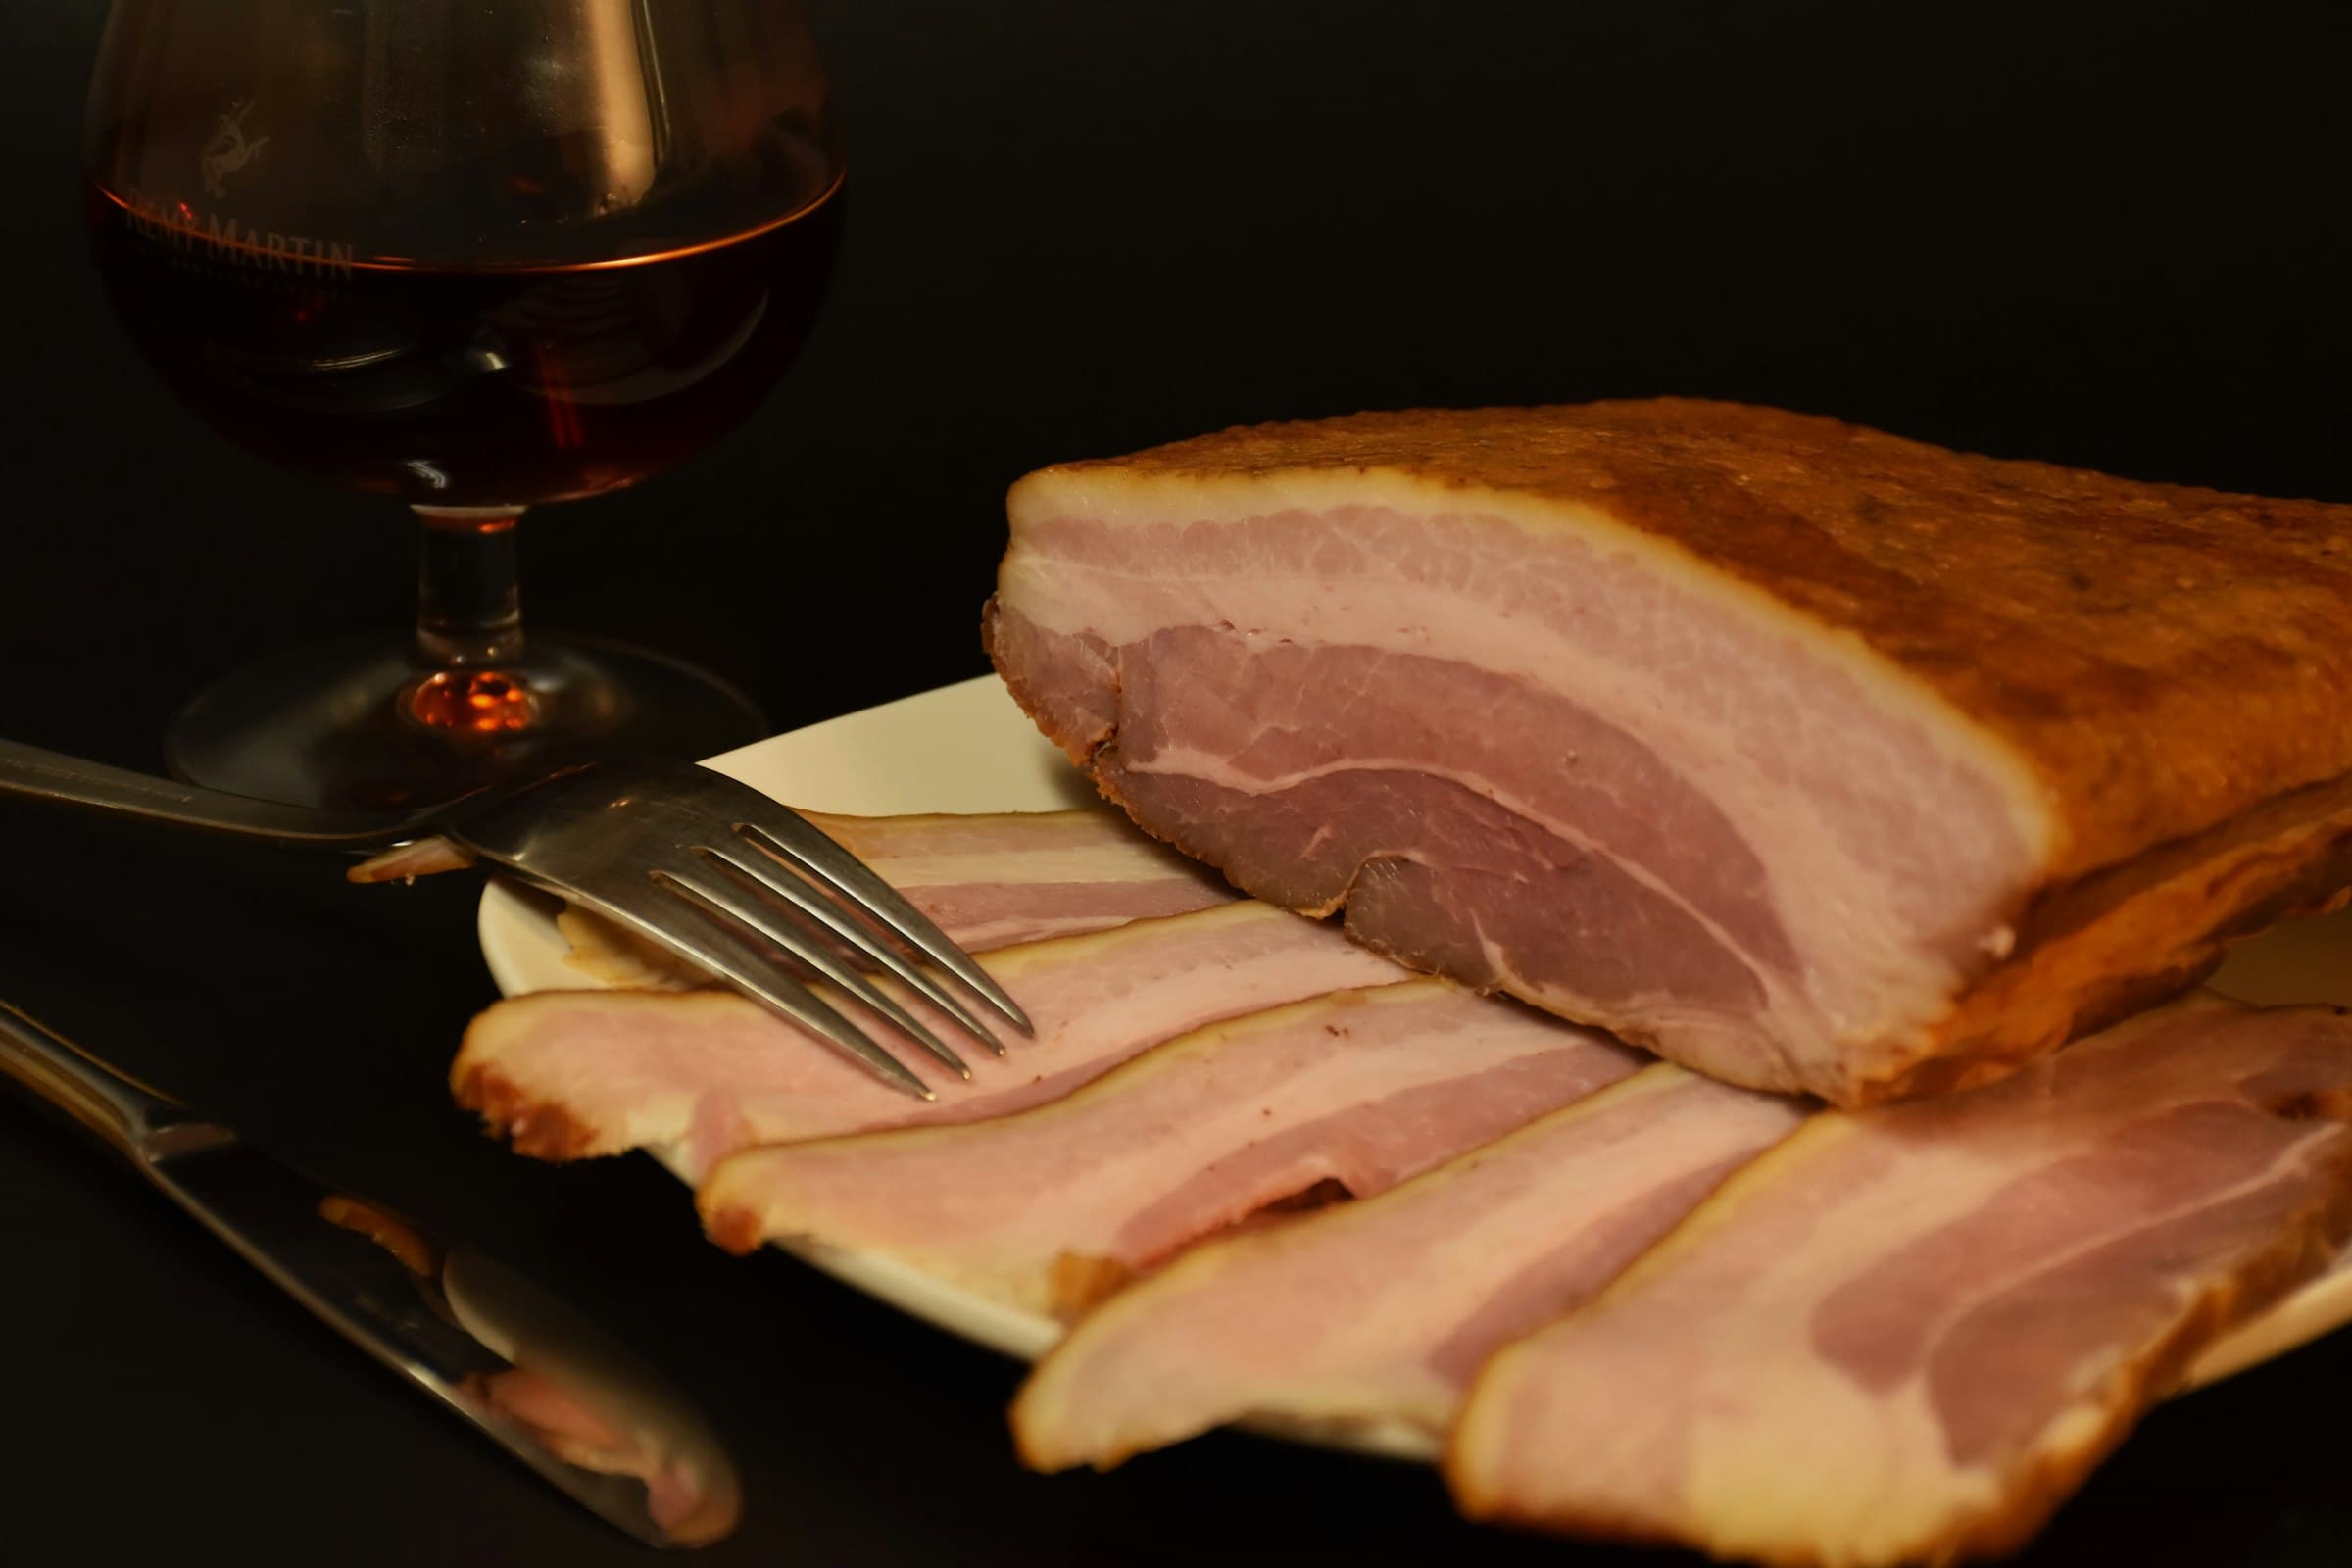
Chill, then slice. Let it cool to room temperature, then refrigerate at least 4 hours and ideally overnight. Cold bacon slices cleanly on a sharp knife; warm bacon tears and gives you ragged, uneven pieces. Slice as thick as you like, then portion and freeze what you will not eat in a week.
🔪 On slicing
A sharp chef's knife and a cold slab will get you there. If you find yourself making bacon monthly, a manual meat slicer is the upgrade that makes the biggest difference, mostly because consistent thickness means the whole pan finishes at the same time.
Variations Worth Trying
- Maple. Replace the brown sugar with maple sugar, and brush the slab with maple syrup in the last 30 minutes of smoking.
- Pepper-crusted. Triple the black pepper and press it on after the rinse, right before the pellicle stage, so it stays on the surface.
- Buckboard bacon. Same cure, same timeline, but use pork shoulder instead of belly. Much leaner, more like a cross between bacon and ham, and usually a lot cheaper per pound.
- Cold-smoked. If you have the setup, cold smoke under 80°F for several hours and cook it later in the pan. This gets you closer to traditional English or Irish rashers.
Troubleshooting
The finished bacon is too salty
You either measured salt as a percentage of the wrong weight, or you cured a thin belly for longer than it needed. Next time drop the salt to 1.75%. For the batch in front of you, soak the sliced bacon in cold water for 20 minutes before frying, or use it in dishes where it is seasoning the pot rather than the main event.
There is a soft spot in the middle after 7 days
The slab is thicker than the cure had time to penetrate. Reseal it and give it another 2 to 3 days, continuing to flip daily. As a rule of thumb, add a day of cure time for every half inch of thickness over an inch and a half.
The bacon is gray rather than pink
Gray means the nitrite did not do its job. Either the Cure #1 was underweighted, it was old, or it was not distributed evenly. Color is a genuine safety signal here, not a cosmetic one. If a batch comes out gray throughout, do not eat it — throw it out and start again with fresh cure, weighed on a scale.
It smells sour or off after curing
Cured pork should smell clean, faintly sweet, and porky. Sour, cheesy, or ammoniated smells mean spoilage got ahead of the cure, usually because the fridge was running warm or the belly was not fresh when you started. Discard it. This is not a salvageable situation and it is not worth the risk.
➡️ Where to go next
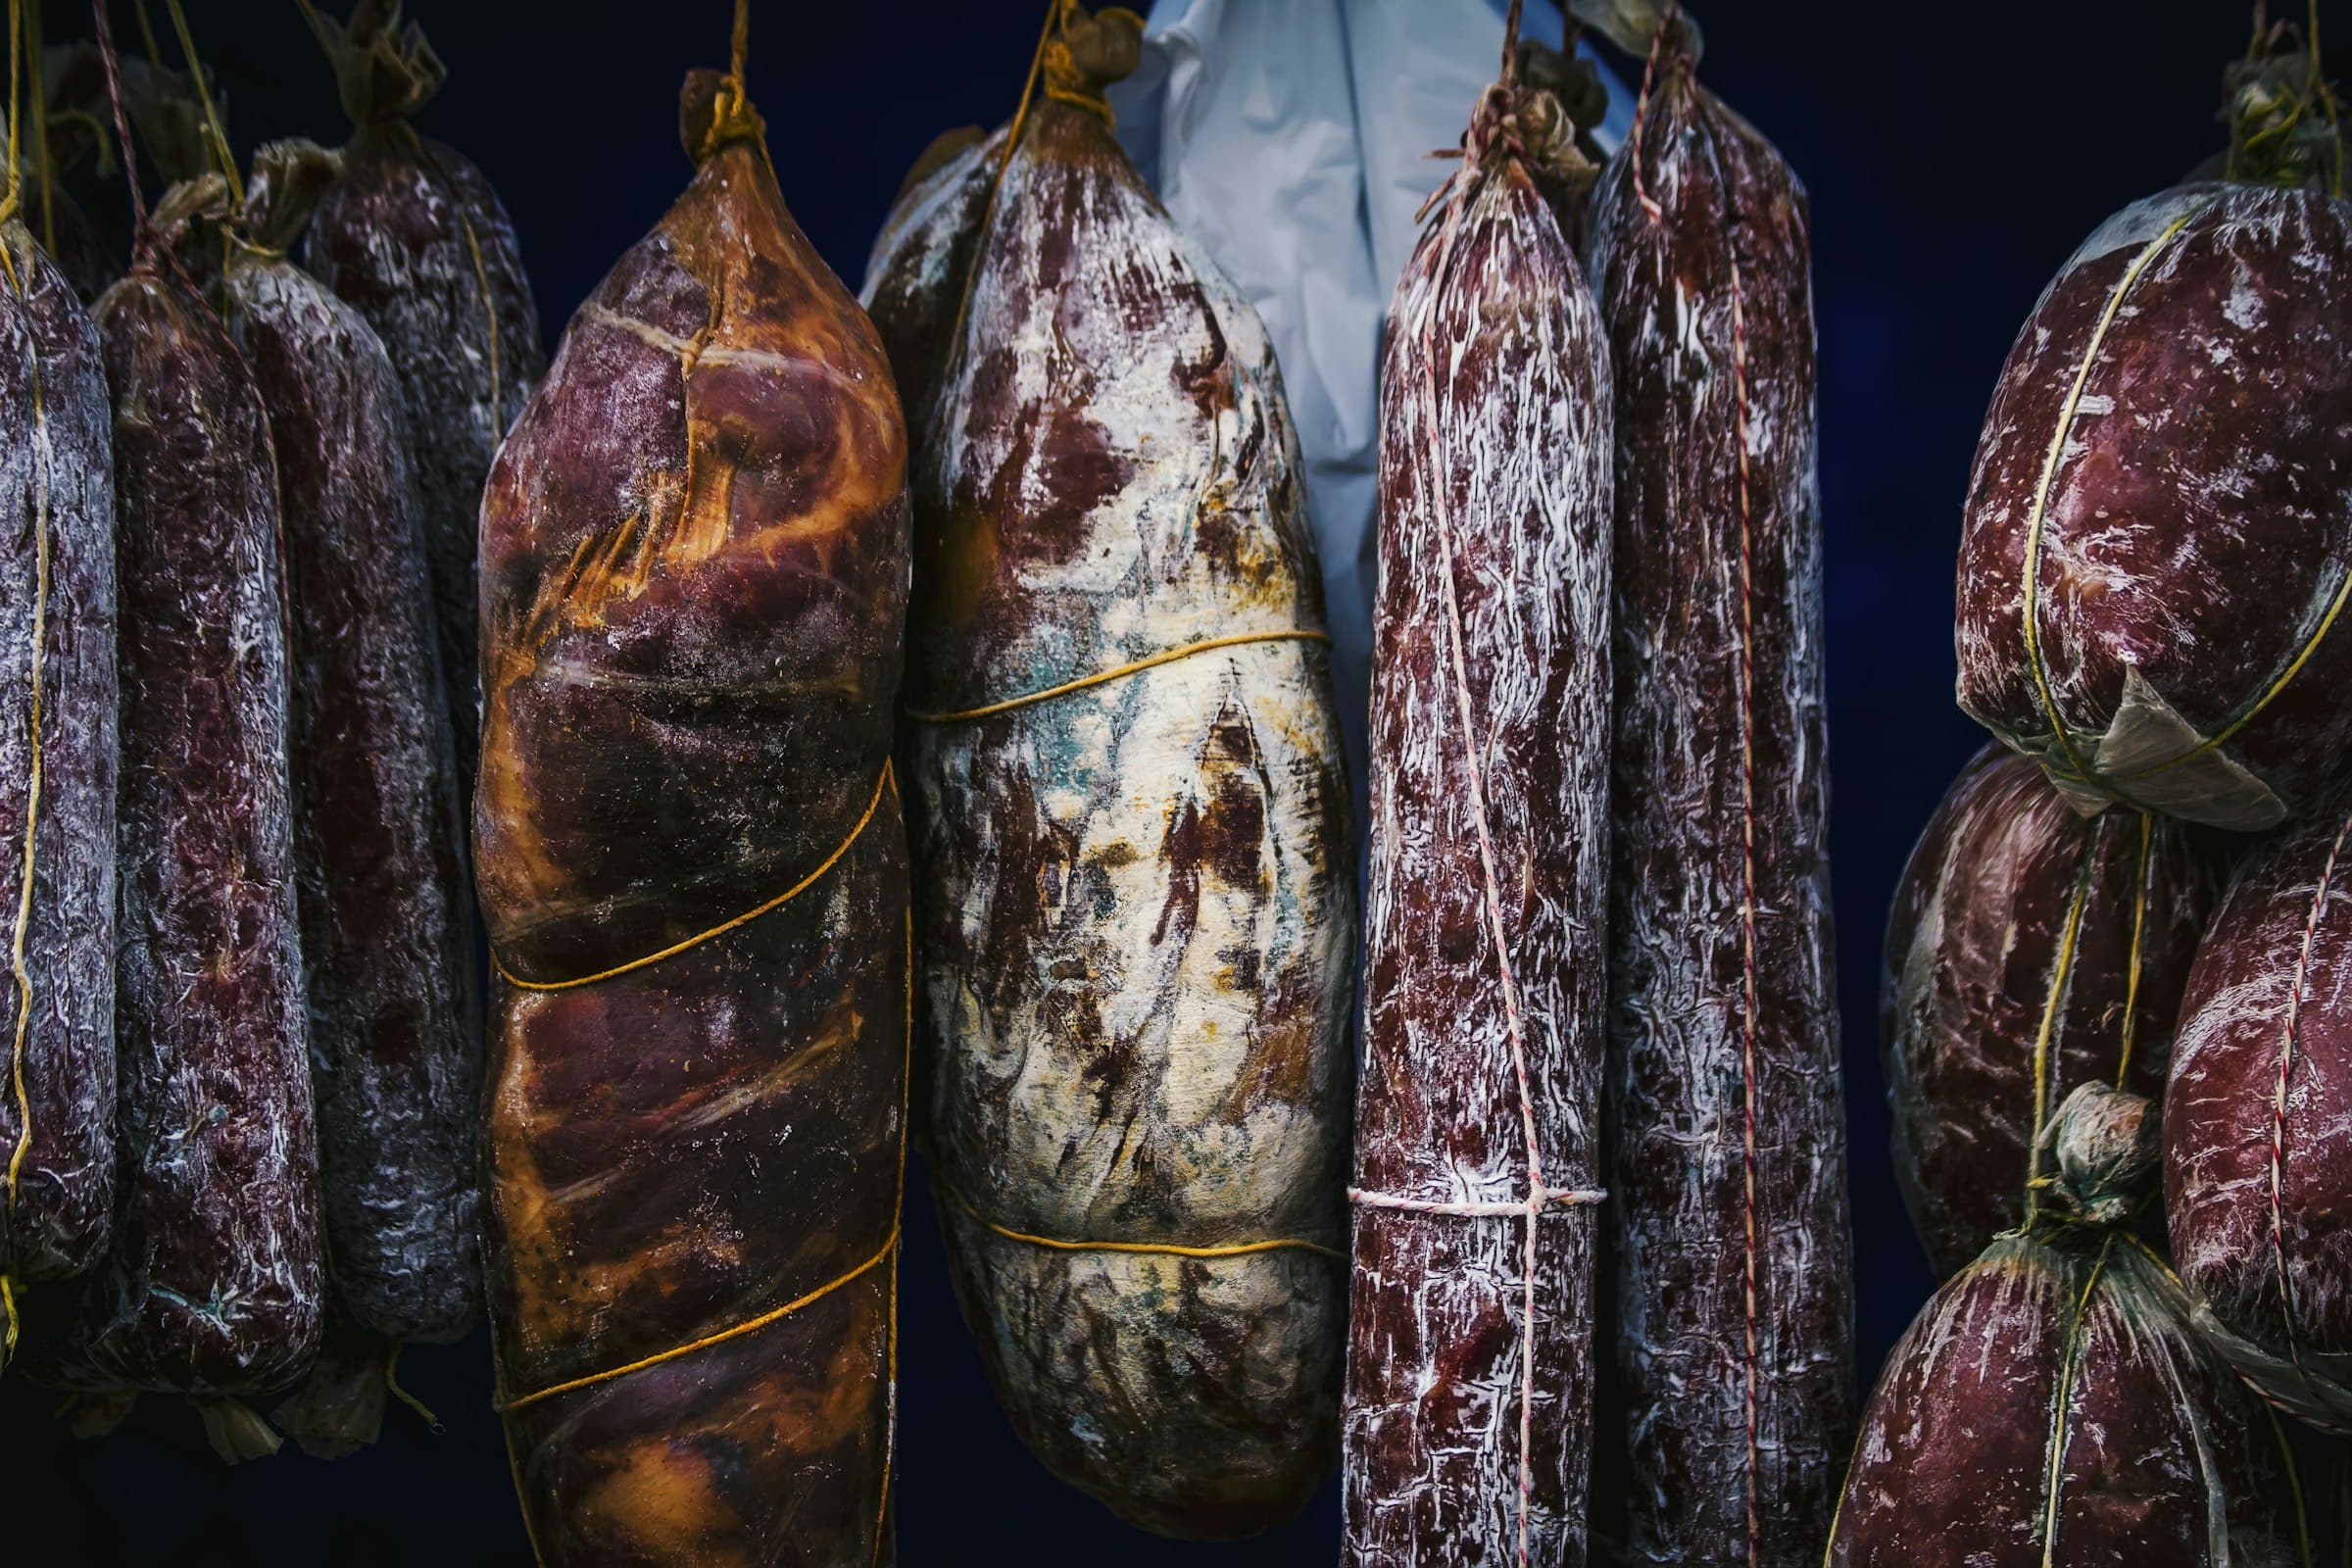
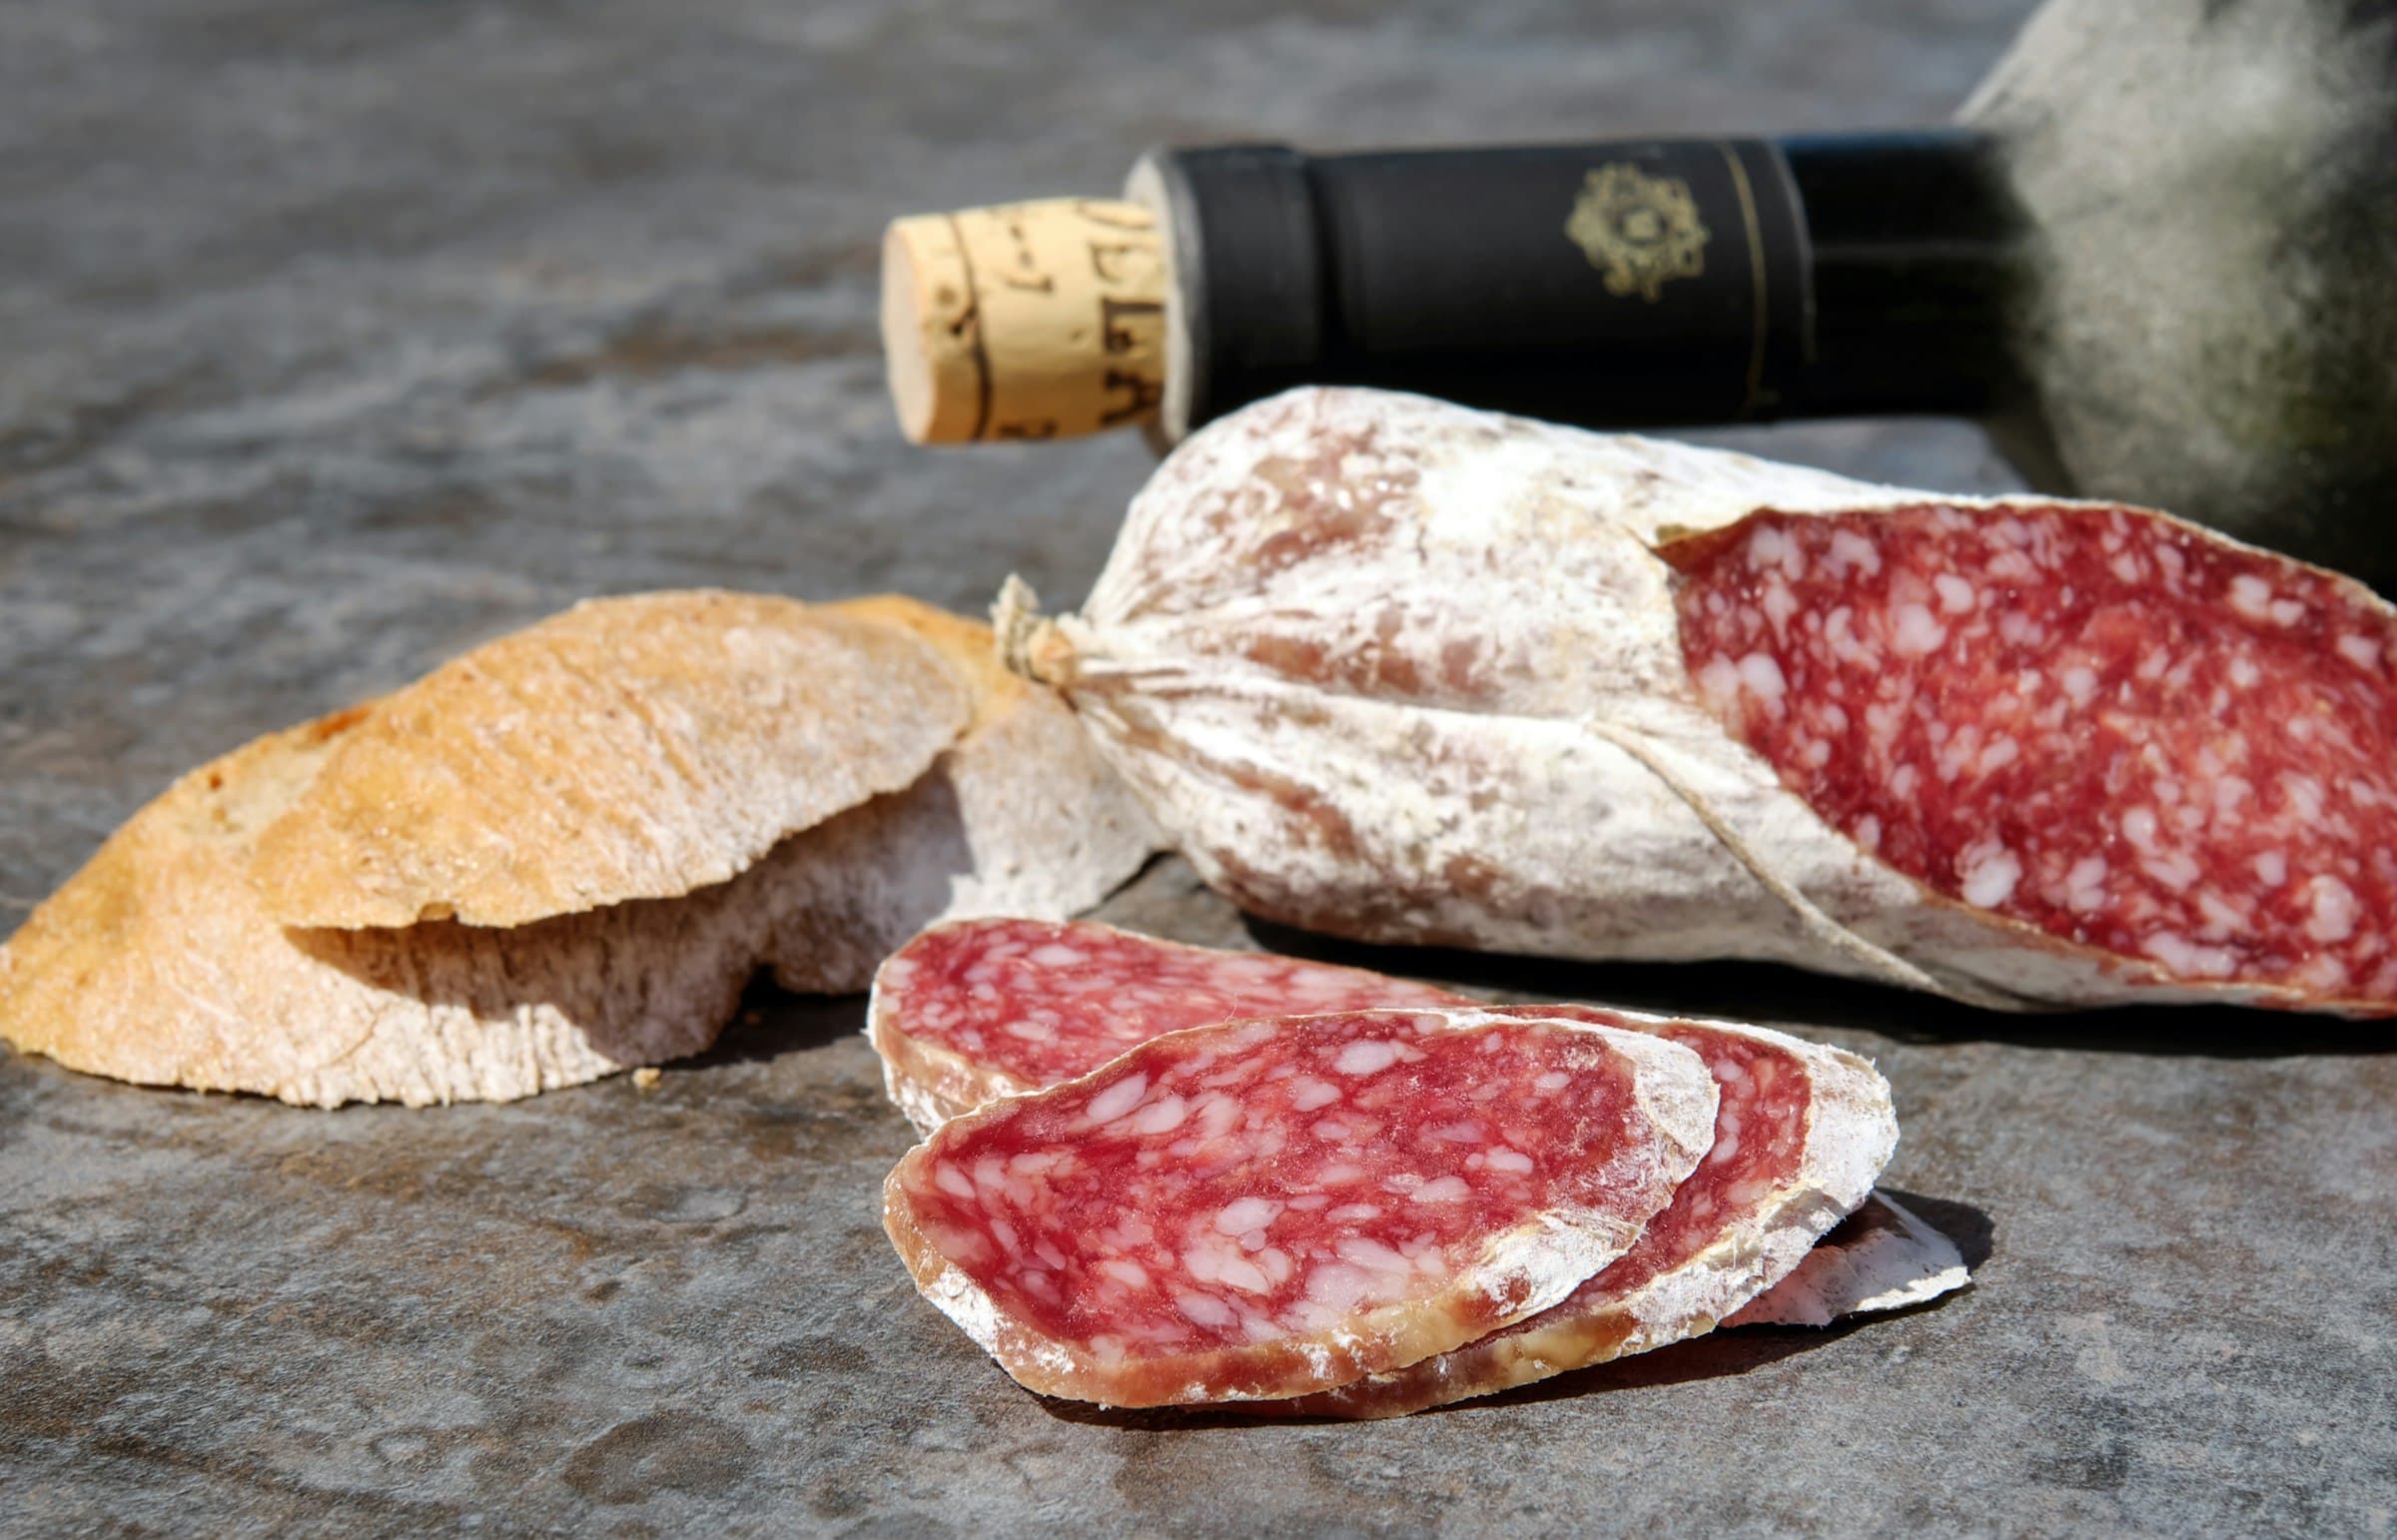
Bacon is the entry point to curing because it is short, forgiving, and cooked at the end. The projects that are not cooked at the end — salami, whole-muscle charcuterie — need controlled temperature and humidity for weeks rather than days. That means a curing chamber. Once you have one, dry cured salami is the natural next project, and it is genuinely a fermentation, with starter cultures and a pH target, much closer to the rest of this site than bacon is.