What Is Miso?
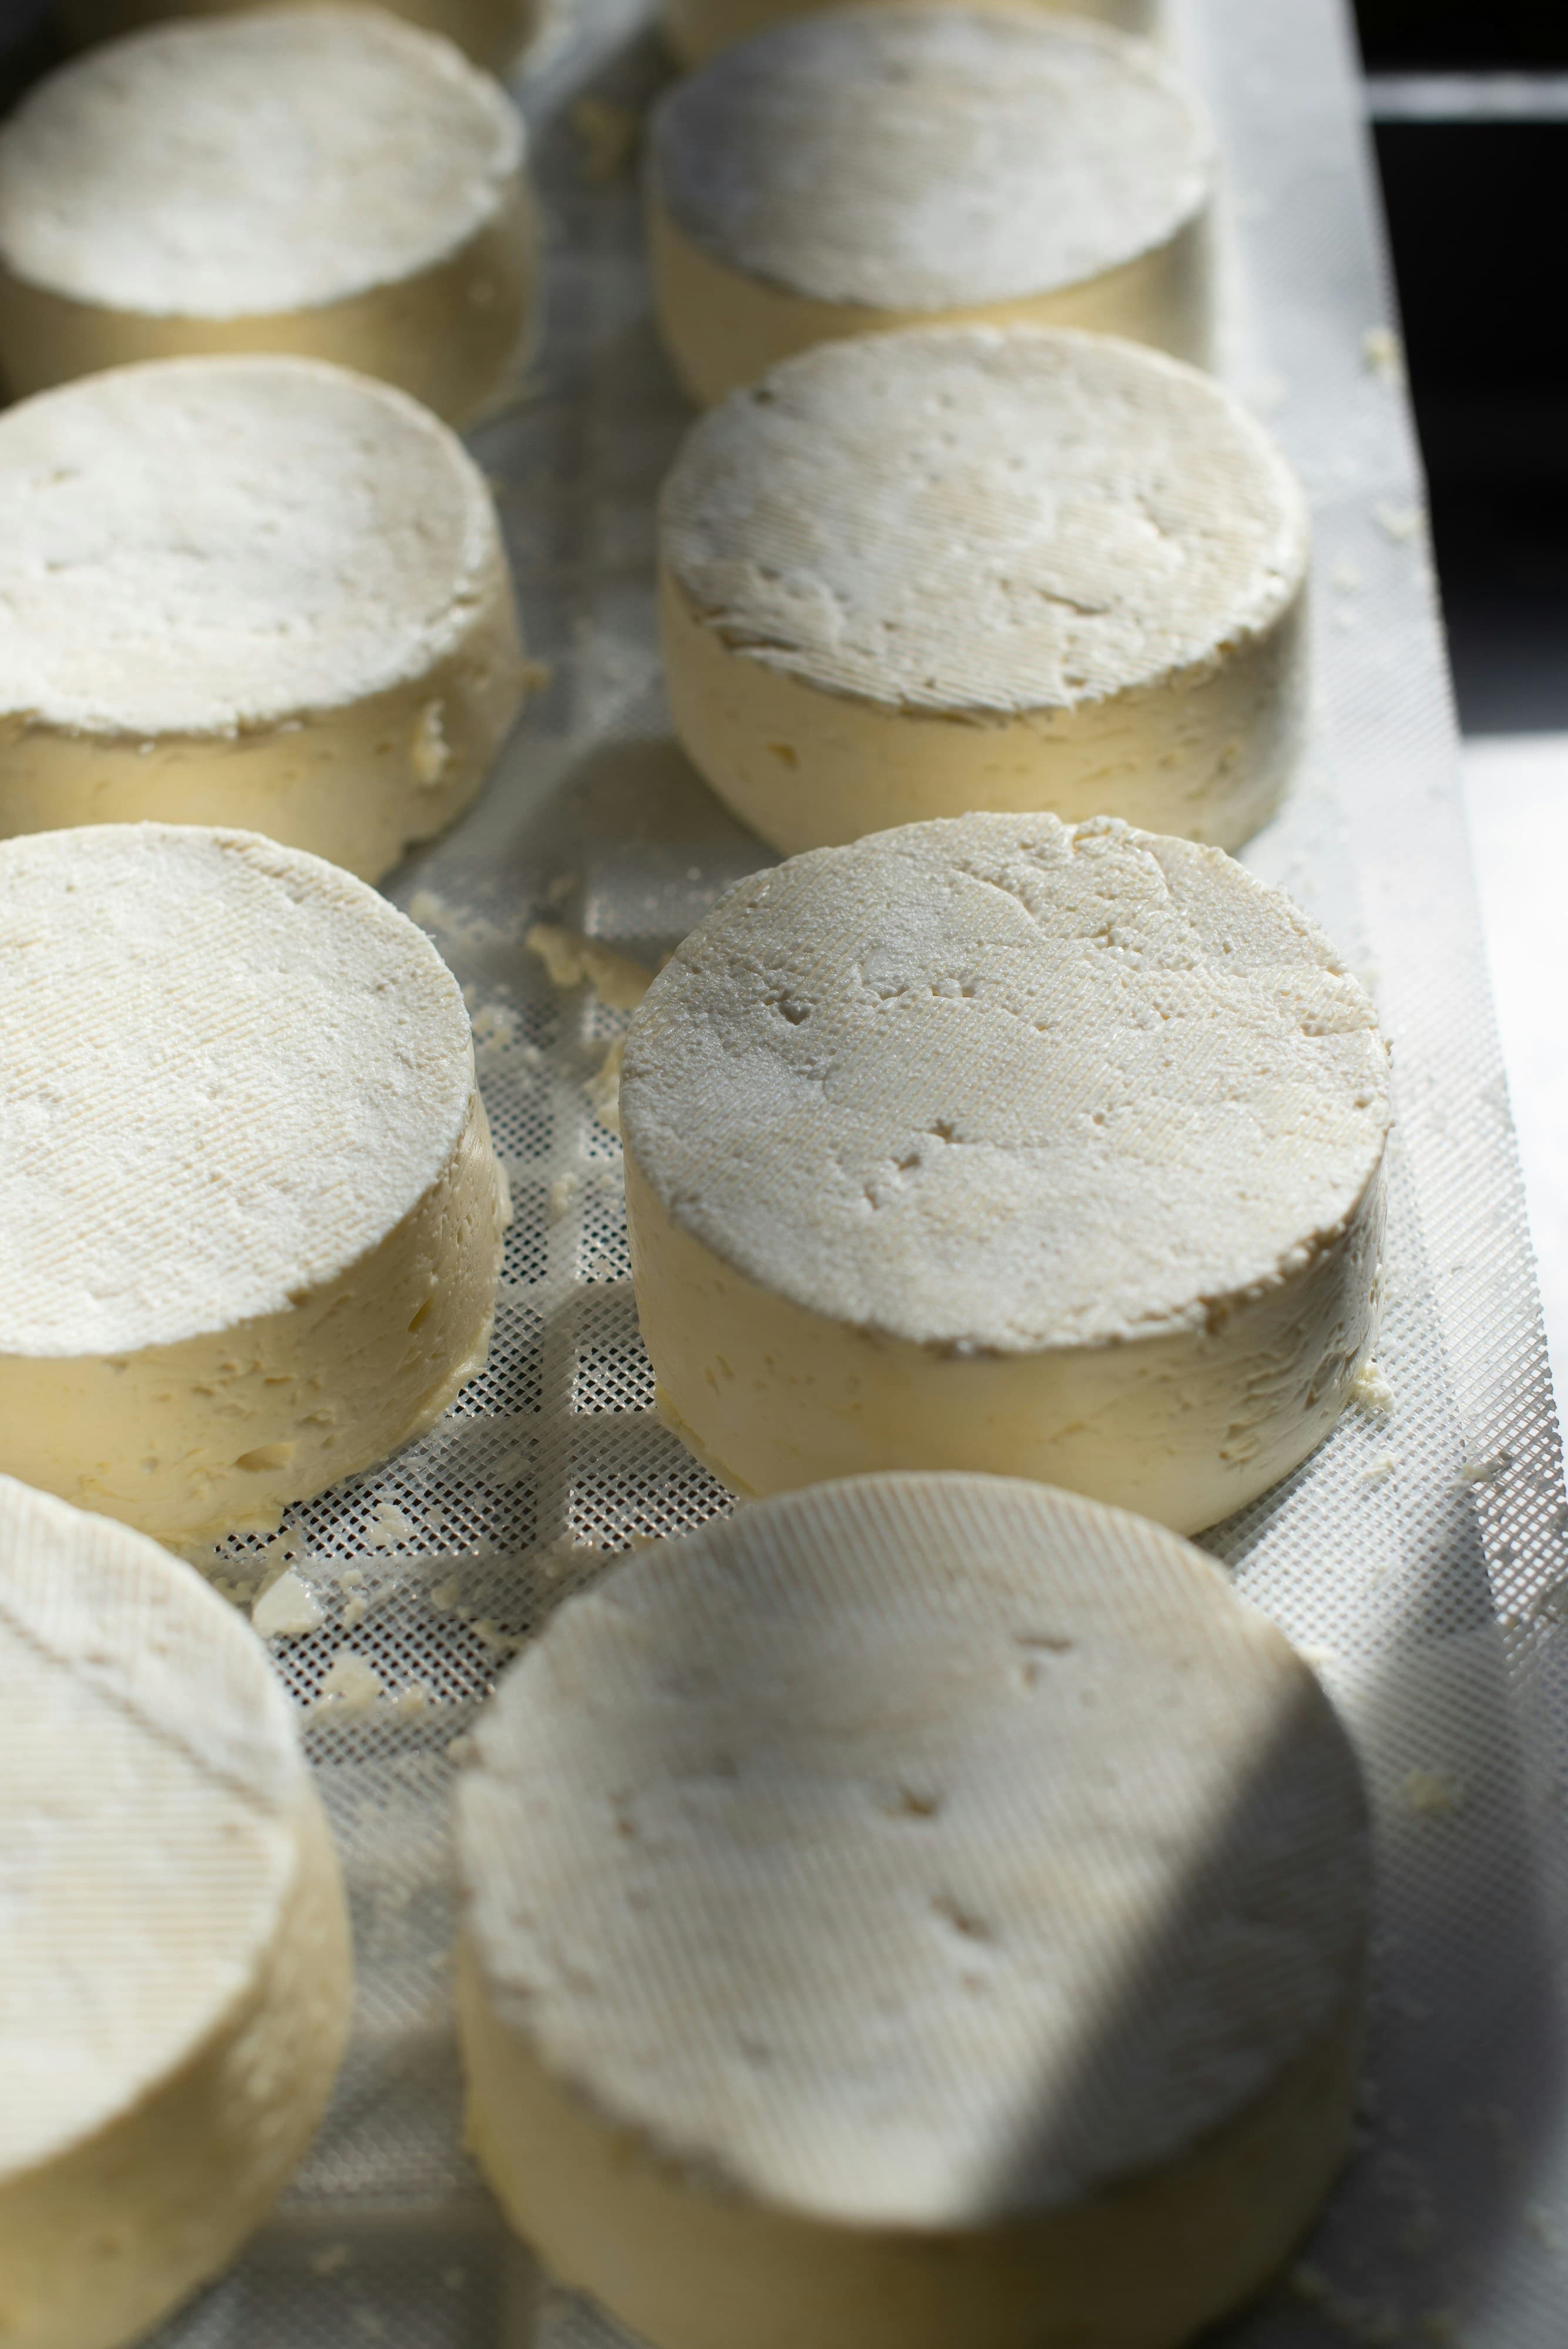
Miso is a fermented soybean paste that's been a cornerstone of Japanese cooking for centuries. At its core, it's just three ingredients: soybeans, koji (a grain — usually rice or barley — inoculated with Aspergillus oryzae mold), and salt. That's it. Time does the rest.
The koji breaks down the proteins and starches in the soybeans over months, producing an insane depth of umami flavor that you genuinely can't replicate any other way. Store-bought miso is fine, but homemade miso is a completely different experience — richer, more complex, and deeply satisfying because you made it yourself.
Yes, this is a longer project than most of our guides. You're not eating this next week. But the active work is only a couple of hours, and then you just... wait. It's the most hands-off cooking project you'll ever do. And when you open that crock months later and taste what time and microbes have created, it's genuinely one of the most rewarding things in all of home fermentation.
The Process
Soak the soybeans. Rinse your dried soybeans and soak them in plenty of water for 12–18 hours (overnight is perfect). They'll roughly double in size, so use a big bowl and lots of water. This step is crucial — properly soaked beans cook faster and mash more evenly.
Cook the soybeans. Drain and rinse the soaked beans, then boil them in fresh water for 3–4 hours until they're very soft — you should be able to crush a bean easily between your thumb and pinkie. Skim off any foam that rises. A pressure cooker cuts this down to about 45 minutes. Save about 1 cup of the cooking liquid before draining.
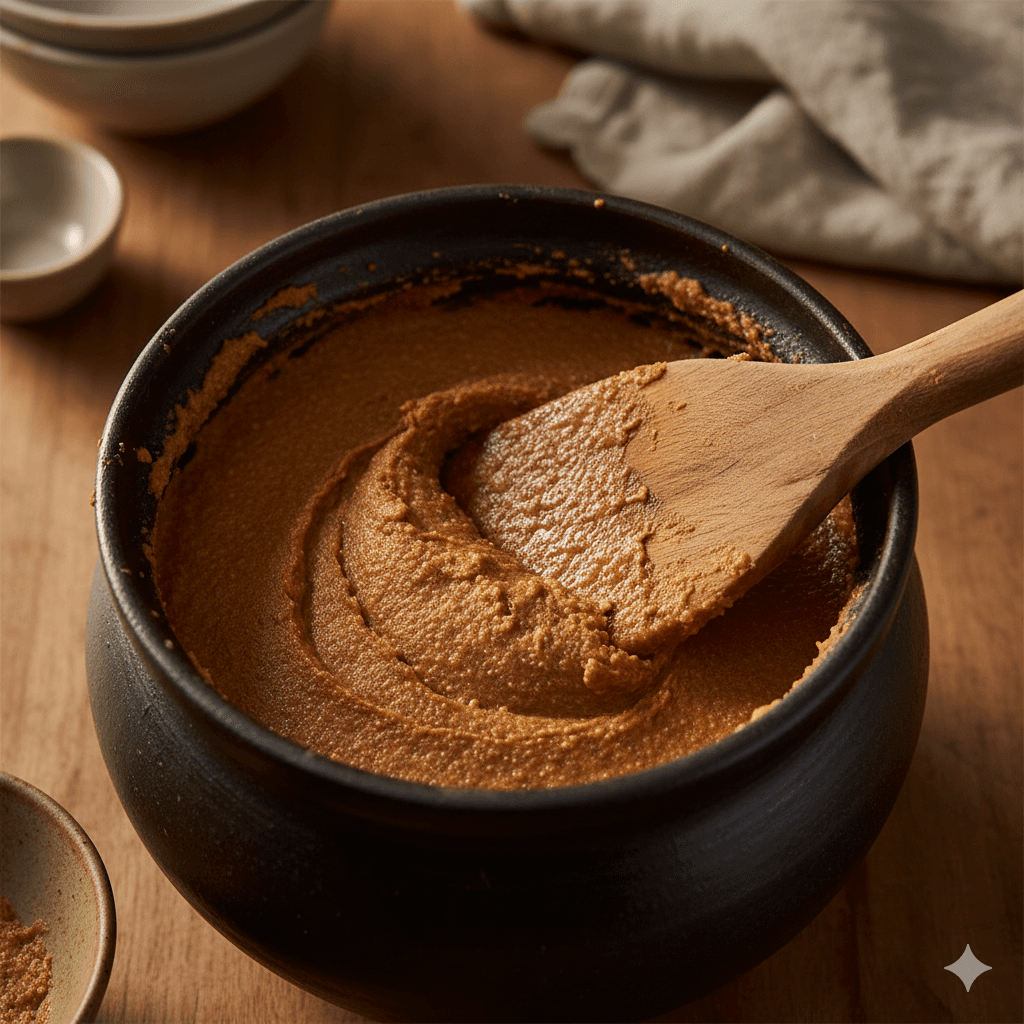
Mash the beans. While the beans are still warm, mash them thoroughly. You want a mostly smooth paste with some texture — think chunky peanut butter. A potato masher works fine, or pulse in a food processor. Some people put them through a meat grinder for an ultra-smooth miso. Let the mashed beans cool to body temperature (around 95°F / 35°C) — too hot and you'll kill the koji.
Mix the koji and salt. In a separate large bowl, combine the koji with the salt and mix thoroughly with your hands. Break up any clumps of koji. This is called the “shiokiri koji” step — salting the koji first ensures even salt distribution throughout the miso.
Combine everything. Add the cooled mashed soybeans to the salted koji mixture. Mix thoroughly with your hands until completely uniform. If the mixture feels too dry or crumbly, add a splash of the reserved cooking liquid. You're aiming for a consistency similar to thick hummus — it should hold together when you squeeze it into a ball.
Pack the container. Form the mixture into baseball-sized balls (called “miso balls”). Throw each ball forcefully into your fermentation container to knock out air pockets — this is surprisingly fun and actually important, since trapped air invites mold. Once all the miso is in, press the surface flat and smooth with your hands or the back of a spoon. Eliminate any air gaps along the sides.
Seal and weight. Sprinkle a thin layer of salt over the surface (this discourages mold). Press plastic wrap directly onto the miso surface, pushing out all air bubbles. Place a plate or lid that fits inside the container on top, then add a weight — a heavy jar filled with water, a clean rock, or a ziplock bag filled with brine all work great. The weight keeps pressure on the miso and pushes out any remaining air.
Wait. Cover the container with a lid or cloth and store it in a cool, dark place. Room temperature is fine — traditional miso ferments through the seasons, and the summer heat actually helps develop flavor. Now you wait. Check on it every month or so, wipe away any liquid that pools (called “tamari” — save it, it's liquid gold for cooking), and re-seal. That's your only job for the next several months.
Types of Miso by Fermentation Time
The same basic recipe produces different styles of miso depending on how long you let it ferment:
- White miso (shiro) — 3 months. Sweet, mild, and delicate. Uses a higher ratio of koji to soybeans. Great for dressings, light soups, and glazes.
- Yellow miso (shinsu) — 6 months. A good middle ground — more depth than white, not as intense as red. Versatile and all-purpose.
- Red miso (aka) — 1 year or more. Deep, robust, funky, and intensely savory. Uses less koji relative to soybeans and more salt. This is the big-flavor miso for hearty soups, braises, and marinades.
For your first batch, aiming for a 6-month yellow miso is a great starting point. It's forgiving and produces a balanced, versatile paste.
🛒 Where to buy koji
Koji (sometimes labeled “rice koji” or “dried koji”) is available at Japanese grocery stores, some health food stores, and online. Cold Mountain, Miyako, and Rhapsody are common brands. Make sure you're getting actual koji (grain inoculated with Aspergillus oryzae), not koji starter spores — those are for making koji from scratch, which is a separate (and more advanced) project.
🕐 Patience is the main ingredient
The hardest part of making miso is waiting. It doesn't look like much is happening, but the koji enzymes are slowly and steadily breaking down proteins into amino acids (that's where the umami comes from). Trust the process. Set a calendar reminder for 3 months out, taste it then, and decide if you want to keep going. Most people are pleasantly surprised by how good even a young miso tastes.
✅ How to tell when it's ready
There's no hard finish line — taste is your guide. The miso should smell rich and savory (not sharp or alcoholic), taste deeply umami with a pleasant saltiness, and have a smooth, paste-like consistency. The color will have darkened noticeably from when you packed it. If it tastes good to you, it's ready. You can always let it go longer for more complexity.
How to Use Your Miso
Once you have homemade miso, you'll find excuses to put it in everything:
- Miso soup — the classic. Dissolve a tablespoon in hot (not boiling) dashi or broth with tofu and scallions. Never boil miso — it kills the living cultures and dulls the flavor.
- Marinades — mix miso with mirin, sake, and a touch of sugar for an incredible glaze on fish (miso-glazed black cod), chicken, or roasted vegetables.
- Salad dressings — whisk miso with rice vinegar, sesame oil, and a bit of honey for an instant umami dressing.
- Compound butter — blend softened butter with miso and use it on steak, corn on the cob, roasted potatoes, or toast. Seriously life-changing.
- Pasta — stir a spoonful into butter-based pasta sauces for depth. Miso and parmesan are both umami bombs — they're incredible together.
- Soups and stews — add a spoonful to any soup, chili, or braise for background richness. It doesn't make things taste “Japanese” — it just makes everything taste more savory.
Troubleshooting
There's mold on the surface
This is the most common issue with long-fermented projects. White mold is usually harmless — scrape it off and re-seal. A thin layer of tamari (dark liquid) on top is actually a good sign and acts as a natural mold barrier. Blue or green mold should be scooped out with a generous margin. If mold is recurring, make sure your weight is heavy enough and the plastic wrap is making full contact with the miso surface. Sprinkling extra salt on top helps too.
It smells like alcohol
A mild alcoholic smell during fermentation is normal — the koji produces some alcohol as a byproduct. If it's very strong, your fermentation temperature might be too warm. Move it to a cooler spot. The smell usually mellows as the miso matures.
It's too salty
Young miso often tastes salty because the koji hasn't had enough time to develop sweetness and umami to balance the salt. Give it more time — another month or two can make a big difference. If your finished miso is still saltier than you'd like, just use less of it per serving or blend it with a bit of mirin or honey when cooking.
The texture is grainy
The soybeans probably weren't cooked long enough or mashed finely enough. For a smoother miso, cook the beans until they're falling-apart soft, and consider using a food processor instead of a hand masher. You can also blend your finished miso in a food processor to smooth it out — it won't affect the flavor.
Dark liquid pooling on top
That's tamari — essentially homemade soy sauce. It's a sign that fermentation is going well. You can stir it back in for a stronger-flavored miso, or skim it off and use it as a condiment. It's incredible drizzled over rice, eggs, or sashimi. Some miso makers consider this liquid the real prize.
🏺 Storage
Once your miso is done, transfer it to jars and refrigerate. It keeps for a year or more in the fridge and the flavor continues to slowly deepen. You can also freeze miso — it stays soft enough to scoop even from the freezer because of the high salt content. A single batch will last you a very long time.
🎯 Start in late fall or winter
Traditional miso-making happens in winter (“kan-zukuri” in Japanese — cold-season preparation). Starting in the cold months means the fermentation begins slowly, then accelerates through summer's warmth, producing a more complex flavor. But honestly, you can start any time of year and still get great results.
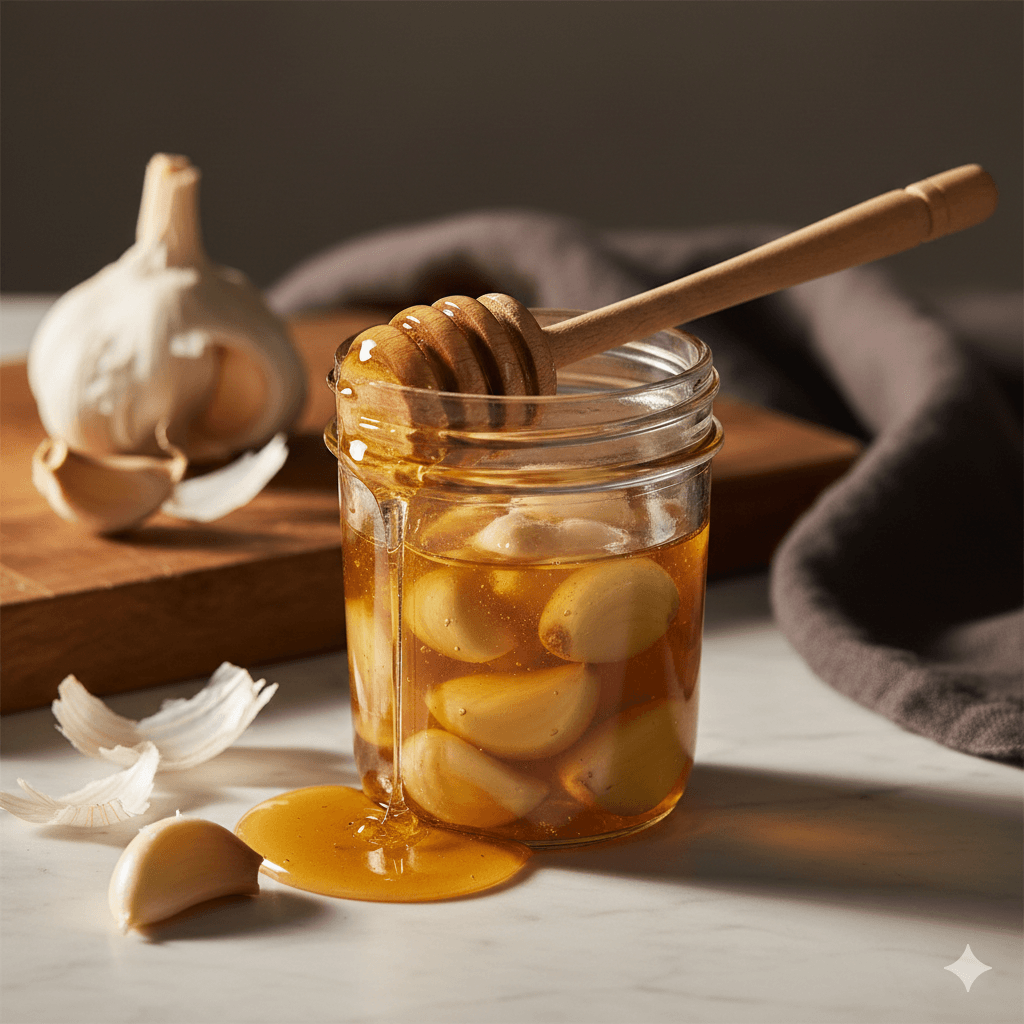
If you're drawn to deeply savory fermented condiments, fermented garlic honey is a much faster project with a similar umami payoff. For tracking long-term ferments like miso, the organizing and labeling guide has practical tips for keeping multi-month projects on track. And for another koji-adjacent fermentation tradition, homemade sauerkraut is where most fermenters start their journey into beneficial bacteria.