Why Ferment Carrots?
Fermented carrots are one of the most underrated ferments out there. They're crunchy, slightly tangy, and genuinely delicious — even people who think they don't like fermented food tend to reach for these. If you've made fermented pickles before, this is even simpler. If you haven't fermented anything yet, carrots are a fantastic place to start.
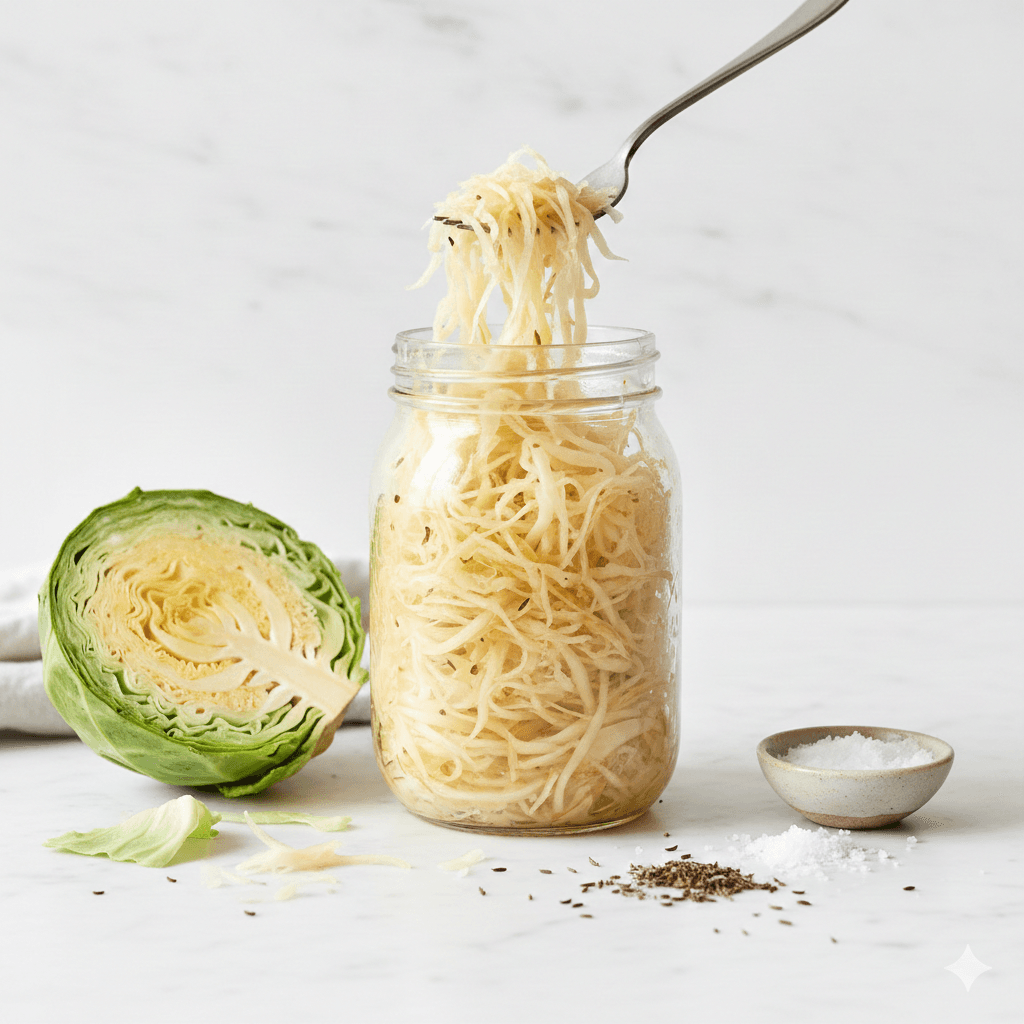
Unlike cabbage-based ferments like sauerkraut, carrots use a straightforward saltwater brine. You don't need to massage anything or wait for liquid to release. You just cut, pack, pour, and wait. That makes this the ideal project if you're new to fermentation and want to learn the brine technique that applies to nearly every vegetable ferment.
They're also kid-friendly. The natural sweetness of the carrot balances the tang of fermentation, so you end up with something that tastes like a snack rather than a science experiment. I've watched kids demolish a whole jar in one sitting. Adults too, honestly.
💡 Tip: The 2% brine rule
The standard ratio for vegetable brine fermentation is 2% salt by weight of water. That means for every 1,000 grams (about 4 cups) of water, you dissolve 20 grams of salt. For this recipe, 2 cups of water (about 473 grams) gets roughly 1 tablespoon (about 9-10 grams) of fine sea salt. A kitchen scale makes this foolproof — no guessing, no inconsistent results. Once you know this ratio, you can ferment any vegetable in brine.
The Process
Cut the carrots. Peel and trim your carrots, then cut them into sticks or coins — your call. Sticks look great standing upright in the jar and are easy to grab as snacks. Coins ferment a touch faster because more surface area is exposed. Either way, try to keep the pieces a consistent size so they ferment evenly. If you're cutting sticks, measure them against your jar first. You want them about an inch shorter than the jar so the weight and brine can sit on top.
Make the brine. Dissolve 1 tablespoon of fine sea salt into 2 cups of water. Use non-iodized salt — iodine can inhibit the lactobacillus bacteria that drive the fermentation. And use non-chlorinated water if your tap water is treated. Chlorine kills bacteria, which is the opposite of what you want here. Filtered water works. So does water that's been left out uncovered for 24 hours (the chlorine evaporates). Stir until the salt is fully dissolved and the water runs clear.
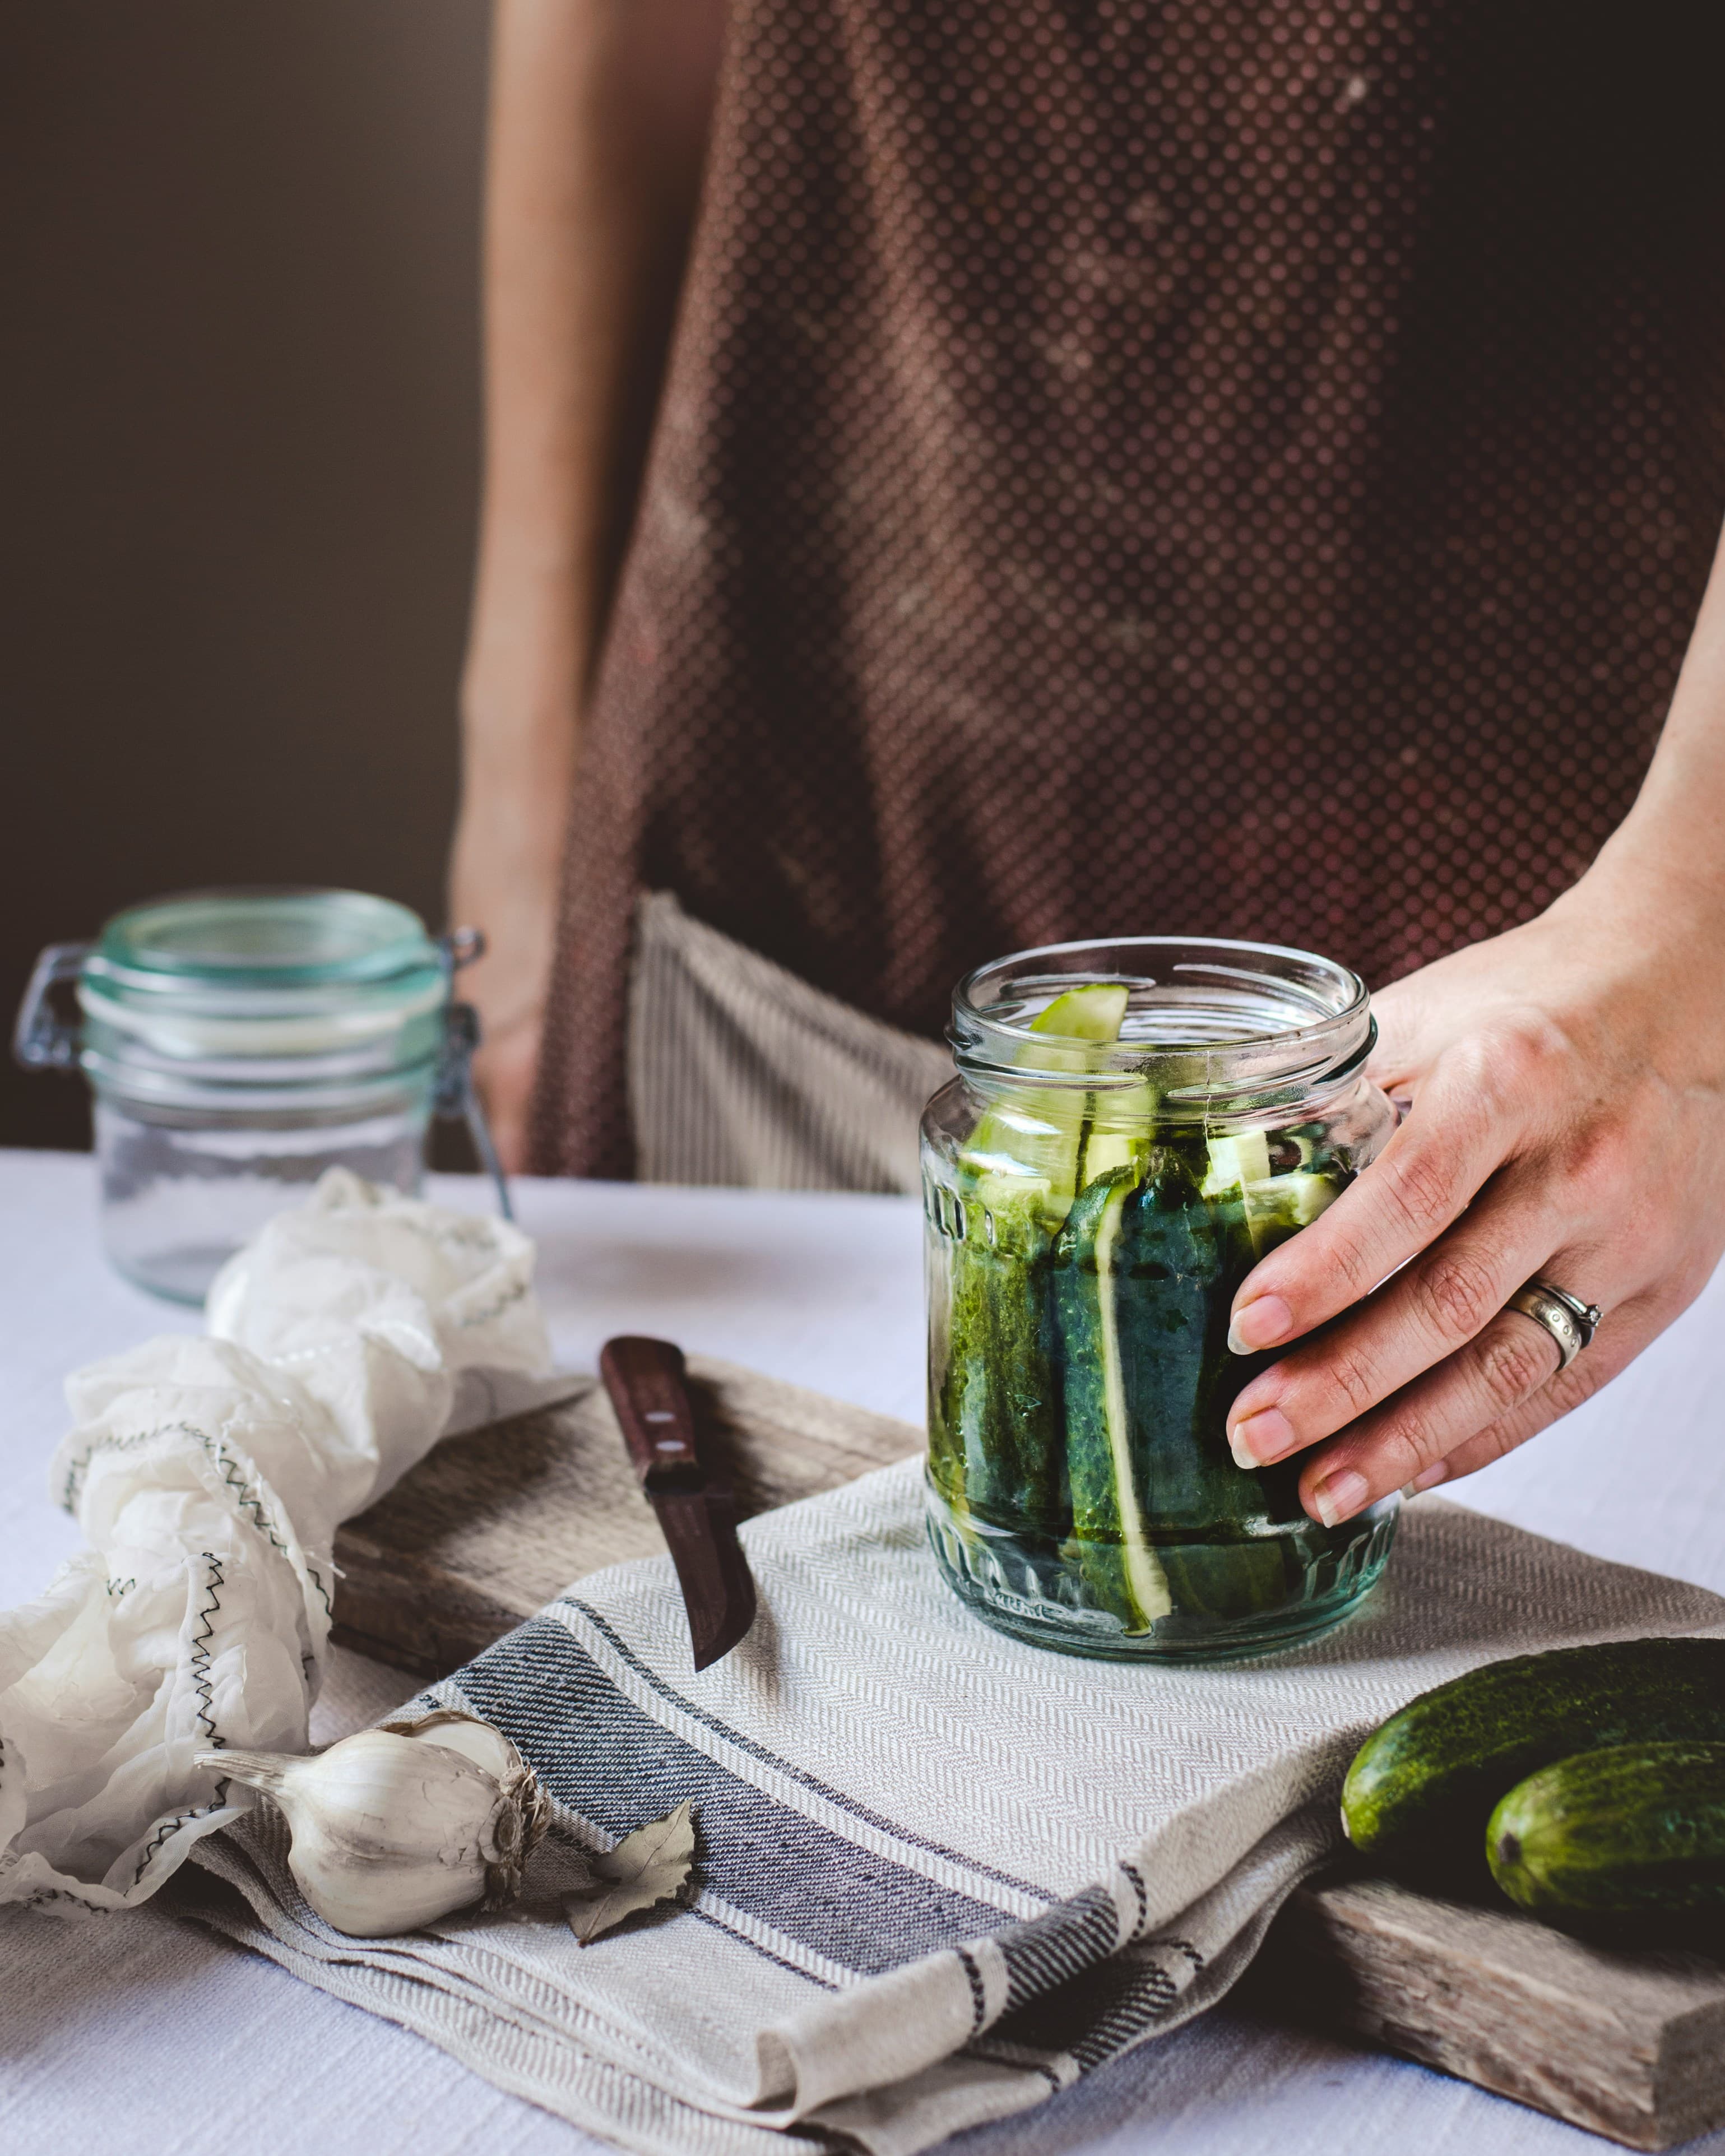
Pack the jar. Stuff the carrot sticks vertically into a clean wide-mouth mason jar. Pack them tight — you want them wedged in so they don't float up later. If you're using aromatics, tuck the garlic cloves and dill sprig in between the carrots, and drop the peppercorns in too. The aromatics aren't required, but they make a noticeable difference in the finished product.
Pour brine and add the weight. Pour the brine over the packed carrots until everything is submerged. You need at least half an inch of brine above the top of the carrots. Then place a glass fermentation weight on top to keep them pushed down. Any carrot piece that pokes above the brine is exposed to air and can develop mold. The weight solves this.
Cover loosely and ferment. Place the lid on the jar but don't screw it tight. Gas builds up during fermentation and needs a way to escape. A loosely placed lid, a piece of cloth secured with a rubber band, or an airlock lid all work. Set the jar on a plate (to catch any overflow) somewhere at room temperature, out of direct sunlight. Ideal range is 65–75°F (18–24°C). You'll start seeing tiny bubbles within 24–48 hours. That's the lactic acid bacteria getting to work.
Taste daily and refrigerate when ready. Start tasting on day 3. The carrots will have a mild tang and still be very crunchy. By day 5, the flavor deepens — more sour, more complex. By day 7, you'll have a fully fermented product with real depth. When it tastes right to you, screw the lid on tight and move the jar to the fridge. There's no single “done” moment. Trust your palate.
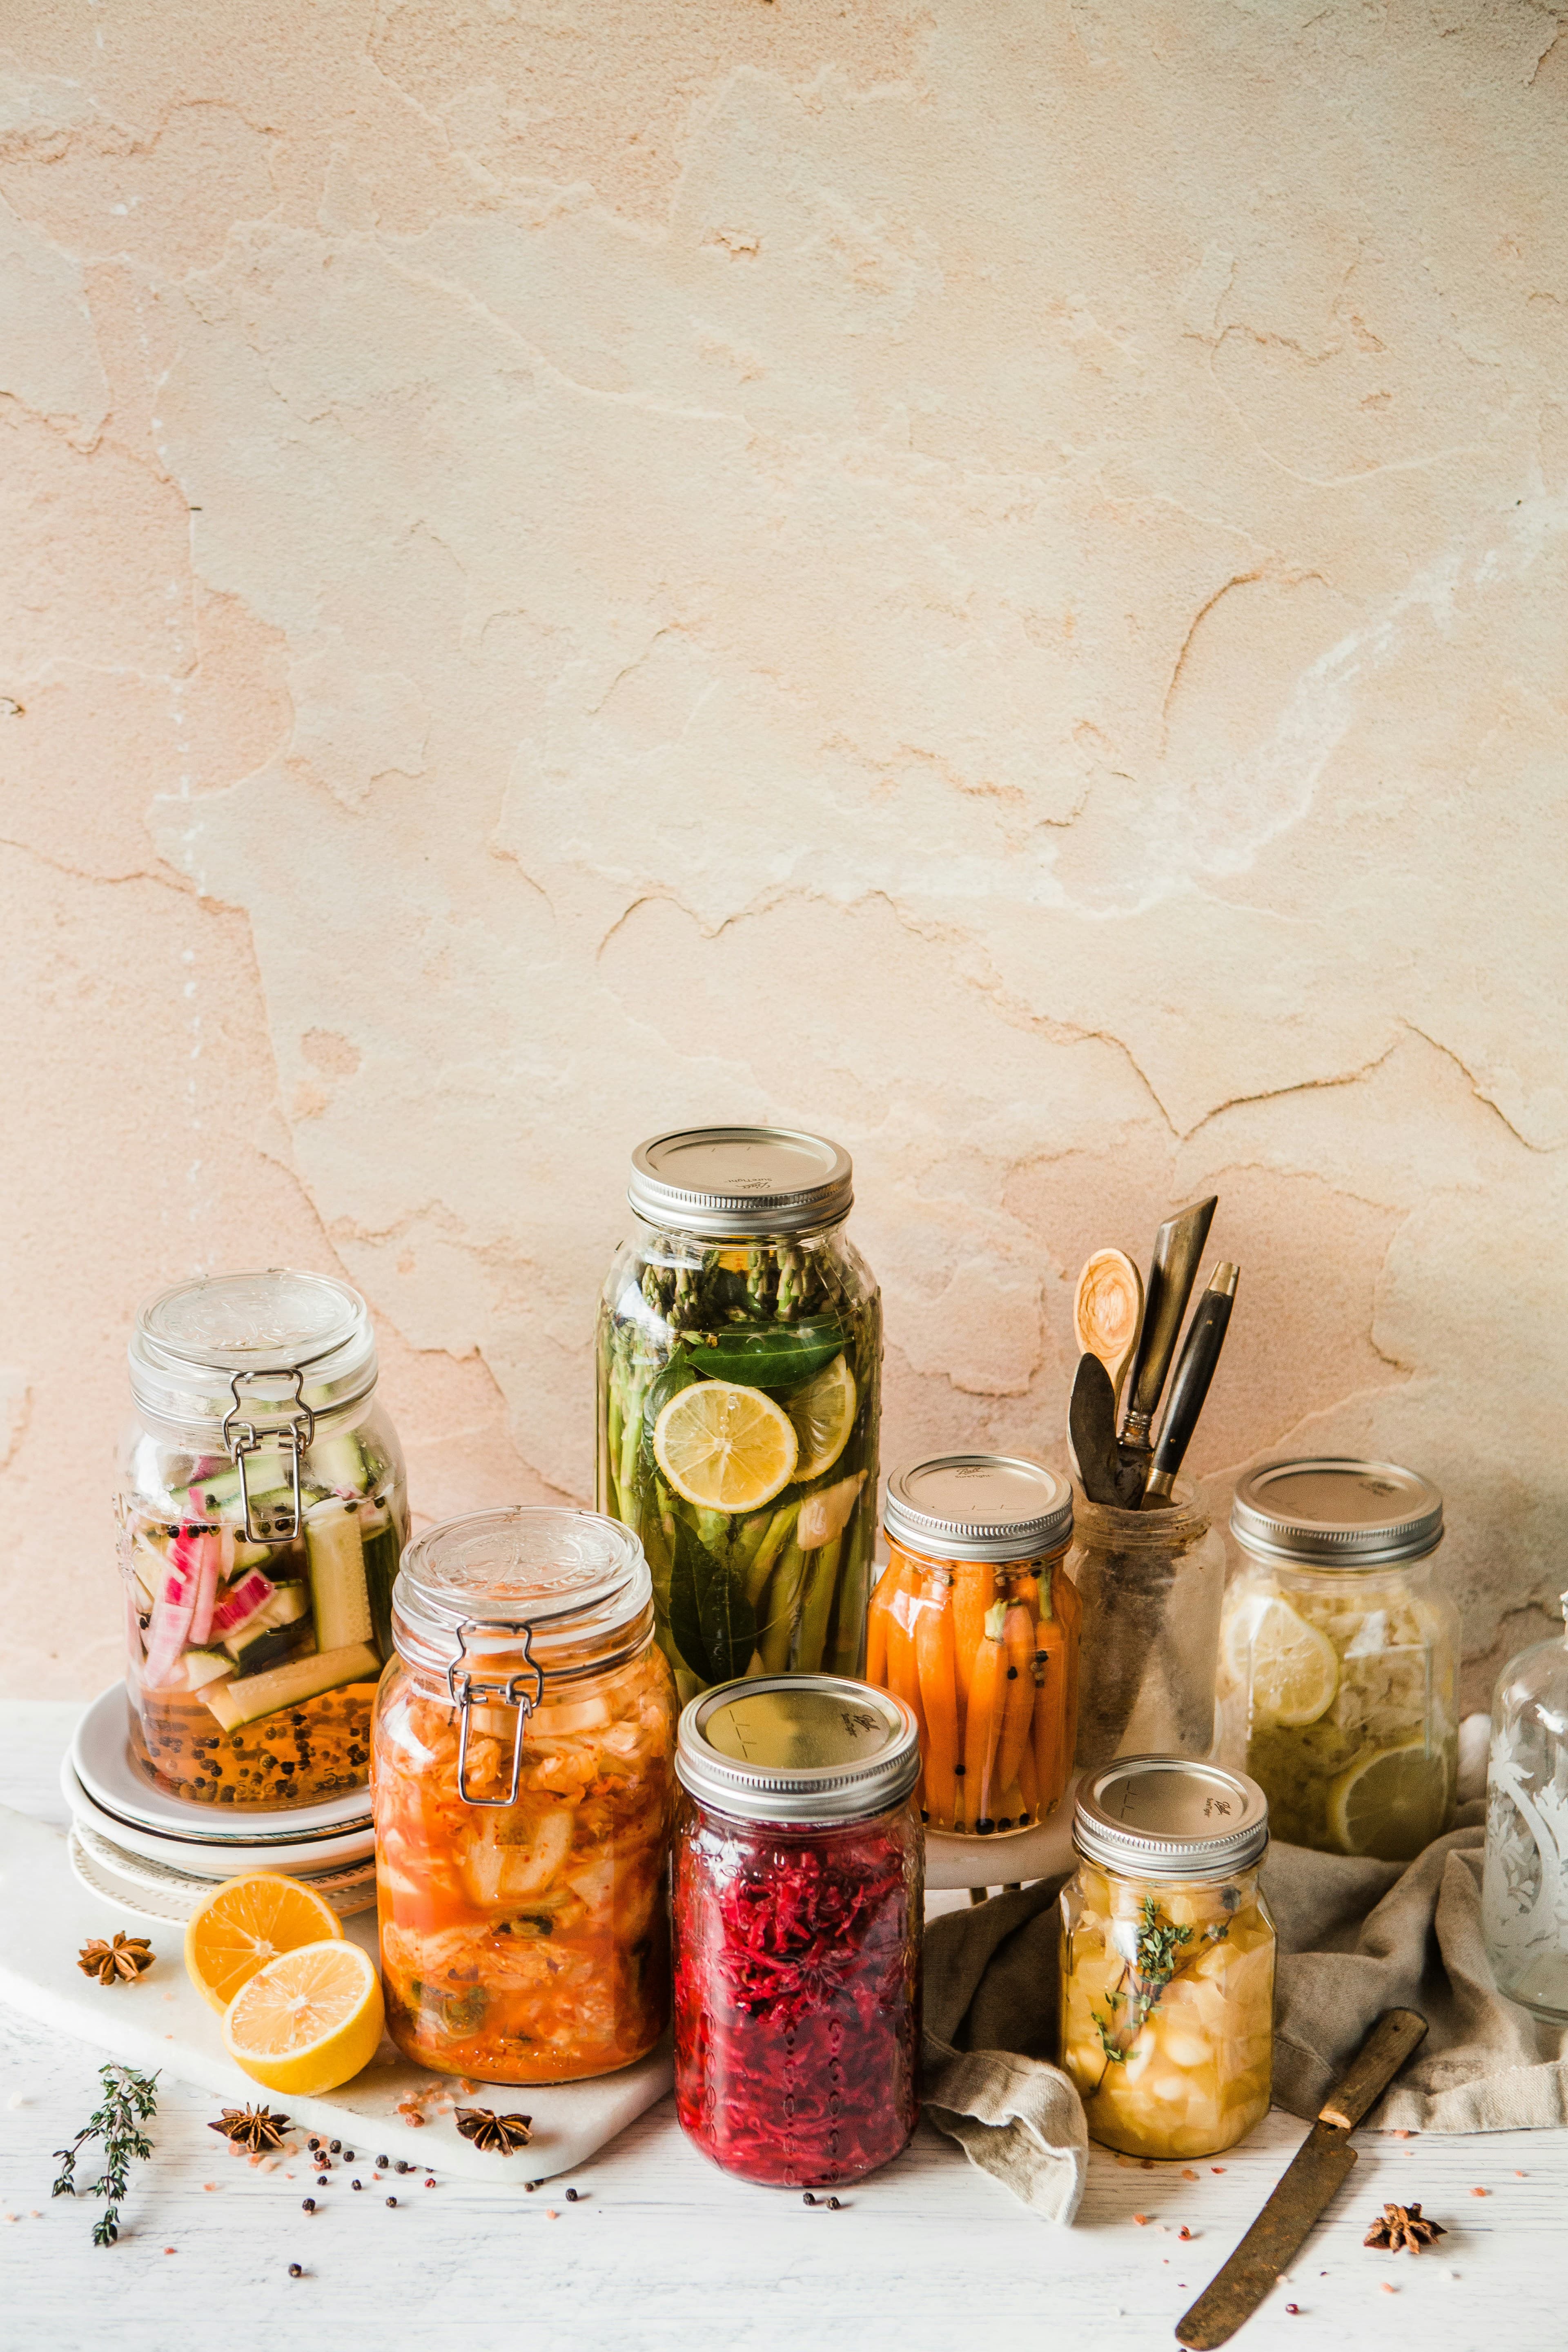
Flavor Variations
Once you nail the basic recipe, start experimenting. The brine and technique stay the same — you're just swapping out the aromatics. Here are five combinations I come back to over and over:
- Classic dill and garlic. The version in this recipe. Clean, savory, a little like a fermented pickle. Hard to beat.
- Ginger and turmeric. Slice a thumb of fresh ginger and a small knob of turmeric into the jar. You get a golden brine and an earthy, warming flavor. Great in grain bowls.
- Cumin and coriander. Toast a teaspoon of each, crush lightly, and add to the jar. This gives the carrots a Middle Eastern vibe. Serve alongside hummus or falafel.
- Habanero and lime. Slice one habanero (seeds and all if you're brave) and toss it in. Add a strip of lime zest. People lose their minds over this one — it's spicy, citrusy, and addictive. Handle the habanero with gloves.
- Plain. Just carrots, salt, and water. Nothing else. Sometimes the simplest version is the best, and it lets the natural sweetness of the carrot shine through.
How Long to Ferment Carrots
Fermentation time depends on temperature and your personal taste. Here's a rough guide:
- 3 days: Mild tang, very crunchy. The carrots taste lightly pickled with a hint of sourness. Good if you prefer something subtle.
- 5 days: Medium tang, still crunchy. The lactic acid flavor is fully developed. This is the sweet spot for most people.
- 7 days: Full sour, complex flavor. The carrots still hold their crunch surprisingly well — much better than cucumbers do at this stage. If you like sauerkraut-level tang, go the full week.
One of the best things about fermenting carrots is that they hold their crunch far better than most vegetables. Cucumbers can go soft quickly, but carrots stay firm even after a week of fermentation. That's what makes them such a reliable beginner project. It's hard to mess up the texture. If you want to learn more about fermenting at home, carrots are the gateway.
Troubleshooting
My carrots went mushy
This is rare with carrots, but it can happen if you ferment too long in a warm kitchen (above 80°F / 27°C). Higher temperatures speed up fermentation and can break down cell walls faster. Next time, ferment in a cooler spot or shorten the time. Also make sure you're using fresh, firm carrots — old, bendy carrots from the back of the fridge won't hold up as well.
There's a white film on the surface
That's kahm yeast. It's harmless — just a surface yeast that forms when air meets the brine. Scoop it off with a spoon and carry on. It can make the flavor a bit funky if you leave it, but it won't hurt you. A fermentation weight that keeps everything submerged will prevent this most of the time. For a deeper dive on this and other common issues, check out our vegetable fermentation troubleshooting guide.
They're not getting tangy
Your kitchen might be too cold. Below 60°F (15°C), fermentation slows way down. Move the jar to a warmer spot and give it more time. Also double-check your salt — if you used too much, it can inhibit the bacteria. And make sure your water isn't chlorinated. Chlorine kills the exact microbes you're trying to cultivate.
The brine is cloudy
Good. That means it's working. Cloudy brine is a sign of active lacto-fermentation. The lactobacillus bacteria produce lactic acid, and the byproduct is a beautifully cloudy brine. Clear brine actually means not much has happened yet. Don't pour it out.
What to Do With Fermented Carrots
Straight out of the jar is the obvious move. But once you have a batch, you'll find yourself reaching for them constantly:
- Snack. Just eat them like carrot sticks. They're crunchy, tangy, and satisfying on their own.
- Grain bowls. Chop them and toss on top of rice, quinoa, or farro bowls. The acidity cuts through rich grains and proteins.
- Relish tray. Serve alongside fermented pickles, olives, cheese, and crackers. They belong on every charcuterie board.
- Salads. Dice them fine and mix into slaws or green salads for a probiotic punch.
- Soup garnish. Drop a few sticks into a bowl of soup or pho right before eating. The crunch and tang play off the hot broth perfectly.
If you're enjoying vegetable fermentation, try your hand at homemade sauerkraut next. It uses a different technique (dry salting instead of brine) and will round out your skills. Between carrots, pickles, and sauerkraut, you'll have the fundamentals down and a fridge full of fermented food. Check out our full recommended tools page if you want to gear up.
🧊 Storage
Fermented carrots keep for months in the fridge. The cold slows fermentation to a crawl, so the flavor stays relatively stable. They may get slightly more sour over time, but the crunch holds. And don't dump the brine when the carrots are gone — it's packed with probiotics and makes a great addition to salad dressings, marinades, or just sipped straight as a gut-health tonic.