Before You Start
This guide assumes you already have an active sourdough starter that reliably doubles within 4–6 hours of feeding. If you don't have one yet, head over to our sourdough starter guide and come back when your starter is passing the float test.
Sourdough bread is not hard, but it does take time. Most of that time is hands-off — you're just waiting for fermentation to do its thing. The actual work is about 30 minutes spread across the day. Once you've done it a couple of times, it becomes second nature.
💡 Why a Dutch oven?
Professional bakers use steam-injected ovens to get that crackly, blistered crust. A Dutch oven traps the steam released by the dough during the first part of the bake, mimicking that effect. If you don't have one, you can use an inverted stock pot or a baking sheet with a roasting pan of water underneath, but a Dutch oven gives the most reliable results.
The Process
Step 1: Autolyse
Mix flour and water. In a large bowl, combine the 500g bread flour and 325g of the water (hold back 50g for later). Mix until there's no dry flour left — it'll look shaggy and rough, and that's exactly right. Cover and let it sit for 30–60 minutes.
This resting step is called autolyse. The flour absorbs the water and the gluten starts developing on its own, which means less kneading later and a more extensible dough. Don't skip it.
Step 2: Add Starter and Salt
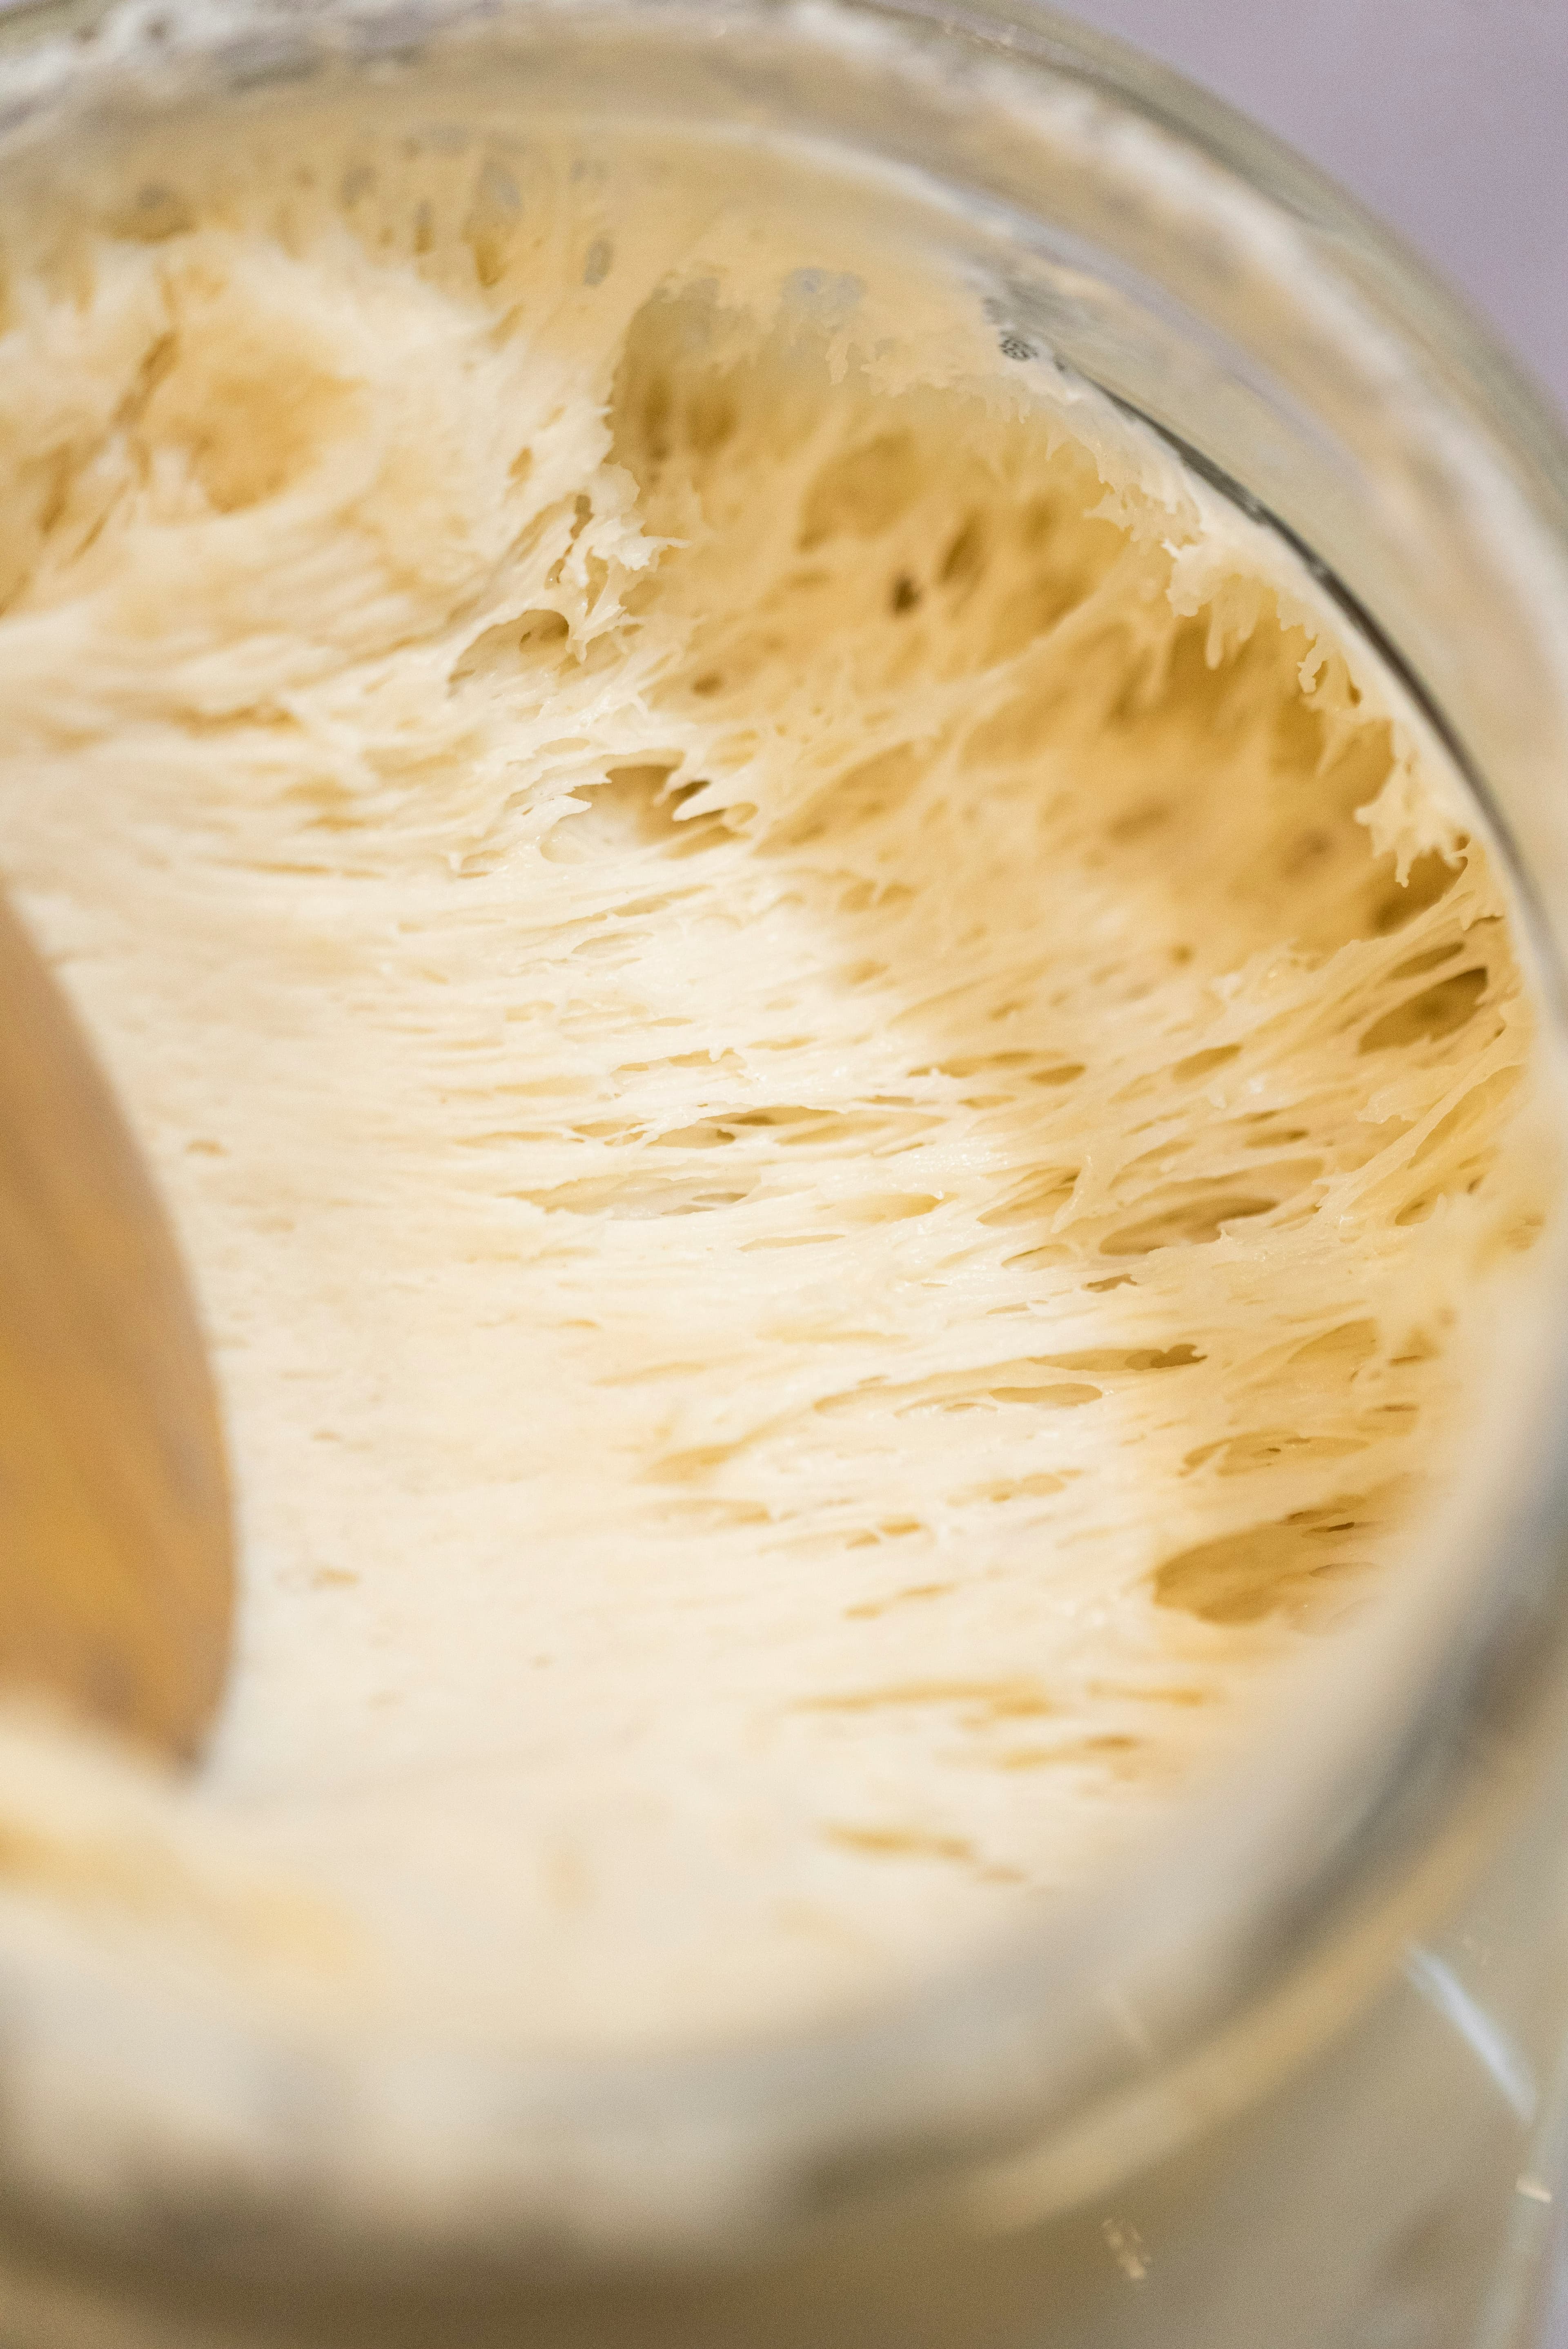
Incorporate the starter. After the autolyse, spread the 100g starter over the top of the dough. Pour the remaining 50g water over it, then sprinkle on the 10g salt. Squeeze and fold the dough with your hands until everything is fully incorporated, about 2–3 minutes. The dough will feel like it's tearing apart at first — that's normal. Keep going until it comes back together and feels cohesive.
Step 3: Stretch and Fold (Bulk Fermentation Begins)
Build strength with stretch and folds. Over the next 2 hours, perform a set of stretch and folds every 30 minutes (so 4 sets total). For each set: wet your hand, grab one side of the dough, stretch it up as far as it will go without tearing, and fold it over to the opposite side. Rotate the bowl 90 degrees and repeat. Do this 4 times to complete one set (north, south, east, west).
You'll notice the dough getting smoother and more elastic with each set. By the last set, it should feel pillowy and hold its shape better when you stop touching it.
Step 4: Bulk Fermentation
Let it rise. After the last stretch and fold, cover the bowl and leave the dough at room temperature (ideally 75–80°F / 24–27°C) for another 2–4 hours. Total bulk fermentation time (including the stretch and fold period) is typically 4–6 hours depending on your kitchen temperature and starter activity.
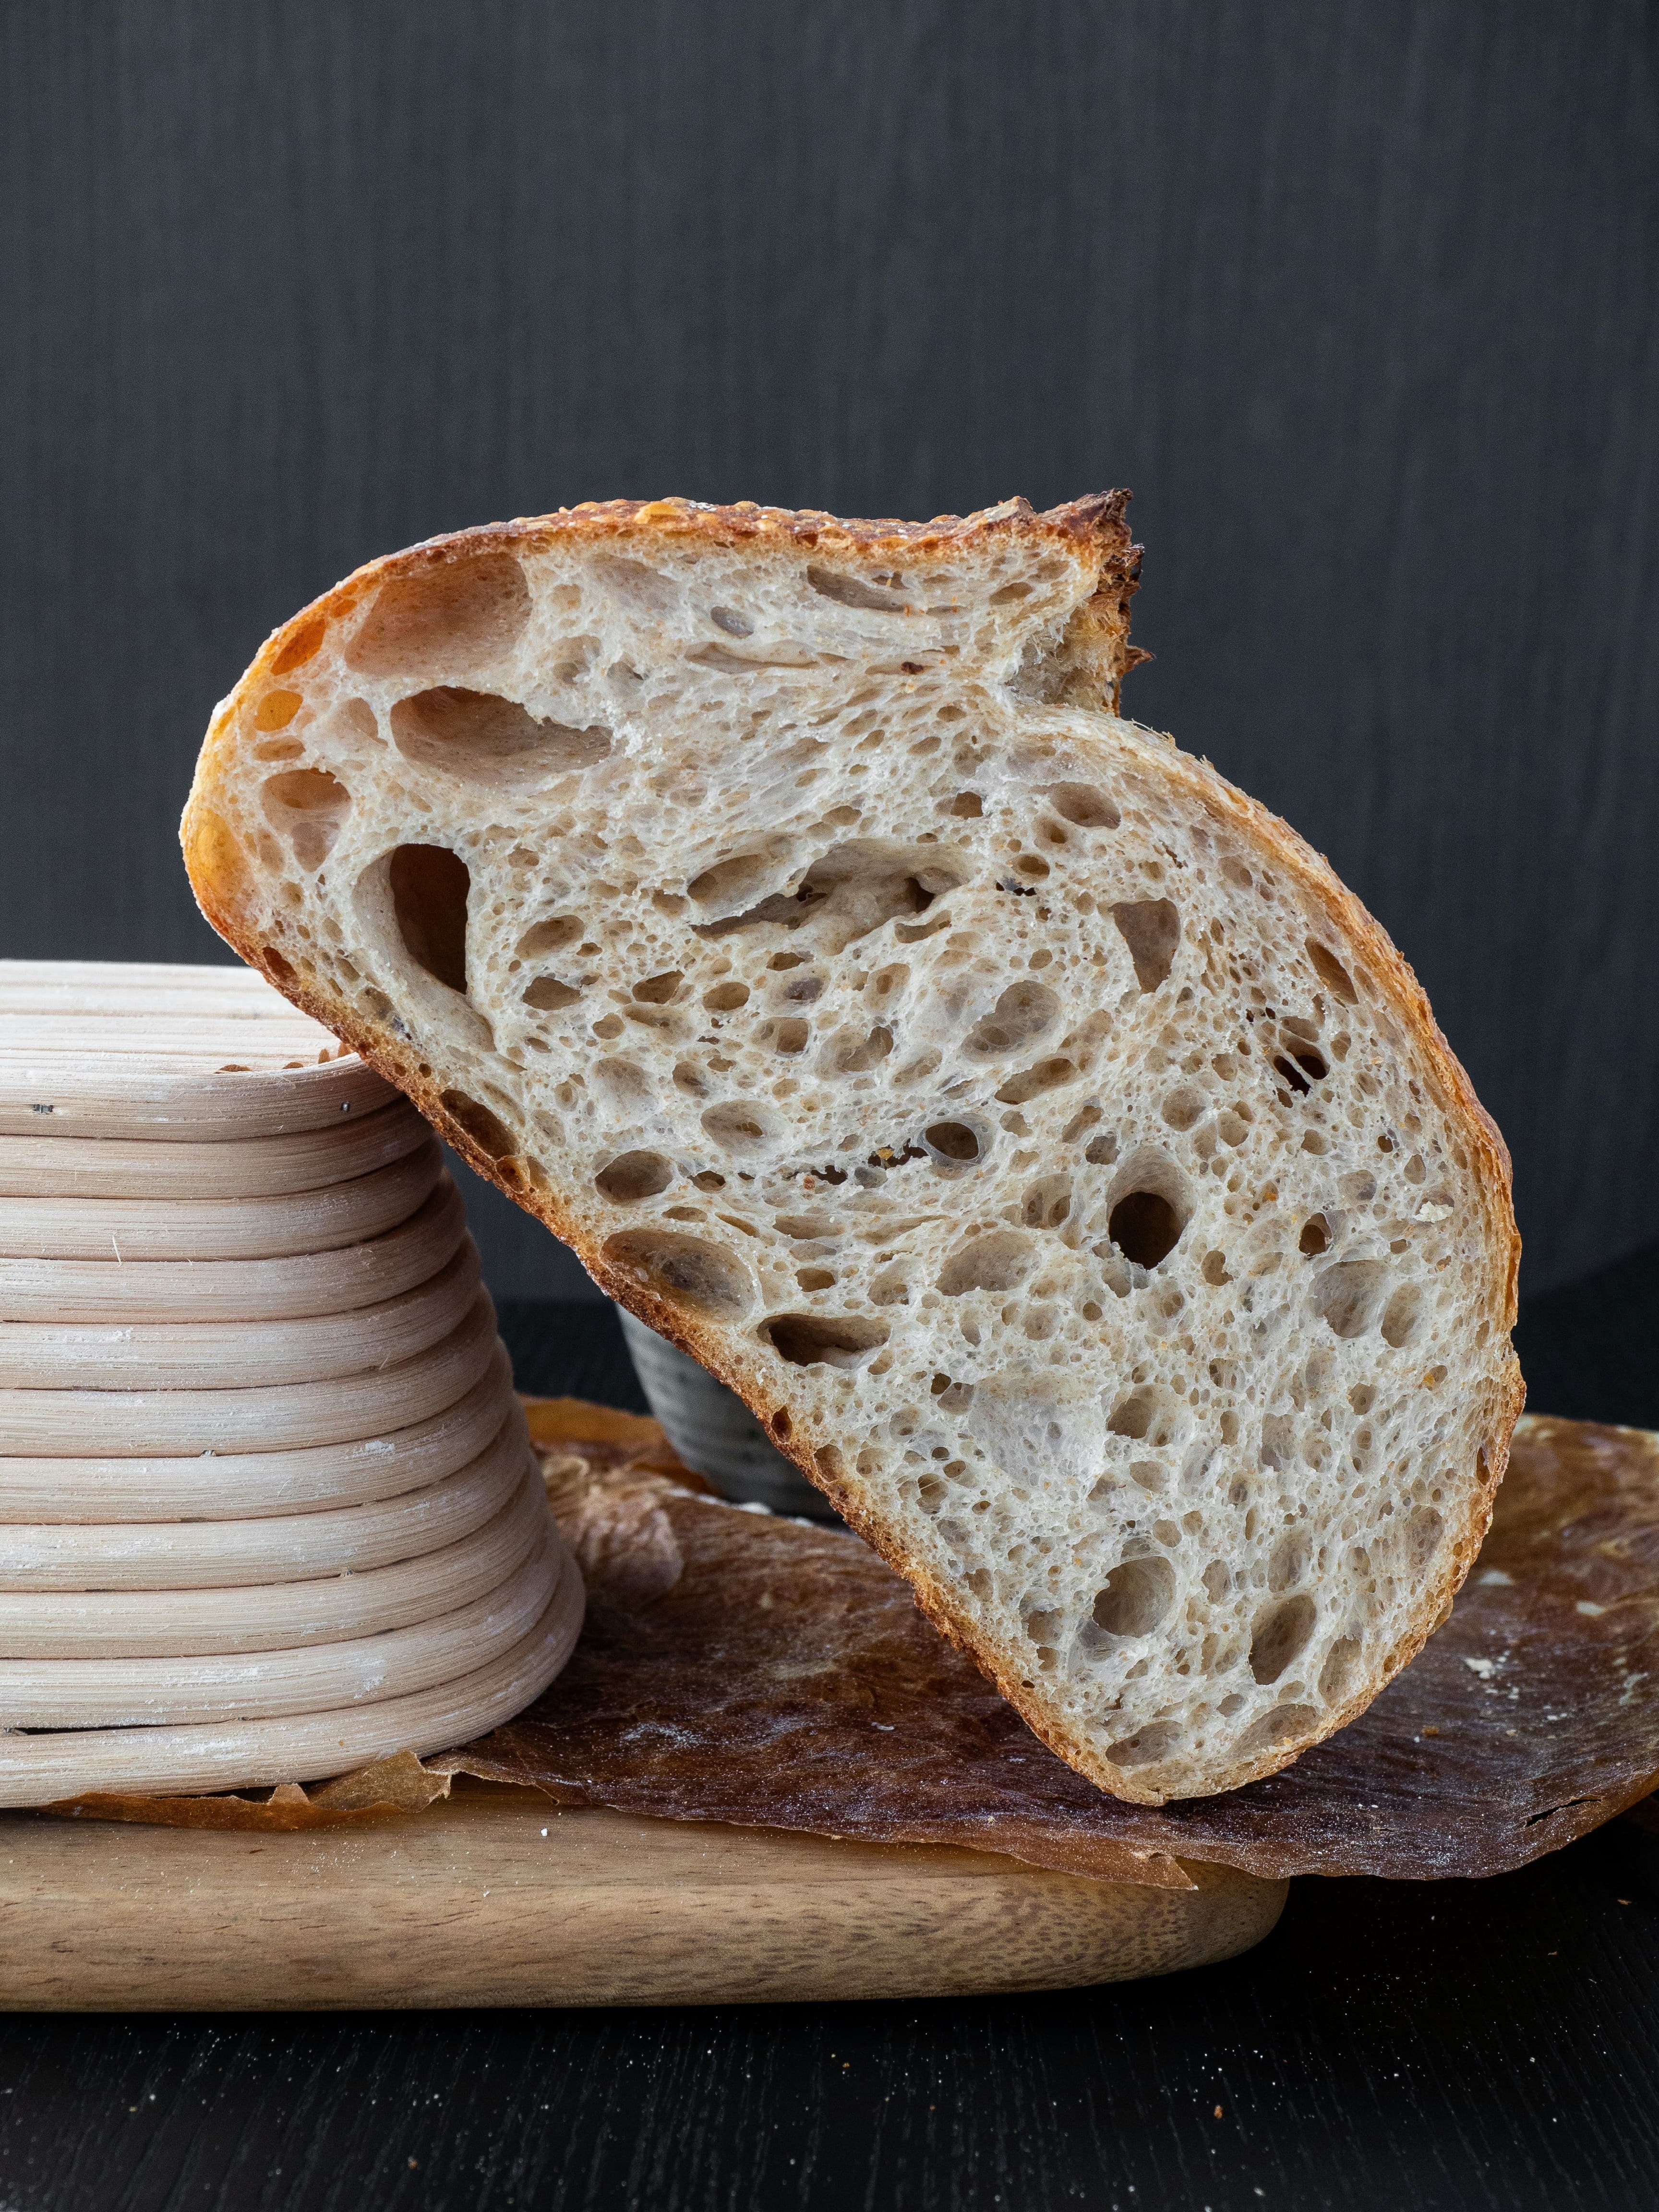
You're looking for the dough to increase in volume by about 50–75% (not doubled — that's overproofed for sourdough). It should be jiggly, dome-shaped, and you should see some bubbles on the surface and sides.
⚠️ Temperature is everything
Bulk fermentation times vary a lot based on temperature. At 78°F, it might take 4 hours. At 68°F, it could be 6–8 hours. Don't go by time alone — look at the dough. If it's jiggly, domed, increased by 50–75%, and has visible bubbles, it's ready regardless of how many hours it's been.
Step 5: Pre-Shape
Gently shape a round. Lightly flour your work surface and turn the dough out. Using your bench scraper, pull the dough toward you in a circular motion to create surface tension, tucking the edges underneath as you go. You're forming a loose round (called a “boule”). Don't worry about it being perfect. Let it rest uncovered for 20–30 minutes (bench rest).
Step 6: Final Shape
Create tension. Lightly flour the top of the dough and flip it over (so the floured side is down). Pull the bottom edge up to the center, then pull the left side over, then the right, then fold the top down. Flip the whole thing over so the seam is on the bottom. Using your bench scraper and your hands, drag the dough gently toward you on the unfloured surface to tighten the outer skin. You should see the surface become smooth and taut.
Step 7: Cold Retard (Overnight Proof)
Into the fridge. Place the shaped dough seam-side up into your floured banneton (or a bowl lined with a well-floured towel). Cover with plastic wrap or a shower cap and put it straight into the fridge for 12–16 hours (overnight).
The cold retard does two things: it slows fermentation so you can bake on your schedule, and it develops a deeper, more complex flavor. Cold dough is also much easier to score. You can go as long as 24 hours in the fridge if needed.
Step 8: Bake
Preheat your oven to 500°F (260°C) with the Dutch oven inside, lid on. Let it preheat for at least 45–60 minutes so the Dutch oven is screaming hot.
While it heats, take your dough straight from the fridge (do not let it warm up), turn it out onto a piece of parchment paper, and score the top with a razor blade or bread lame. A single slash about 1/2 inch deep at a 45-degree angle is the classic. This controls where the bread opens up as it bakes.
Carefully lower the dough (on the parchment) into the hot Dutch oven. Put the lid on and bake at 500°F for 20 minutes. Then remove the lid, reduce the temperature to 450°F (230°C), and bake for another 20–25 minutes until the crust is deep golden brown. Don't be afraid of color — a dark crust means more flavor.
Cool completely. This is the hardest part. Transfer the loaf to a wire rack and let it cool for at least 1 hour, ideally 2. The inside is still cooking and setting its structure as it cools. Cutting into it too early will give you a gummy, underdone interior no matter how long you baked it. Listen for the crackle as it cools — that's the sound of a great crust.
Timing Schedules
One of the biggest questions beginners have is “when do I do each step?” Here are two schedules that work well:
Overnight Schedule (Most Common)
- 8:00 AM — Feed your starter
- 12:00 PM — Mix flour + water (autolyse)
- 1:00 PM — Add starter + salt
- 1:30–3:00 PM — Stretch and folds (every 30 min)
- 3:00–6:00 PM — Bulk fermentation (hands off)
- 6:00 PM — Pre-shape, bench rest, final shape
- 6:30 PM — Into the fridge overnight
- Next morning, 8:00 AM — Preheat oven
- 9:00 AM — Score and bake
- 10:00 AM — Cool, then slice into fresh bread
Daytime Schedule
- Evening before — Feed your starter before bed
- 7:00 AM — Mix flour + water (autolyse)
- 7:45 AM — Add starter + salt
- 8:00–9:30 AM — Stretch and folds
- 9:30 AM–12:30 PM — Bulk fermentation
- 12:30 PM — Pre-shape, bench rest, final shape
- 1:00 PM — Into the fridge
- 5:00 PM — Preheat oven (even 4 hours of cold retard works)
- 6:00 PM — Score and bake
- 7:00 PM — Fresh bread with dinner
💡 Flexibility is built in
The cold retard is your best friend for scheduling. Once the dough is in the fridge, you have a wide window (12–24 hours) to bake whenever it's convenient. Don't stress about hitting exact times — sourdough is forgiving if you're in the right ballpark.
How to Know It's Proofed Enough
This is the number one thing beginners struggle with. Underproofed bread is dense and tight. Overproofed bread is flat and doesn't hold its shape. Here's how to tell when it's just right:
- The poke test: Gently poke the dough with a floured finger. If it springs back immediately and completely, it's underproofed. If it springs back slowly and leaves a slight indent, it's ready. If it doesn't spring back at all, it's overproofed.
- Volume: The dough should have grown by about 50–75% from its original size during bulk fermentation. Not doubled — that's too much for sourdough.
- Jiggle test: Give the bowl a gentle shake. Properly fermented dough jiggles like jello. Underproofed dough barely moves.
- Bubbles: You should see bubbles on the surface and around the edges of the dough. The texture should look slightly aerated, not dense and smooth.
- The windowpane test: Pinch off a small piece and gently stretch it between your fingers. If you can stretch it thin enough to see light through it without it tearing, the gluten is well developed.
Troubleshooting
Dense crumb with no air pockets
This is almost always underproofing. Your bulk fermentation didn't go long enough, or your kitchen was too cold, or your starter wasn't active enough when you mixed it. Next time: make sure your starter is at peak activity (bubbly, domed, passes the float test), let the bulk fermentation go longer, and use warmer water. A warmer dough ferments faster.
Flat loaf that spreads out instead of rising up
Two possible causes. First: overproofing. The dough fermented too long and the gluten structure weakened, so it can't hold its shape. Try a shorter bulk fermentation or a cooler environment. Second: weak shaping. If you didn't build enough surface tension during shaping, the dough will spread. Practice the shaping technique and make sure the outer “skin” of the dough feels taut when you put it in the banneton.
Gummy or wet interior
You either didn't bake it long enough or you cut into it too soon. Sourdough needs a full bake — don't pull it early even if the crust looks dark. The internal temperature should reach at least 205–210°F (96–99°C). And seriously, wait at least an hour before cutting. The starches are still setting during that cooling period. Cutting early lets all the steam escape and leaves you with a gummy crumb.
Not enough oven rise (no “ear” or bloom)
Oven spring — that dramatic puffing up in the first few minutes of baking — depends on a few things. Make sure your Dutch oven is ripping hot (preheat for a full hour). Score confidently and deep enough (about 1/2 inch). Bake the dough straight from the fridge — cold dough scores better and has better oven spring. And again, don't overproof — there needs to be enough gas-producing potential left for the dough to expand in the oven.
Crust is too thick or tough
You may have baked it uncovered for too long. The lid-on phase (first 20 minutes) is what gives you the thin, crackly crust. Make sure you're using parchment paper so the bottom doesn't over-bake, and check that your oven temperature is accurate — an oven thermometer is a worthwhile investment since most ovens are off by 25°F or more.
🍞 Storage
Store your sourdough cut-side down on a cutting board, or in a bread bag or wrapped in a kitchen towel. Don't put it in a sealed plastic bag — the moisture will soften the crust and make it chewy. A good sourdough loaf stays fresh for 3–4 days at room temperature. After that, slice and freeze it. Frozen sourdough toasts beautifully straight from the freezer.
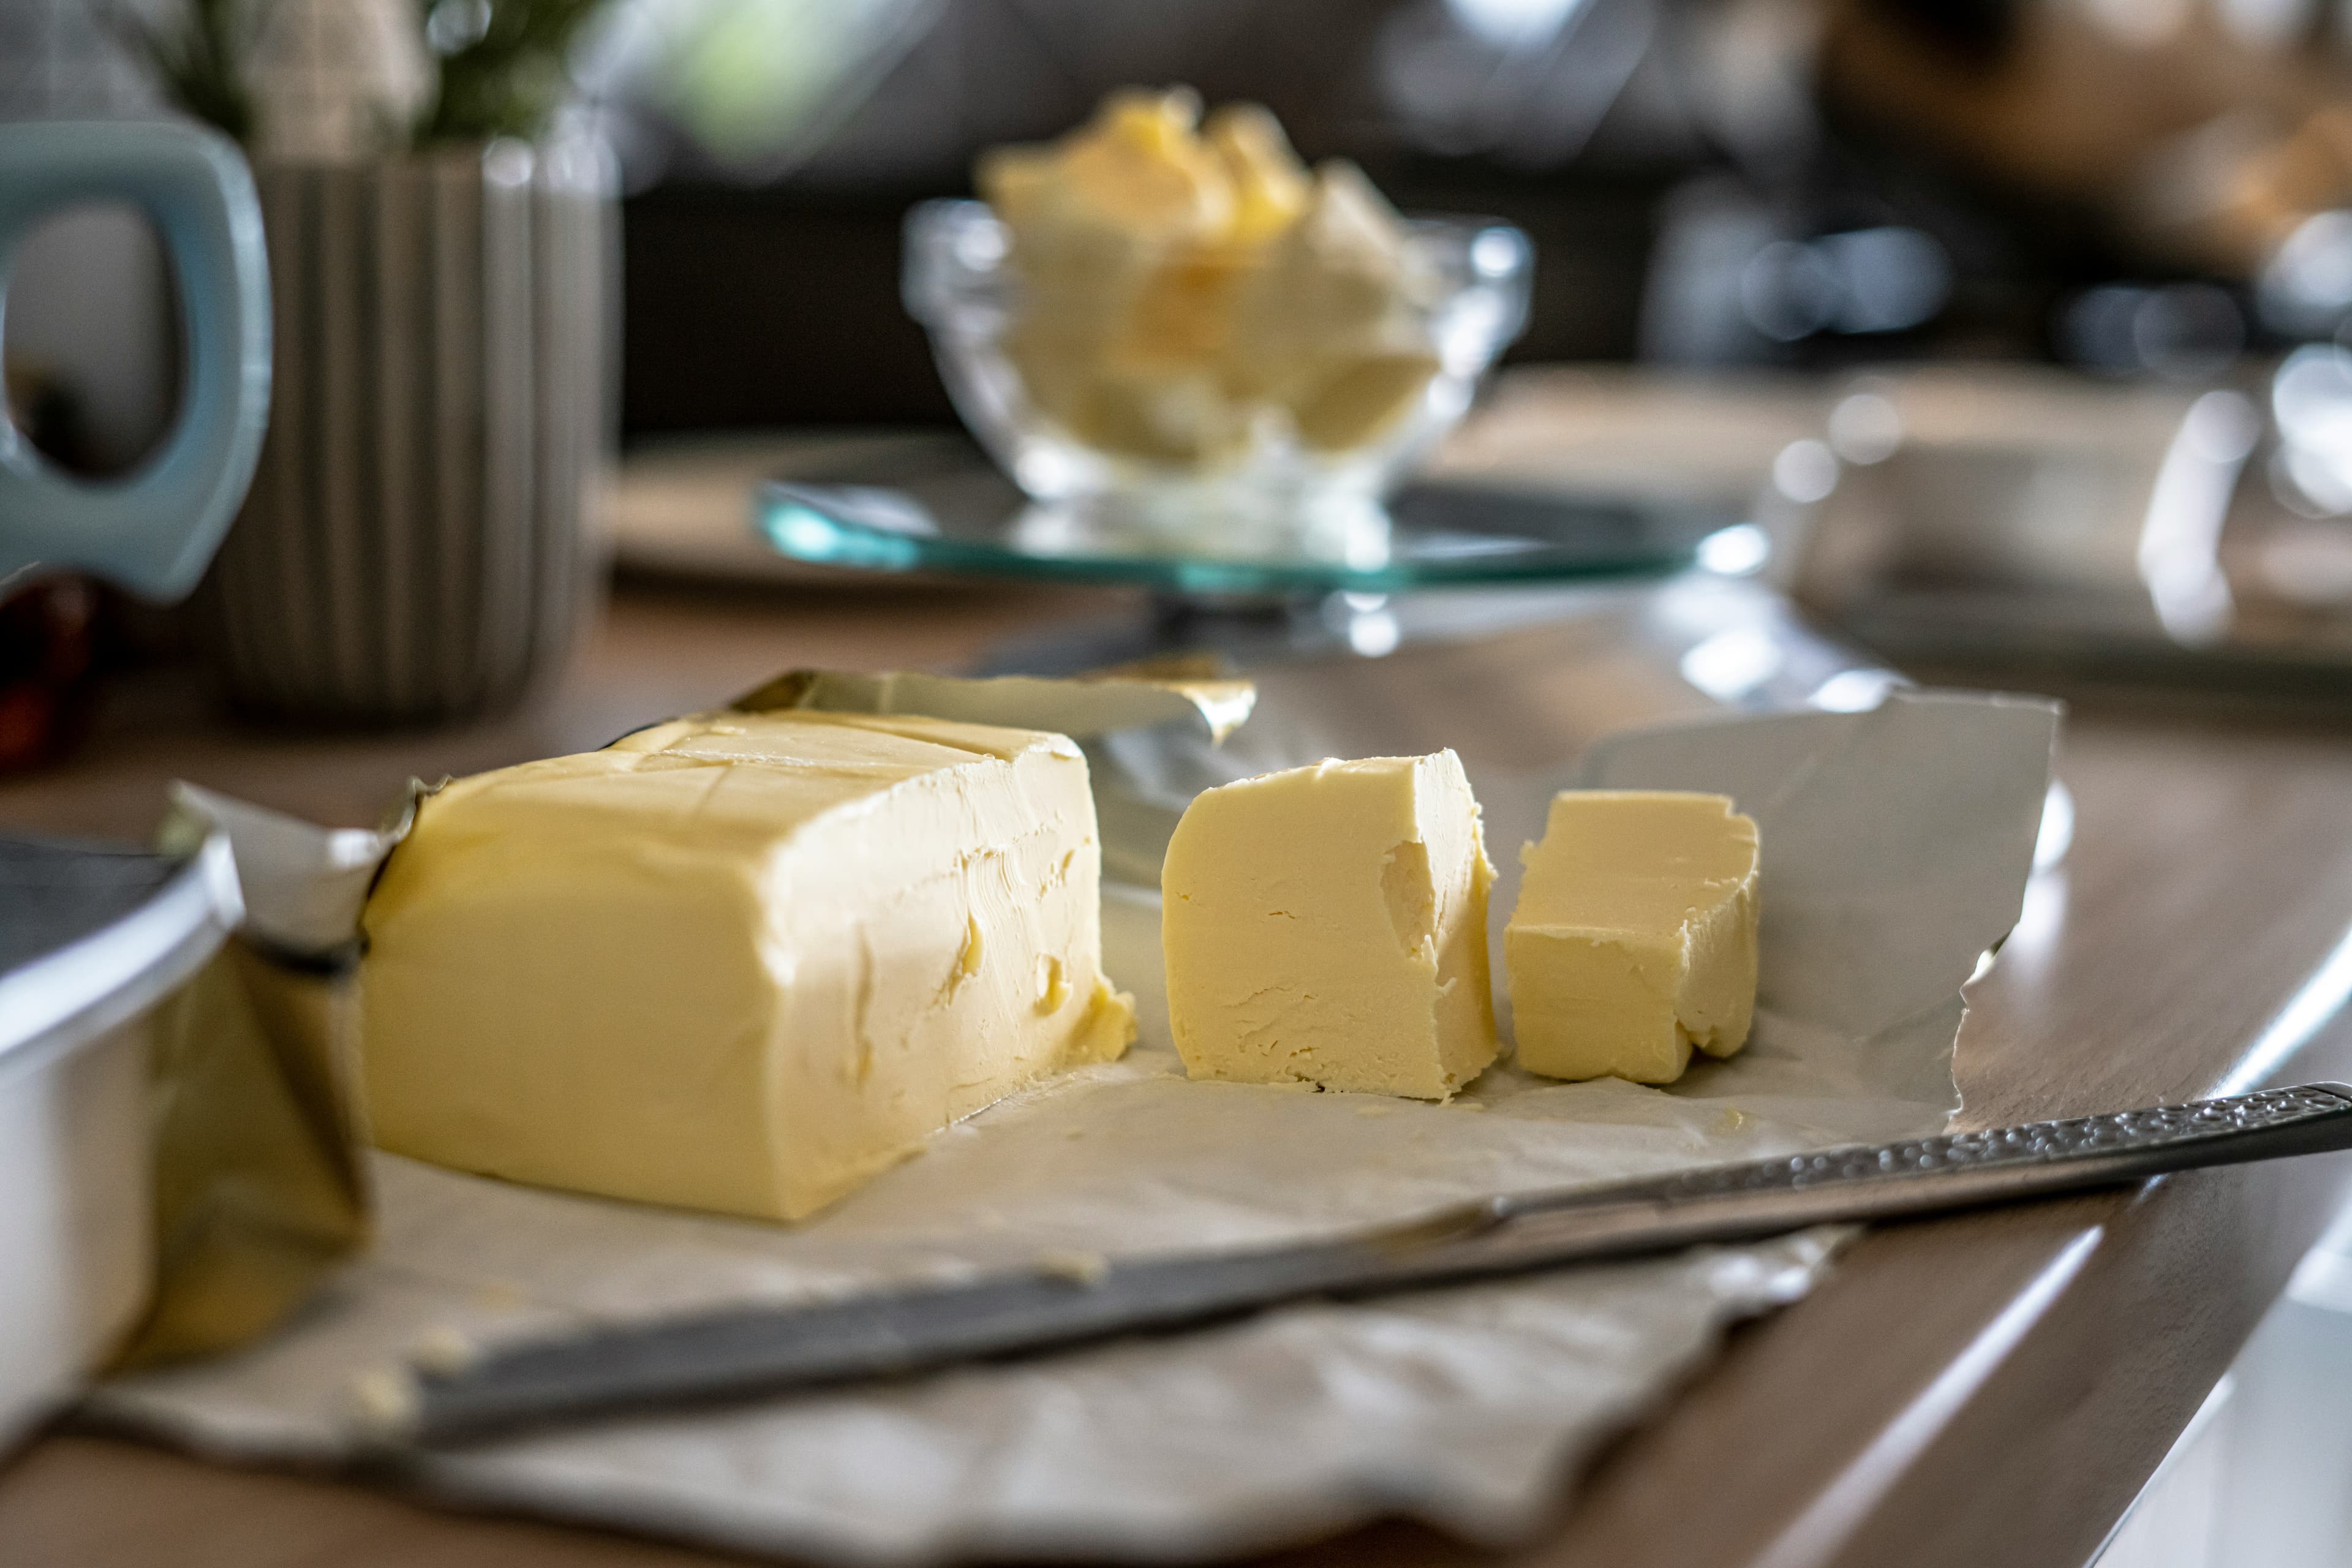
Don't throw away the starter you discard before each feeding — put it to work in pancakes, crackers, pizza dough, and more with our sourdough discard recipes. And nothing goes better on fresh sourdough than homemade cultured butter. Need to stock up on gear? Check out our recommended sourdough baking tools for Dutch ovens, bannetons, bench scrapers, and everything else you need to bake great bread at home.