Green bean season peaks in late June and July, and lacto-fermented dilly beans are one of the best things you can do with a fresh harvest. They stay remarkably crunchy through fermentation — often crunchier than vinegar-pickled versions — and develop a complex, garlicky tang that makes them worth eating straight from the jar.
The method is lacto-fermentation: salt brine, beneficial bacteria, time. No canning, no vinegar, no special equipment beyond a jar and something to keep the beans submerged.
Why Ferment Green Beans?
Vinegar pickled dilly beans are a summer staple. But lacto-fermented green beans offer something different: a rounded, lactic tang rather than sharp acidity, live cultures that support gut health, and a depth of flavor that develops over days rather than being poured in from a bottle.
They also keep for months in the refrigerator. A jar fermented in July is still excellent in October. If you're dealing with a garden surplus, fermentation is one of the most reliable ways to handle it.
Choosing Your Green Beans
Fresh, firm beans are essential. Soft or limp beans won't survive fermentation with their texture intact — start with the crispest beans you can find. Farmers market beans at peak season are ideal. Grocery store beans work too if they're genuinely fresh.
Standard green beans work perfectly. French haricots verts ferment faster and stay more delicate. Yellow wax beans add color and a slightly milder flavor. You can combine varieties in the same jar.
The Aromatics Make the Difference
Dilly beans get their name from dill, and the aromatic combination is what makes them memorable. The classic combination:
- Dill. Dill seed is more concentrated than fresh dill and holds up better through fermentation. Fresh dill works but can become soft and lose its brightness. Either is fine.
- Garlic. Essential. Use 3–4 cloves per quart jar. The garlic mellows through fermentation and becomes deeply savory.
- Red pepper flakes. Optional but recommended. Even a small pinch adds a low background heat that balances the tang.
Other additions that work well: whole peppercorns, mustard seed, a bay leaf, or a small piece of horseradish root (which also helps maintain crunchiness via its tannin content).
Equipment
A wide-mouth quart mason jar is the standard vessel. The wide mouth makes it easy to pack beans upright. Pint jars work for smaller batches.
A fermentation weight is genuinely useful here. Green beans float more persistently than most vegetables, and any bean above the brine line is at risk of developing kahm yeast or going soft. A glass weight keeps everything in place without effort. If you don't have one, a zip-lock bag filled with brine works as an improvised solution.
For more jar options, see the fermented pickles guide, which covers vessel options in detail.
The Recipe
1. Prepare the Beans
Wash the beans well and trim the stem ends. Cut or snap them to a length that fits your jar with at least an inch of headspace above the beans. Packing them upright keeps them organized and lets you fit more in.
2. Make the Brine
Dissolve 1 tablespoon of non-iodized salt in 2 cups of filtered water. For a larger batch, use 2 tablespoons per quart of water. The key is staying in the 2–3% brine range — too light and unwanted microbes can take hold, too heavy and fermentation stalls.
3. Layer the Jar
Add aromatics first: garlic, dill, and pepper flakes go in the bottom. Pack the beans in tightly, standing upright if they fit. Snug packing reduces floating. Pour brine over everything until the beans are submerged, leaving about an inch of headspace.
4. Weigh Down and Cover
Add a fermentation weight to hold the beans under the brine. Cover loosely — CO₂ needs to escape during active fermentation. A cloth secured with a rubber band, or a lid rested on top without sealing, both work.
5. Ferment 3–5 Days
Set the jar somewhere at room temperature, out of direct sunlight. Check it daily — press the beans down if any float above the brine. You'll see bubbles forming within 24–48 hours. Taste starting at day 3. At this point the beans should be noticeably tangy and still very crunchy. Keep going to day 5 or beyond for a more sour, complex result.
6. Move to the Fridge
When the flavor is where you want it, seal the jar and refrigerate. The beans will continue to slowly ferment in the cold, but the pace slows dramatically. They keep for 2–3 months and often improve over the first few weeks in the fridge.
What to Do With Fermented Dilly Beans
- Straight snacking. A cold fermented green bean eaten straight from the jar is a genuinely satisfying snack — crunchy, sour, garlicky.
- Bloody Marys and cocktails. The classic dilly bean use. The tangy brine also makes an excellent bloody mary mix base.
- Charcuterie boards. Fermented green beans are a natural alongside cured meats, aged cheese, and pickles.
- Chopped into salads. Chop them and add to grain salads, potato salad, or pasta salad in place of (or alongside) regular pickles.
- Alongside grilled meats. The acidity cuts through fatty proteins the same way a good pickle does.
Keeping the Crunch
Crunchiness is the defining quality of a good fermented green bean. A few things help:
- Start with the freshest beans possible.
- Keep the ferment on the shorter end (3–4 days) if you prioritize crunch over depth of flavor.
- Add a tannin source — a grape leaf, oak leaf, or tablespoon of loose black tea in the jar. Tannins inhibit the enzyme that breaks down pectin and softens vegetables.
- Keep the salt concentration at 2% or slightly above.
Troubleshooting
Beans Floated and Got Soft or Moldy on Top
This is the main risk with green beans. Any bean above the brine line is exposed to air. Use a weight, check the jar daily, and press floating beans back down immediately. See the full vegetable fermentation troubleshooting guide for more detail.
Brine Is Cloudy
Cloudy brine is a good sign — it means active lacto-fermentation. The cloudiness comes from Lactobacillus bacteria and is completely normal. Clear brine that stays clear is a more concerning sign than cloudiness.
White Film on the Surface
A thin white film is usually kahm yeast — a harmless surface yeast common in vegetable ferments. Skim it off and continue. Anything fuzzy or brightly colored (green, black, pink) is mold; discard and start fresh.
A Note on Timing
Green bean season runs roughly late June through August in most of the US. The best fermented dilly beans start with peak-season beans — the kind you get at a farmers market in July, freshly picked and snapping clean when you bend them. Making a batch now means jars of excellent fermented beans well into fall.
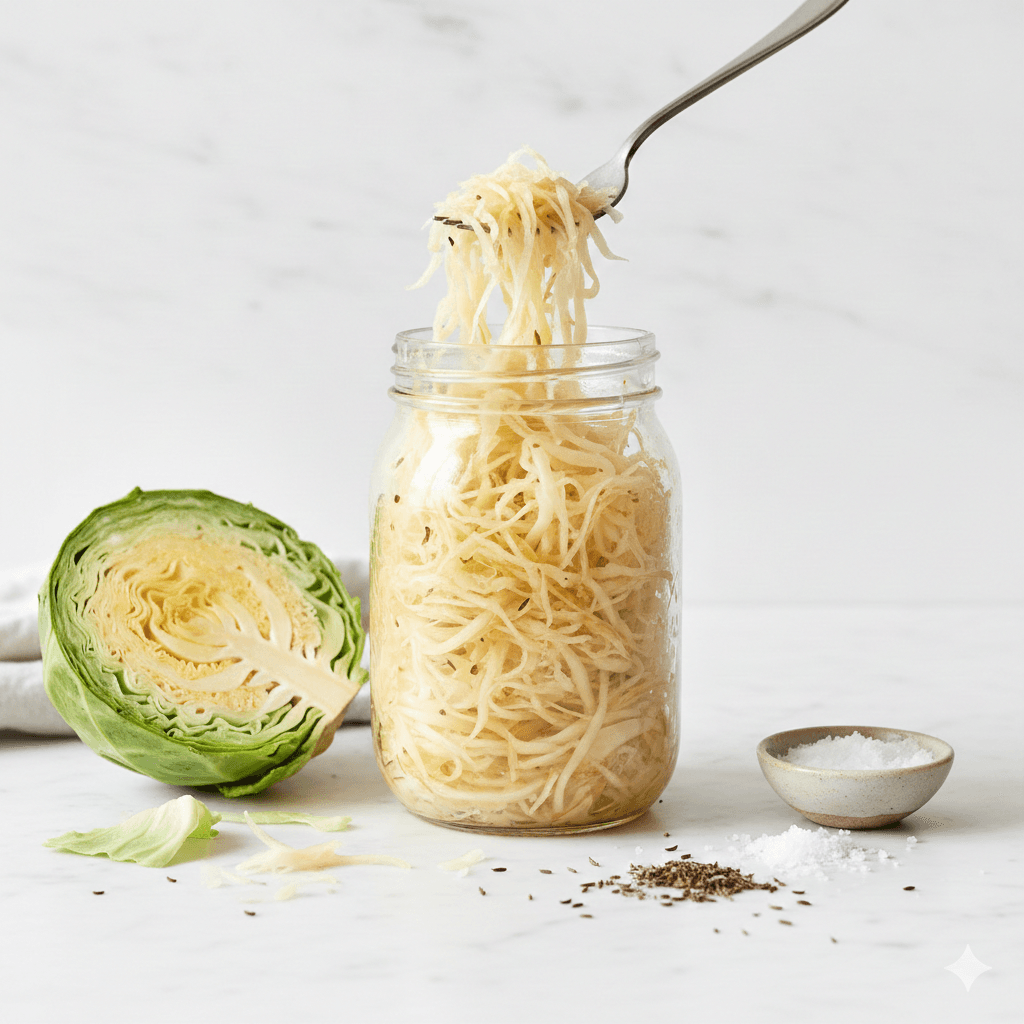
If you're new to vegetable fermentation, green beans are an ideal starting point — simpler than kimchi, faster than sauerkraut, and the results are immediately usable. Read through the intro to lacto-fermentation if you want to understand the process before you start.