Garlic scapes have the shortest season of almost any spring vegetable — three or four weeks, sometimes less. They show up at farmers markets in May and June, and then they're gone. Fermenting them solves this problem completely. A jar of lacto-fermented garlic scapes captures that bright, garlicky flavor and keeps it shelf-stable in your refrigerator for months.
The method is simple: salt brine, a jar, and time. No vinegar, no canning equipment. The result is crunchy, tangy, intensely garlicky — and alive with beneficial bacteria.
What You Need
- Garlic scapes — enough to fill a quart jar. Buy them fresh; the curlier and brighter green, the better.
- Non-iodized salt — kosher salt or pickling salt. Iodized table salt can inhibit fermentation.
- Filtered or unchlorinated water — chlorine can slow or prevent fermentation. Let tap water sit out overnight if needed.
- A quart-sized wide-mouth mason jar
- Something to keep the scapes submerged — a fermentation weight, a small zip-lock bag filled with brine, or a folded scape tucked across the top.
Brine Ratio
Use a 2% salt brine: 1 teaspoon of fine non-iodized salt per 1 cup of water (or 20g salt per 1 liter). This is on the lighter side for a vegetable ferment, which produces a brighter, less salty result. If you're fermenting in a warm kitchen (above 75°F), increase to 2.5% to slow things down.
Step-by-Step Instructions
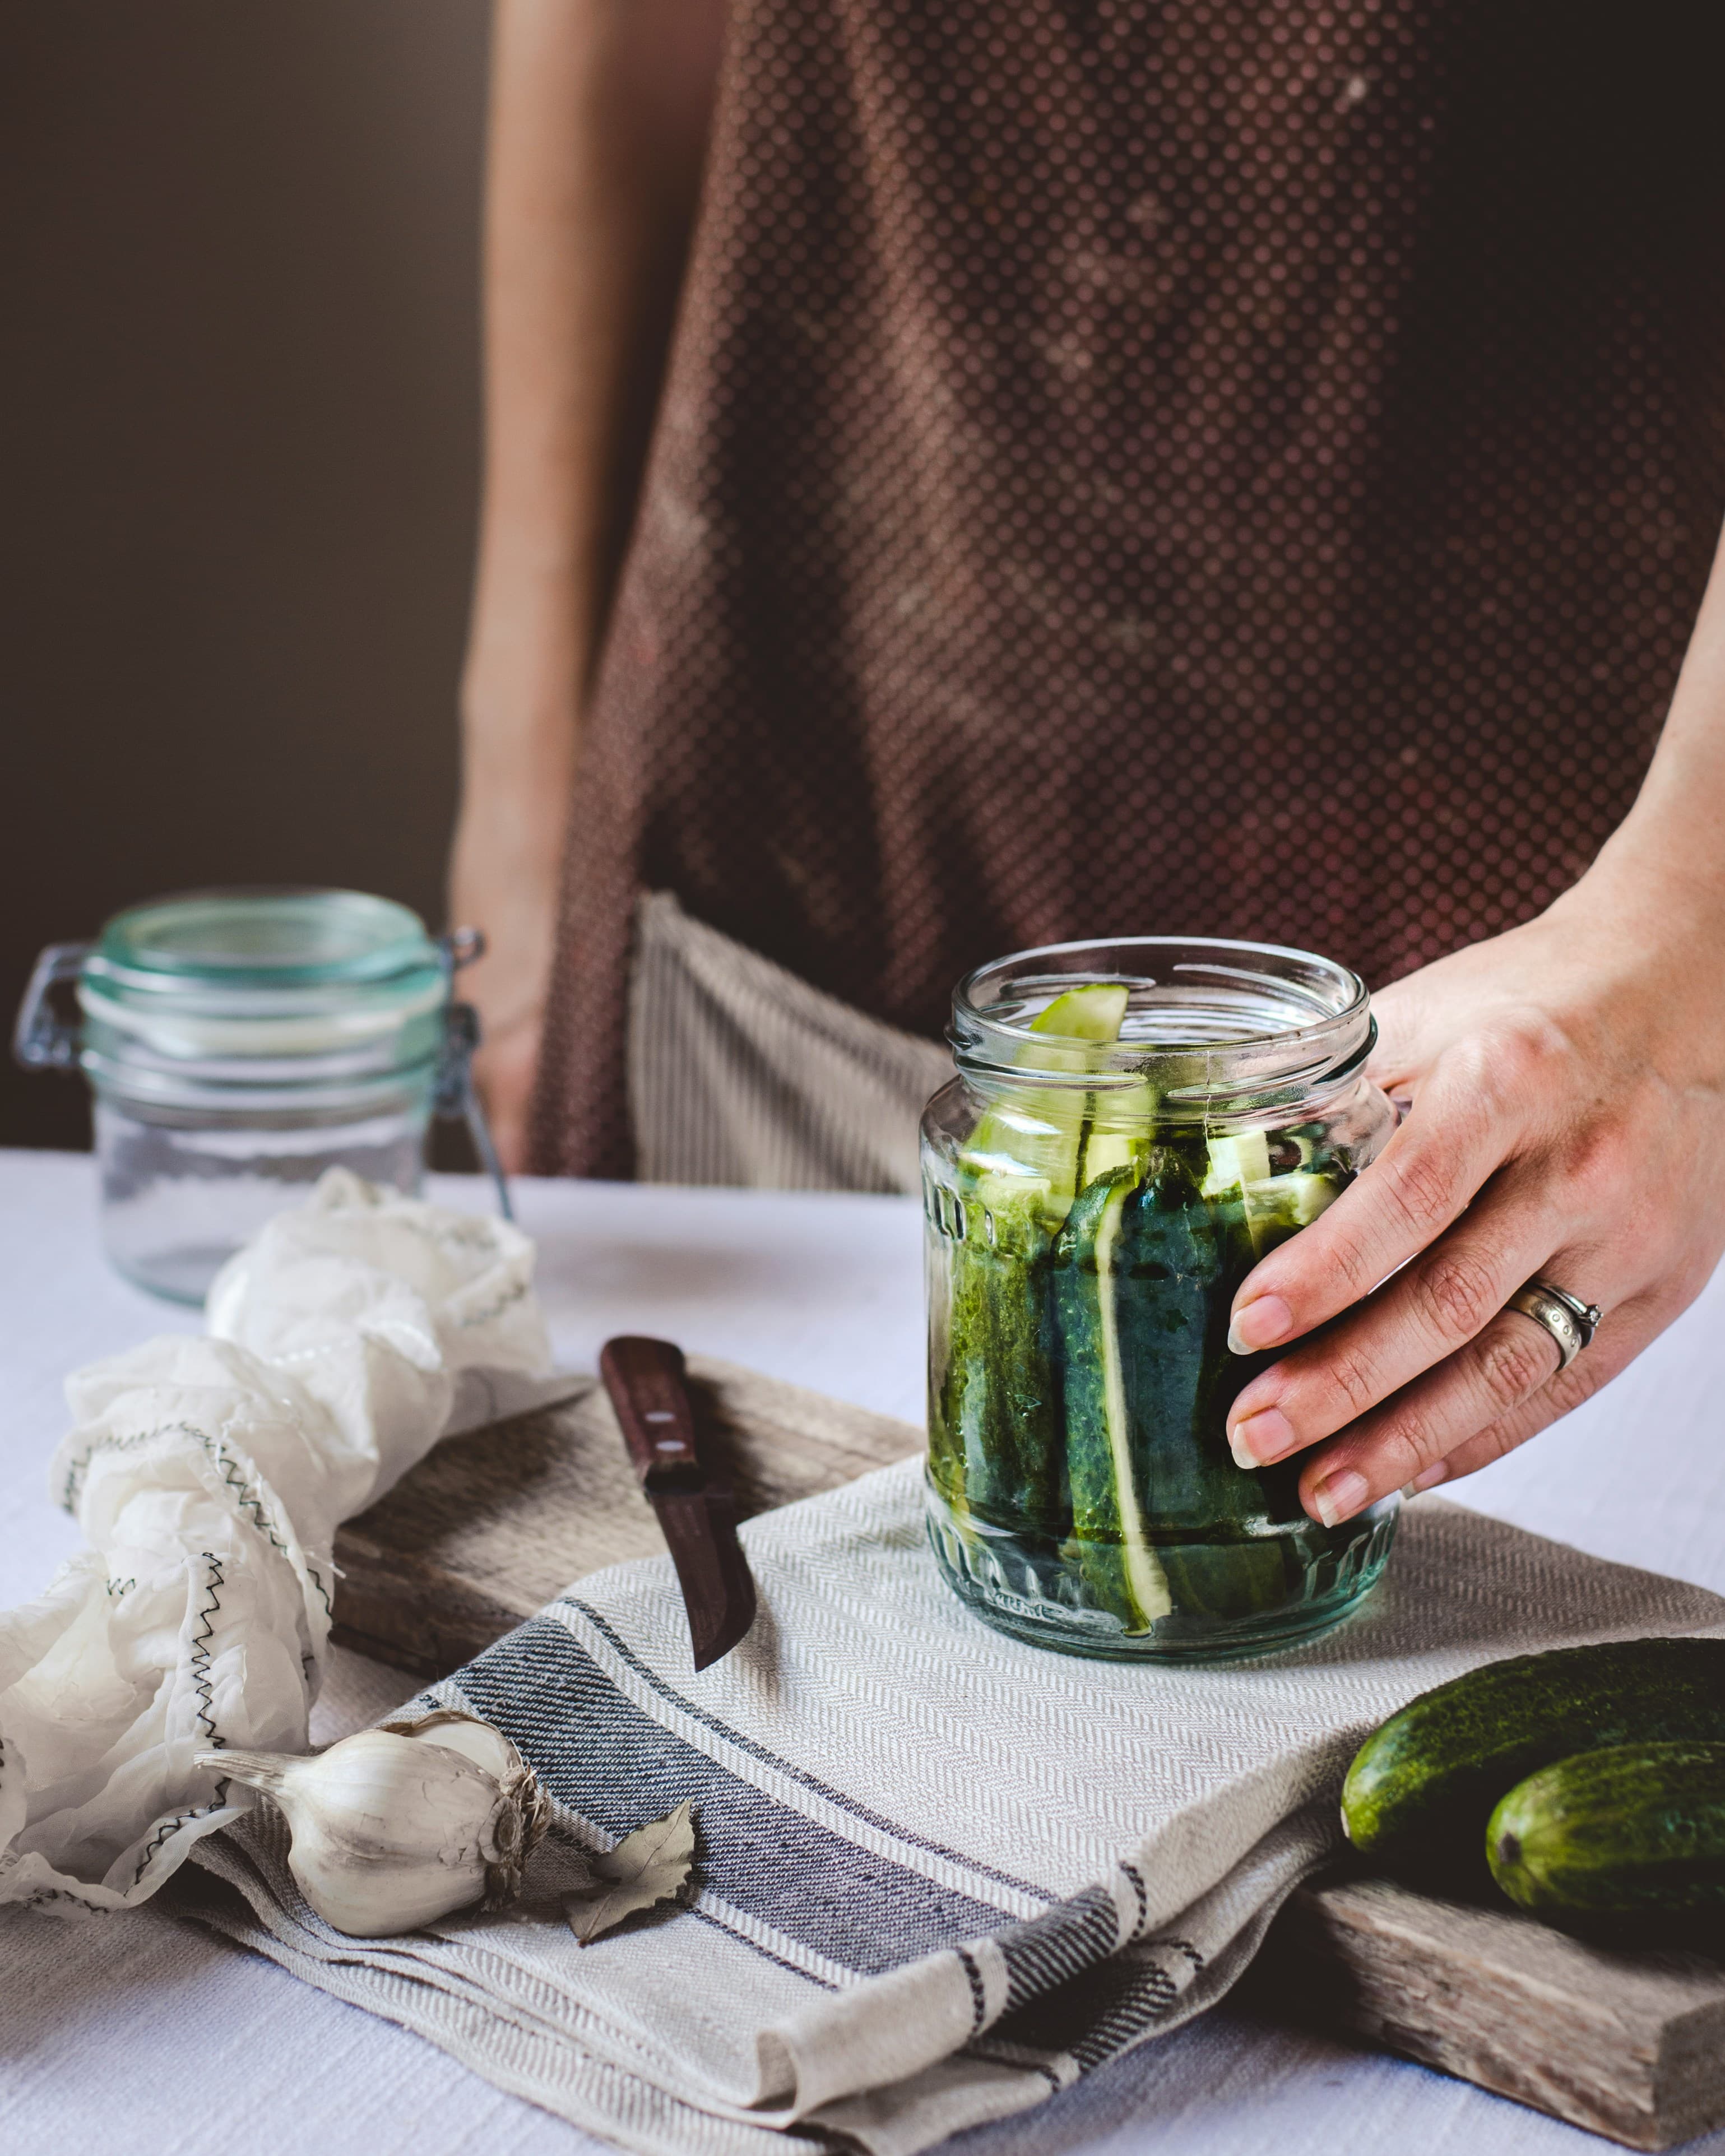
- Trim the scapes. Wash them well and cut off the flower bud tip (the small, pointed end). Leave the rest intact or cut into 3–4 inch pieces.
- Pack the jar. Fit the scapes tightly into your jar — vertically for whole scapes, horizontally for cut pieces. Pack them firm enough that they hold each other down.
- Add optional aromatics. A dried chili, a few black peppercorns, or a sprig of fresh dill all work well here. Keep it simple — garlic scapes have enough flavor on their own.
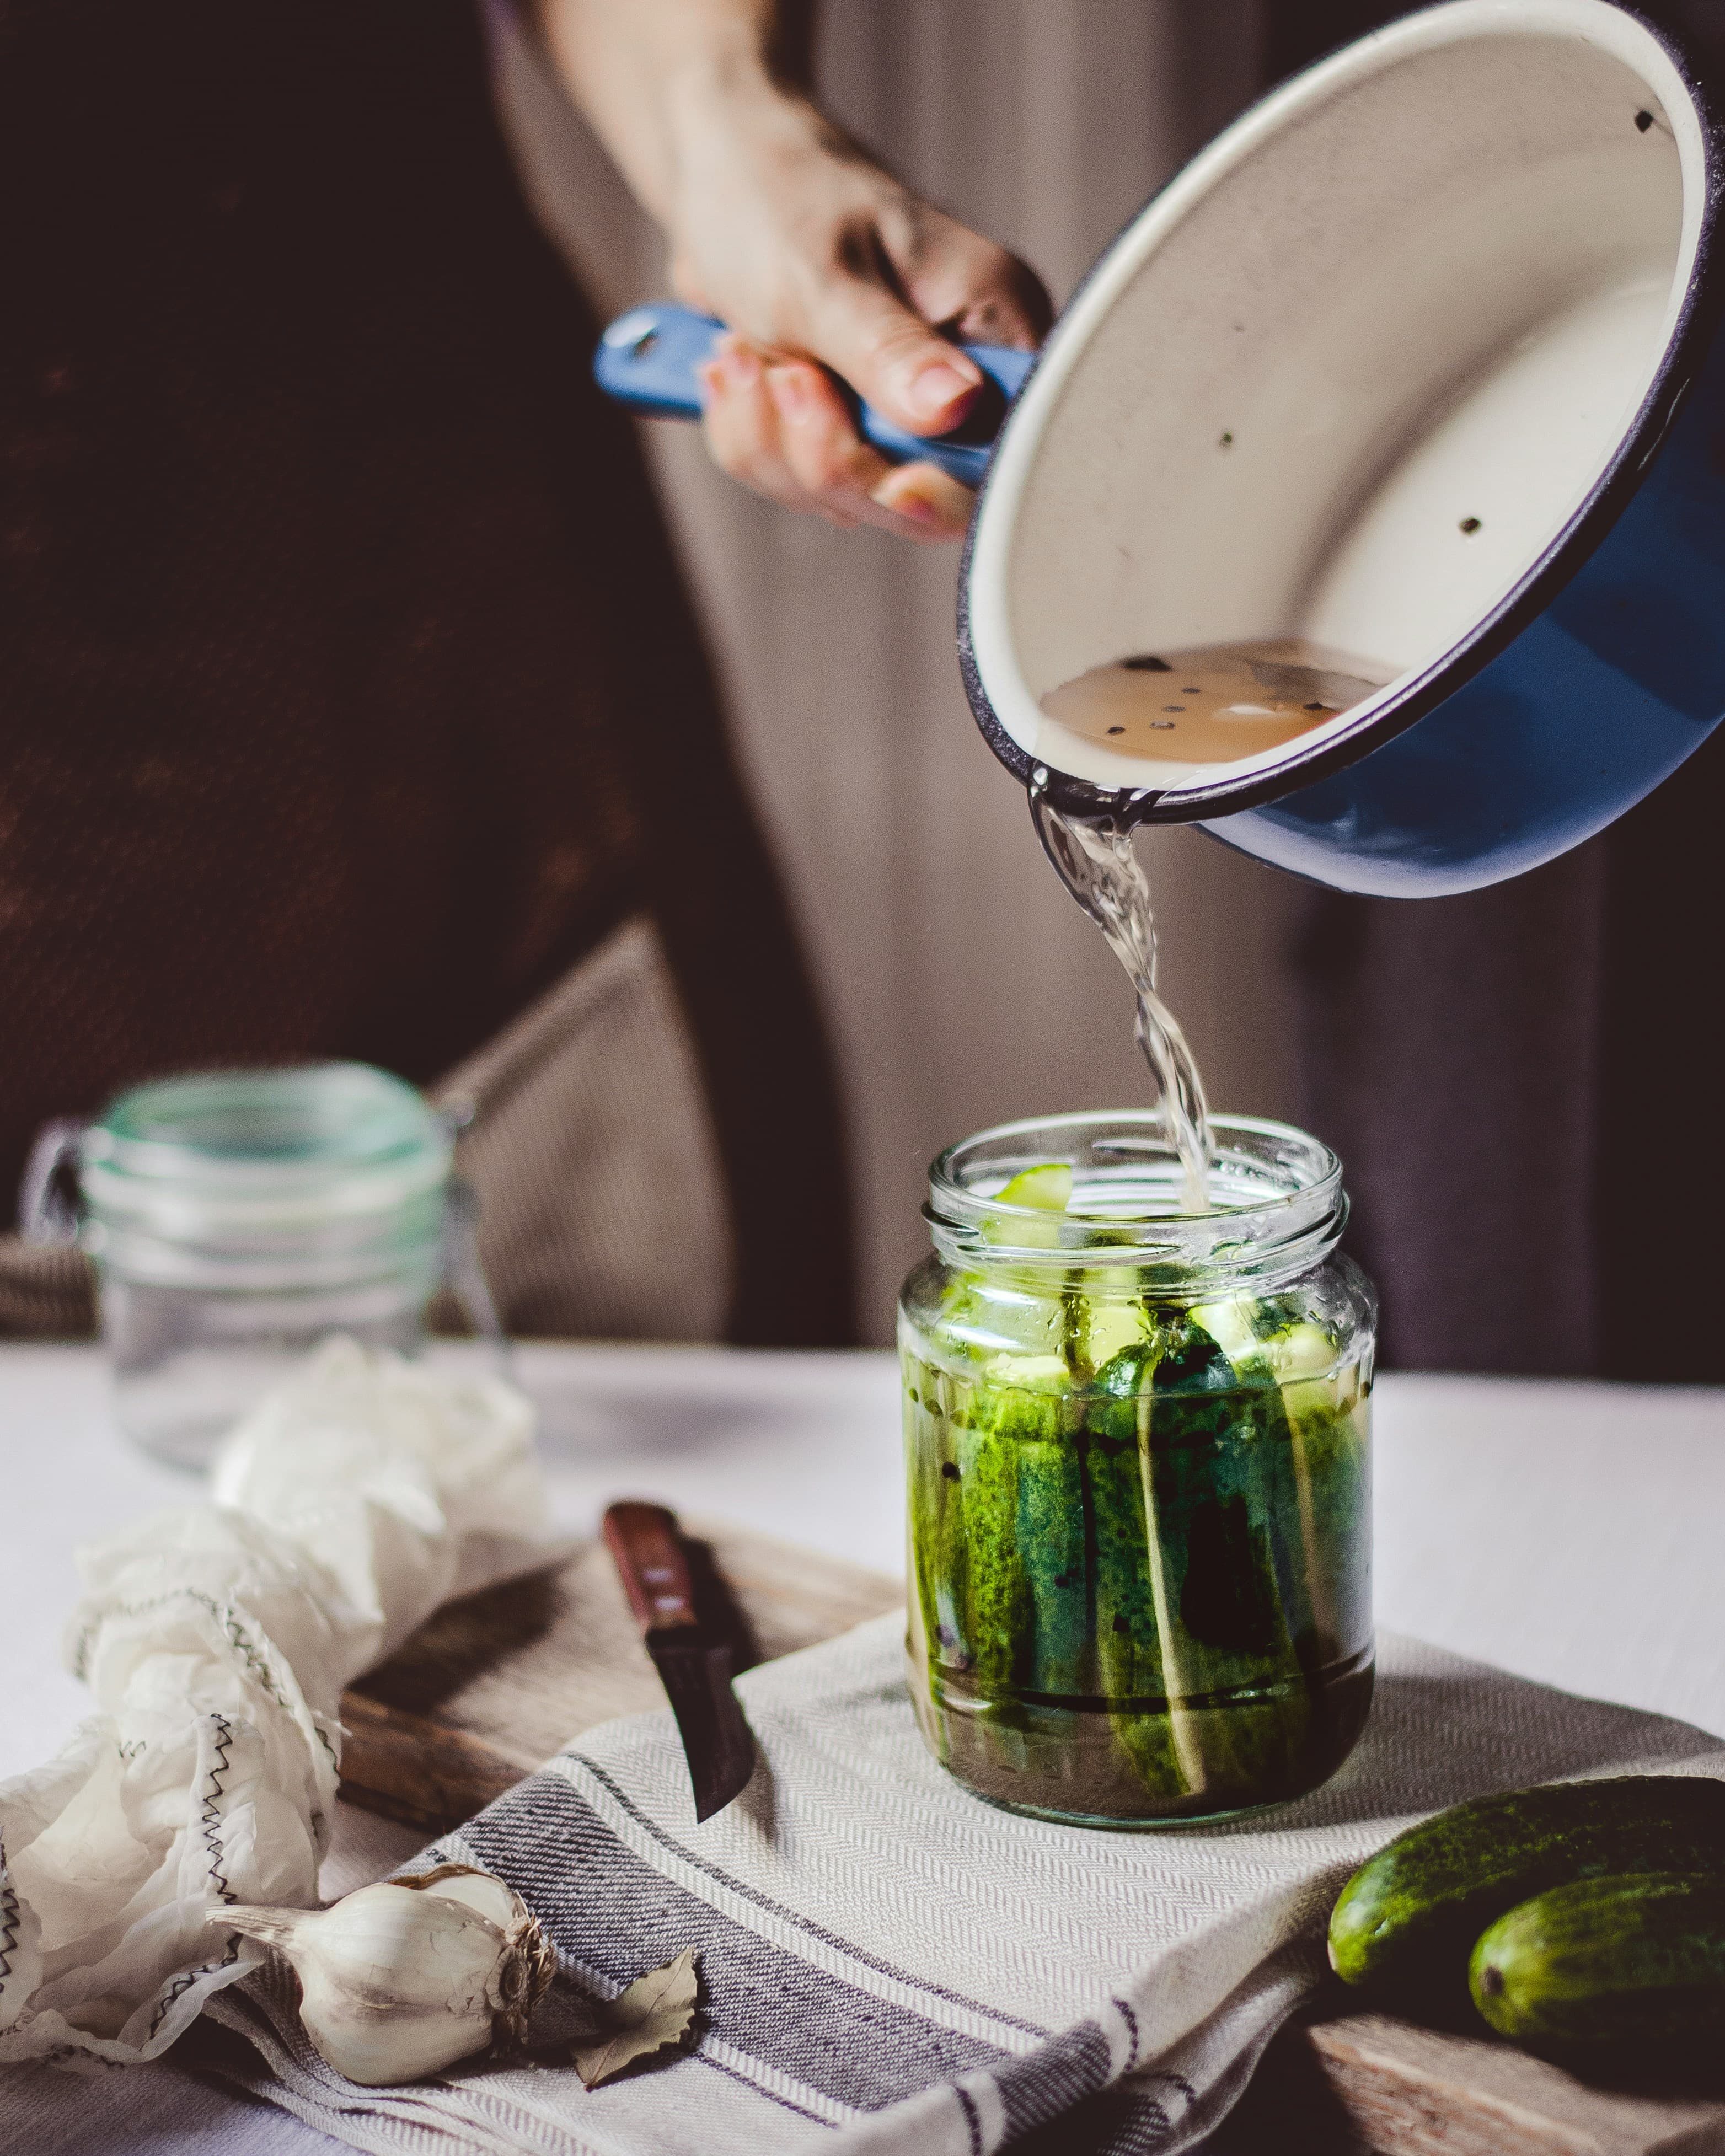
- Mix and pour the brine. Dissolve the salt in cold water, then pour over the scapes until fully submerged, leaving 1 inch of headspace.
- Weigh them down. Garlic scapes float. Use a fermentation weight or improvise with a brine-filled bag. Every part of the scape must stay below the brine.
- Cover loosely. Use a cloth, paper towel, or a loose lid — something that lets CO₂ escape but keeps dust out. If you use an airlock lid, even better.
- Ferment at room temperature. Set on a plate (brine may overflow as it gets active). Keep out of direct sunlight.
Fermentation Timeline
At room temperature (68–72°F), garlic scapes are usually ready in 5–7 days. You'll see bubbles within the first 24–48 hours — that's CO₂ from lactic acid bacteria doing their work.
- Day 1–2: Bubbling begins. Brine may cloud slightly.
- Day 3–4: Tanginess develops. Taste-test here if you prefer a milder ferment.
- Day 5–7: Full sour flavor. Scapes remain crunchy. Transfer to the fridge.
Move to the refrigerator when the flavor is where you want it. Fermentation slows dramatically in cold storage but continues slowly — the scapes will get more sour over time.
What They Taste Like
Fermented garlic scapes are crunchy, tangy, and deeply garlicky — more mellow than raw garlic but more complex than a plain vinegar pickle. The fermentation softens the sharp edge of raw garlic into something rounded and savory. They're excellent:
- Chopped into grain bowls or rice dishes
- Sliced over eggs or avocado toast
- On a cheese board alongside hard cheeses
- Minced into sauces or dressings as you would use pickled garlic
- Eaten straight from the jar as a snack
Don't Waste the Brine
The leftover brine is full of flavor and beneficial bacteria. Use it as a salad dressing base, a marinade, or a shot of probiotic liquid. You can also use it as a starter brine for your next batch of fermented vegetables — add a tablespoon to a fresh jar to kick-start fermentation.
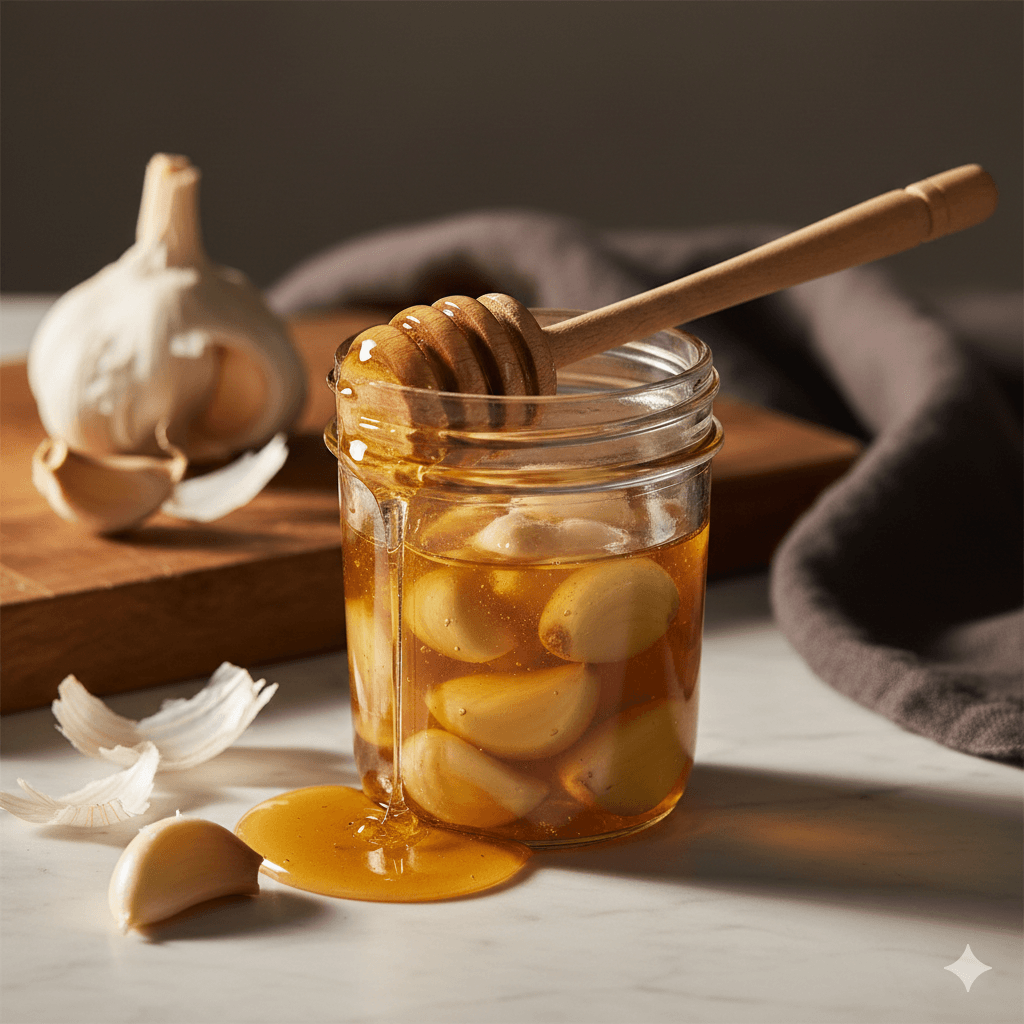
Garlic scapes and garlic honey are a natural pair.
If you can get your hands on extra garlic scapes, consider making a batch of fermented garlic honey at the same time. The honey ferment uses whole garlic cloves, but the flavor profile complements the pickled scapes perfectly — and both last all year.