Miso is one of the most complex fermented foods in the world — and one of the most forgiving to make at home. The process takes three ingredients: soybeans, salt, and koji. The waiting does most of the work. In three to six months, you'll have a deeply savory paste that tastes nothing like what comes out of a grocery store tub.
This guide covers white and yellow miso — the most approachable styles for beginners. For a deeper look at miso styles, flavor profiles, and regional variations, see our complete miso guide.
Understanding the Three Ingredients
Soybeans
Use dried soybeans, not canned. Dried soybeans cook down to the right texture and don't carry the metallic or tinny flavor that canned beans sometimes have. Any variety of dried soybean works — organic is worth it here since soybeans are often heavily sprayed.
Salt
Salt controls fermentation speed and prevents unwanted molds. Use non-iodized salt — kosher, sea salt, or pickling salt. Iodine inhibits the beneficial microorganisms you're cultivating. The salt percentage (as a share of the total miso weight) determines how long it ferments and how salty the result is. A 10% salt ratio produces mild miso in 3 months; 12–13% produces a more complex, longer-aged result.
Koji
Koji is the engine of miso. It's rice (or barley) that has been inoculated with the mold Aspergillus oryzae, which produces amylase and protease enzymes. These enzymes break soybeans down into sugars and amino acids — the building blocks of miso's deep, savory flavor. Buy dried rice koji from a Japanese grocery store or online fermentation supplier.
Equipment
- A large pot for cooking soybeans
- A potato masher or food processor
- A fermentation vessel — a crock, a food-grade plastic container, or a large wide-mouth jar. A fermentation crock with a water-seal lid is ideal, as it allows CO₂ to escape while keeping air out.
- A weight or heavy plate to press the miso down
- Plastic wrap or wax paper to cover the surface
- A scale (weight measurements matter here)
Basic Miso Recipe (Makes ~2 lbs)
- 500g dried soybeans
- 300g dried rice koji
- 130g non-iodized salt (reserving 2 tablespoons for the surface)
Step-by-Step Instructions
- Soak the soybeans. Cover with cold water and soak for 12–16 hours. They'll roughly double in size.
- Cook until very soft. Drain, cover with fresh water, and simmer for 3–5 hours (or pressure cook for 45 minutes) until you can crush a bean easily between two fingers. They need to be this soft. Drain well, reserving the cooking liquid.
- Cool to room temperature. Hot beans will kill the koji enzymes. Wait until the beans are below 95°F before proceeding.
- Mash the beans. Use a potato masher, a food processor, or your hands until you have a smooth-ish paste. A few whole beans in the mix are fine.
- Mix koji and salt. In a separate bowl, combine the koji and salt (minus the reserved 2 tablespoons). Mix well with your hands — you want the salt distributed evenly through the koji.
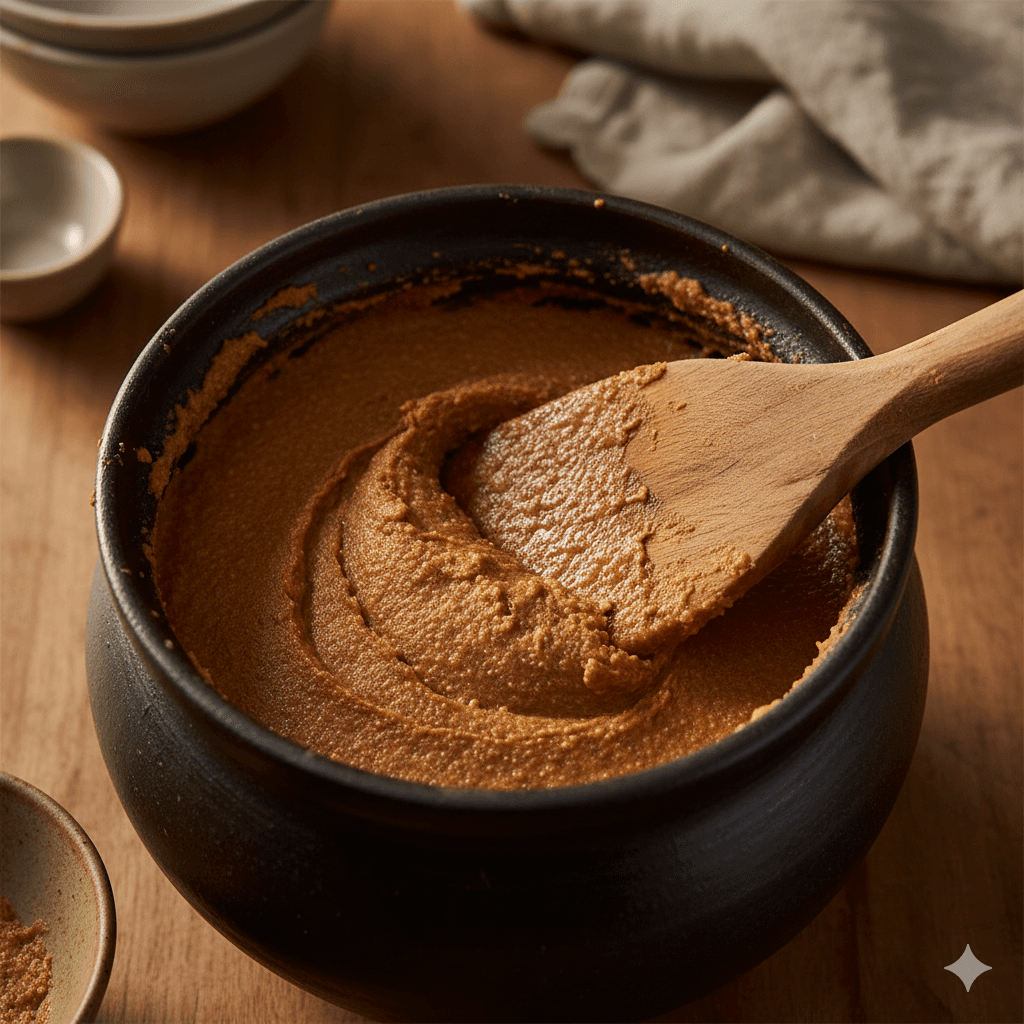
- Combine. Add the koji-salt mixture to the mashed beans and mix thoroughly. Add a few tablespoons of the reserved bean cooking liquid if the mixture is too dry to form a ball. The texture should be like firm hummus.
- Pack into your vessel. Form the miso into balls about the size of a tennis ball and throw each one firmly into the bottom of your crock — this removes air pockets. Smooth the top flat.
- Salt the surface. Sprinkle the reserved 2 tablespoons of salt evenly over the top. Press plastic wrap or wax paper directly against the surface with no air gaps.
- Weight it down. Place a heavy plate or a zip-lock bag filled with salt water on top to keep the miso pressed and any liquid on the surface.
- Cover and store. Cover the top of your vessel with a cloth or loose lid. Store in a cool, dark location — 60–70°F is ideal. A basement, pantry, or cupboard all work.
What to Expect During Fermentation
For the first few weeks, little seems to happen. By month two, you'll start to notice the miso darkening at the edges and developing a more complex aroma. A small amount of liquid (tamari) may rise to the surface — this is normal and delicious. Stir it back in or use it as a seasoning sauce.
Check your miso every 2–4 weeks. If you see surface mold (white or grey spots), scrape it off — it doesn't penetrate deeply and doesn't ruin the batch. The salt and acidity protect the miso below. Re-smooth the surface and re-cover with plastic wrap.
Start tasting at 3 months. If the flavor is deep and complex, it's ready. If it still tastes flat, give it more time. Move to the refrigerator once you're happy with it — cold storage stops fermentation and keeps the flavor stable.
Using Your Miso
Homemade miso is more flavorful and usually saltier than commercial varieties, so start with less than a recipe calls for and adjust. It works anywhere you want depth and umami: soups, marinades, salad dressings, glazes for roasted vegetables, stirred into butter, or dissolved into broth. Never boil it — heat kills the live cultures. Add miso at the end of cooking, off the heat.
First batch tip: start small.
Your first miso batch will teach you more than any guide can. Make a small batch — 1–2 pounds — so you can experiment with timing and flavor without committing to a huge quantity. Once you know what you like, scale up.