Tepache is one of the most satisfying fermentation projects you can make at home — and it uses the part of the pineapple you were about to throw away. Traditional in Mexico for centuries, tepache is a lightly fermented drink made from pineapple rinds, raw sugar, and warm spices like cinnamon and cloves. It's ready in two to three days, requires no special equipment, and tastes like a fizzy, tropical agua fresca with depth.
If you've never fermented anything before, tepache is an ideal starting point. There's no SCOBY to maintain, no starter culture to source, and no precise timing required. The wild yeasts naturally present on the pineapple skin do all the work.
What Is Tepache?
Tepache (teh-PAH-cheh) originated in pre-Hispanic Mexico, where it was made from fermented corn. Over time the recipe shifted to use pineapple, and that's the version that survived into modern Mexican street food culture. You'll find vendors selling it chilled in markets across Mexico, often mixed with beer or sparkling water.
It's not quite a vinegar, not quite a kombucha, and not quite a juice. At its best — fermented for about 48 hours — tepache is lightly alcoholic (usually under 2%), pleasantly tangy, sweet but not cloying, and faintly spiced. Let it go too long and it heads toward a weak pineapple vinegar, which is still useful but not what you're after.
What You Need
The Pineapple
Use a ripe pineapple — the yellower the skin, the better. The rinds and core carry the wild yeasts that drive fermentation. The flesh is for eating. Scrub the outside well before peeling; you want the surface yeasts, not pesticide residue or surface bacteria.
The Sugar
Piloncillo — unrefined Mexican brown sugar sold in cone or block form — is traditional and adds a molasses-like depth. If you can't find it, light brown sugar works nearly as well. White sugar produces a cleaner, more neutral tepache. Use roughly ¾ cup (150g) per 2 liters of water, though you can adjust to taste.
The Spices
Cinnamon stick and whole cloves are standard. Some recipes add a dried chile de árbol or a few black peppercorns for heat and complexity. Start classic on your first batch, then experiment from there.
The Jar
You need a half-gallon or 2-quart wide-mouth jar — large enough to hold the rinds plus two liters of water with room to spare. Wide-mouth half-gallon mason jars are perfect and inexpensive. You'll also need a fine mesh strainer or cheesecloth to strain the finished tepache.
The Recipe: Step by Step
1. Prep the Pineapple
Scrub the whole pineapple under running water. Peel the fruit, saving every bit of rind. Cut the core into chunks. Put the rinds and core in your jar. Set the flesh aside to eat — it's not used in tepache.
2. Add Sugar and Spices
Dissolve the piloncillo or brown sugar in one cup of warm water. Pour that into the jar, then add the remaining water at room temperature. The water should be close to room temperature when it hits the pineapple — not hot, as heat can damage the wild yeasts on the rind. Add the cinnamon stick and whole cloves.
3. Cover Loosely and Ferment
Cover the jar with a cloth secured by a rubber band, or rest the jar lid on top without screwing it down. You want airflow out but no fruit flies in. Set the jar somewhere room temperature — 70–78°F is the sweet spot. Cooler conditions slow fermentation; above 80°F it can over-ferment quickly.
4. Watch and Taste
Within 24 hours you'll see small bubbles forming around the pineapple. This is fermentation happening — wild yeasts consuming the sugar and producing CO₂. Stir or swirl the jar gently once per day.
Start tasting at 48 hours. It should be noticeably less sweet than the starting liquid, lightly tangy, with a mild fizz on the tongue. This is peak tepache for most people. If you want more tang and less sweetness, wait another 12–24 hours and taste again.
At 72–96 hours, the fermentation slows and the flavor becomes more acidic. At this point it's heading toward pineapple vinegar — still delicious in cooking, but not the drink you started out to make.
5. Strain and Refrigerate
Once it tastes right, strain the tepache through a fine mesh strainer or a few layers of cheesecloth into a clean pitcher or bottles. Discard the spent rinds and spices. Refrigerate immediately — cold temperatures dramatically slow fermentation. Tepache keeps in the fridge for about a week.
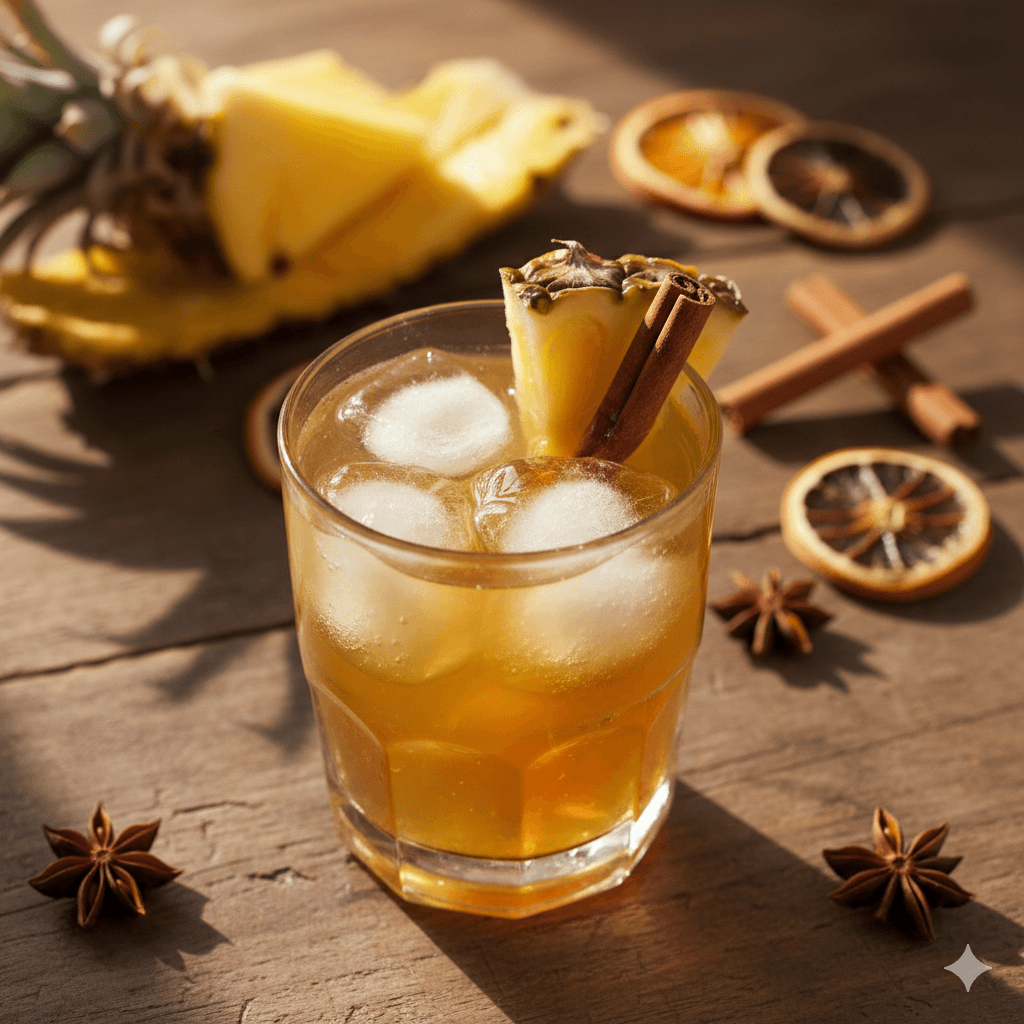
How to Serve Tepache
The classic way is simply over ice. The cold cuts the tartness and lets the pineapple come forward. Common additions:
- Sparkling water. Mix 1:1 for a lighter, more refreshing drink with more carbonation.
- Beer. A classic Mexican combination — mix tepache with a light lager (like Corona or Modelo) for a michelada-adjacent drink called a tepache con chela.
- Mezcal or tequila. Tepache makes an excellent mixer for a more complex cocktail.
- Straight. At its best, tepache is complete on its own.
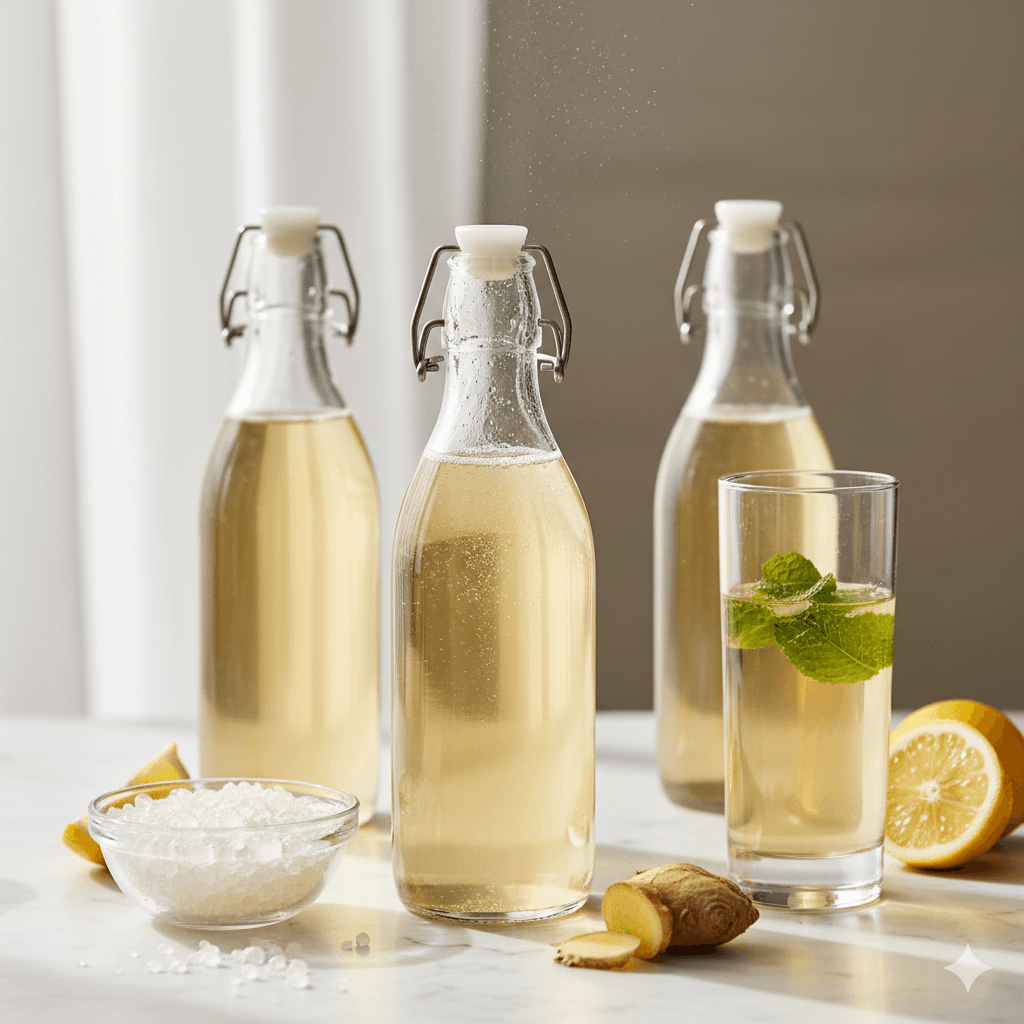
Building Carbonation with a Second Fermentation
Tepache from the jar is lightly fizzy. If you want real carbonation — the kind that bubbles up when you open a bottle — do a short second fermentation.
Transfer the strained tepache into swing-top glass bottles and seal them. Leave at room temperature for 12 to 24 hours. The residual yeasts continue consuming sugar, producing CO₂ that gets trapped in the sealed bottle — building pressure and carbonation. Refrigerate when carbonated to your liking.
A word of caution: check the bottles periodically and burp them if pressure feels very high. Over-carbonated bottles can be messy (and in rare cases, dangerous) if they build too much pressure. This is rarely a problem with tepache given its low sugar content by second fermentation, but it's worth the 30-second check.
Troubleshooting Tepache
No Bubbles After 24–36 Hours
This usually means the environment is too cold, or the pineapple wasn't ripe enough to carry active wild yeasts. Move the jar somewhere warmer (a warm kitchen counter, or on top of the fridge). If there's still no activity after 48 hours, you can add a teaspoon of active-dry yeast to kickstart things — though this changes the character slightly.
White Film on the Surface
A thin white film is almost certainly kahm yeast — harmless, common in high-sugar ferments. Skim it off and continue. If you see fuzzy growth in distinct colors (green, black, pink), that's mold — discard the batch and start again.
Too Sour or Vinegary
It fermented too long. For the next batch, start tasting at 36 hours and strain earlier. Over-fermented tepache isn't wasted — use it as a pineapple vinegar in marinades, dressings, or cocktails.
Not Fizzy Enough
Bottle it for a second fermentation as described above, or mix with sparkling water. The fizz in tepache is naturally light; if you want kombucha-level carbonation, second fermentation is the way.
Variations Worth Trying
- Mango tepache. Replace half the pineapple with mango skins and pit. Ferments slightly faster and has a tropical sweetness.
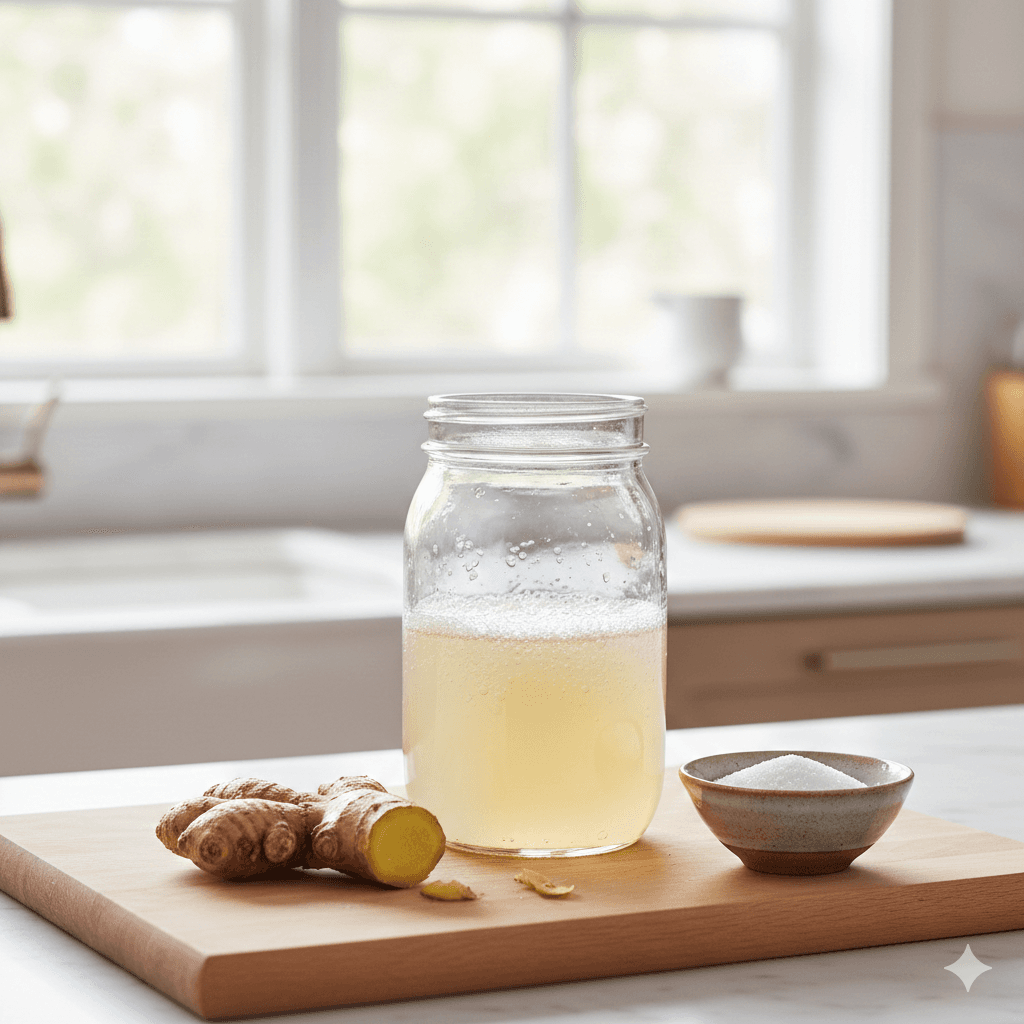
- Spiced tepache. Add a dried chile de árbol, a few black peppercorns, or a small piece of fresh ginger alongside the cinnamon and cloves.
- Tamarind tepache. Add a tablespoon of tamarind paste for tartness and depth — a popular regional variation.
- Hibiscus tepache. Add a tablespoon of dried hibiscus flowers for a gorgeous red color and floral tartness.
Where Tepache Fits in a Fermentation Practice
Tepache is a gateway ferment. It teaches you to read fermentation signs — bubbles, smell, taste — without the stakes of a weeks-long project. Once you can make tepache reliably, you have the intuition to tackle water kefir, ginger bug sodas, and eventually longer ferments like kombucha.
It also solves a small kitchen problem elegantly: you get to eat a whole pineapple and turn the scraps into a drink. Zero waste, two products, two to three days of work. That's the kind of efficiency that makes fermentation genuinely satisfying.