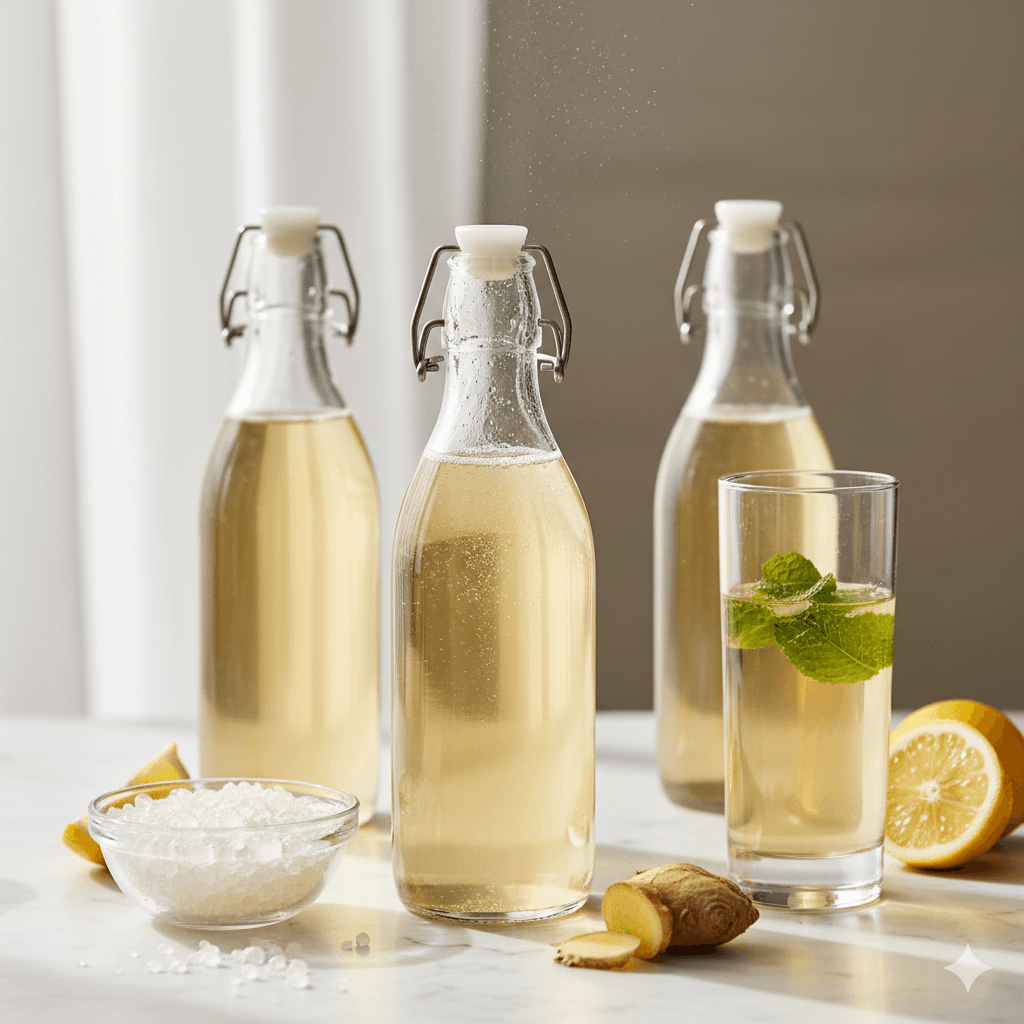
First fermentation gives you kombucha. Second fermentation (2F) gives you fizzy kombucha — with flavors you choose, carbonation you control, and a result that's genuinely better than most store-bought bottles.
The process is simple: you bottle your finished first-ferment kombucha with a small amount of fruit or sugar, seal the bottles airtight, and let yeast do the work for 2–4 days. The yeast consumes the added sugars and produces CO2 that, trapped in the sealed bottle, dissolves into the liquid as carbonation.
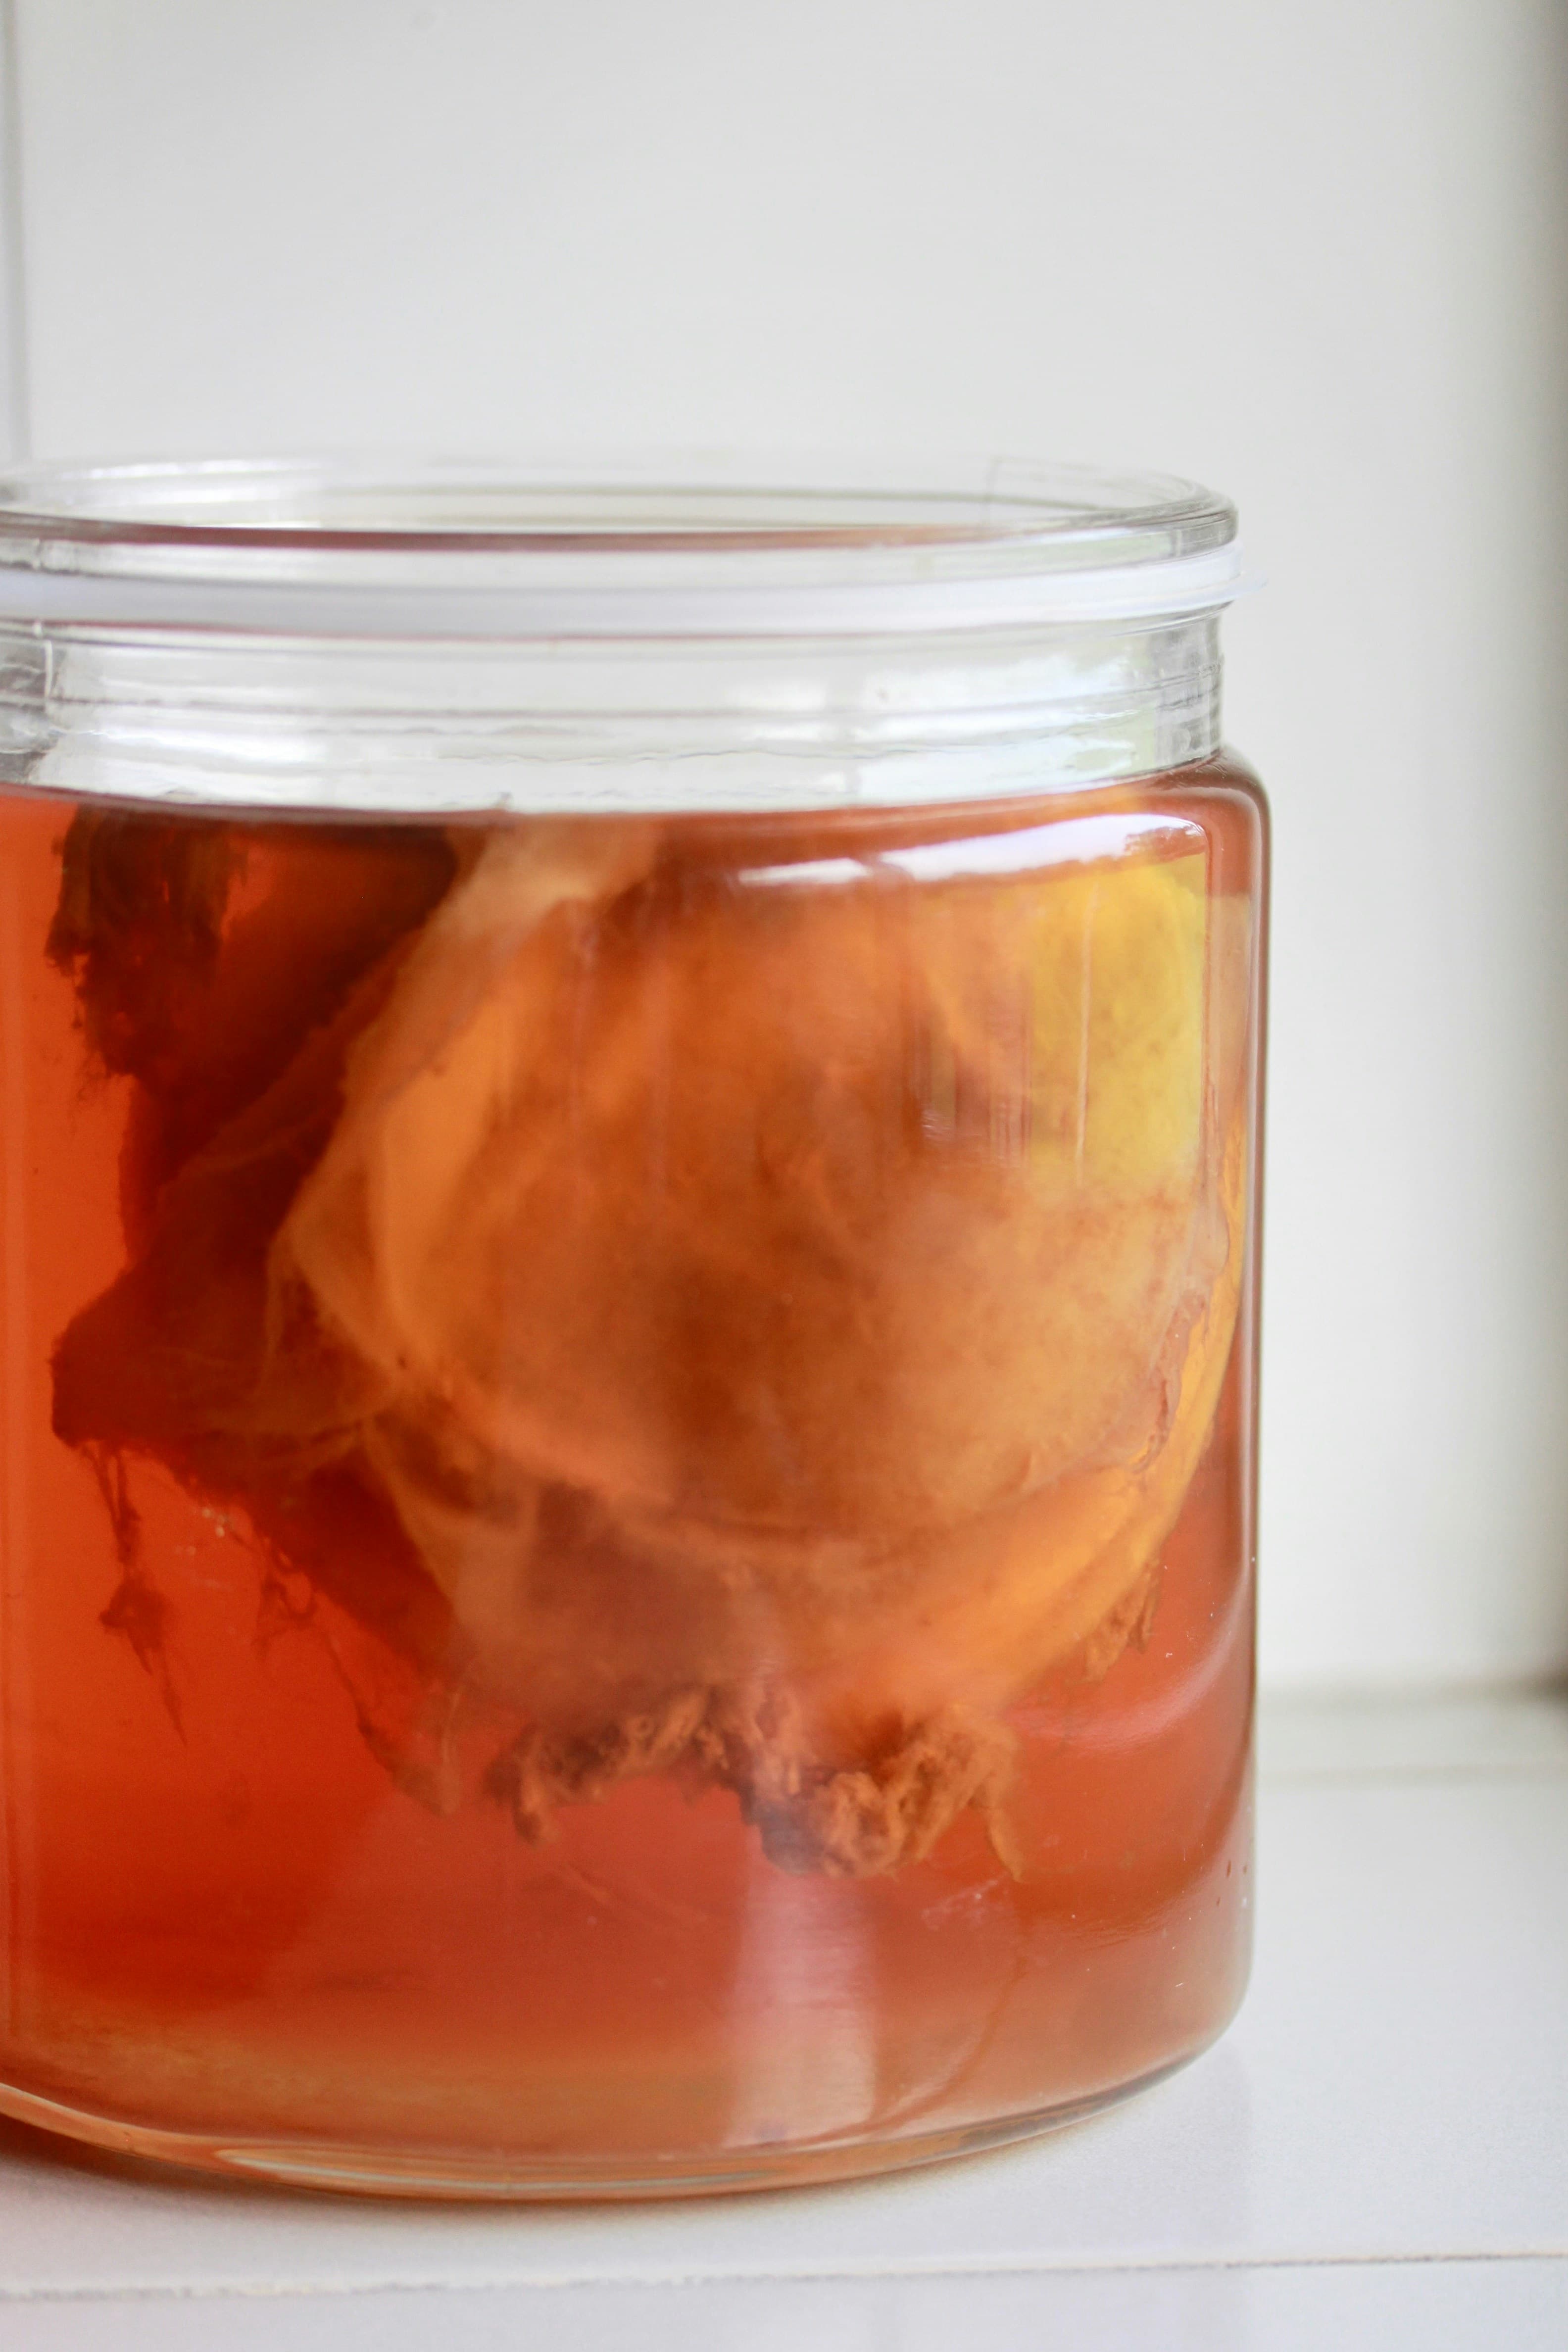
If you're new to the process, start with our kombucha brewing guide to make sure your first ferment is ready before you bottle.
What You Need
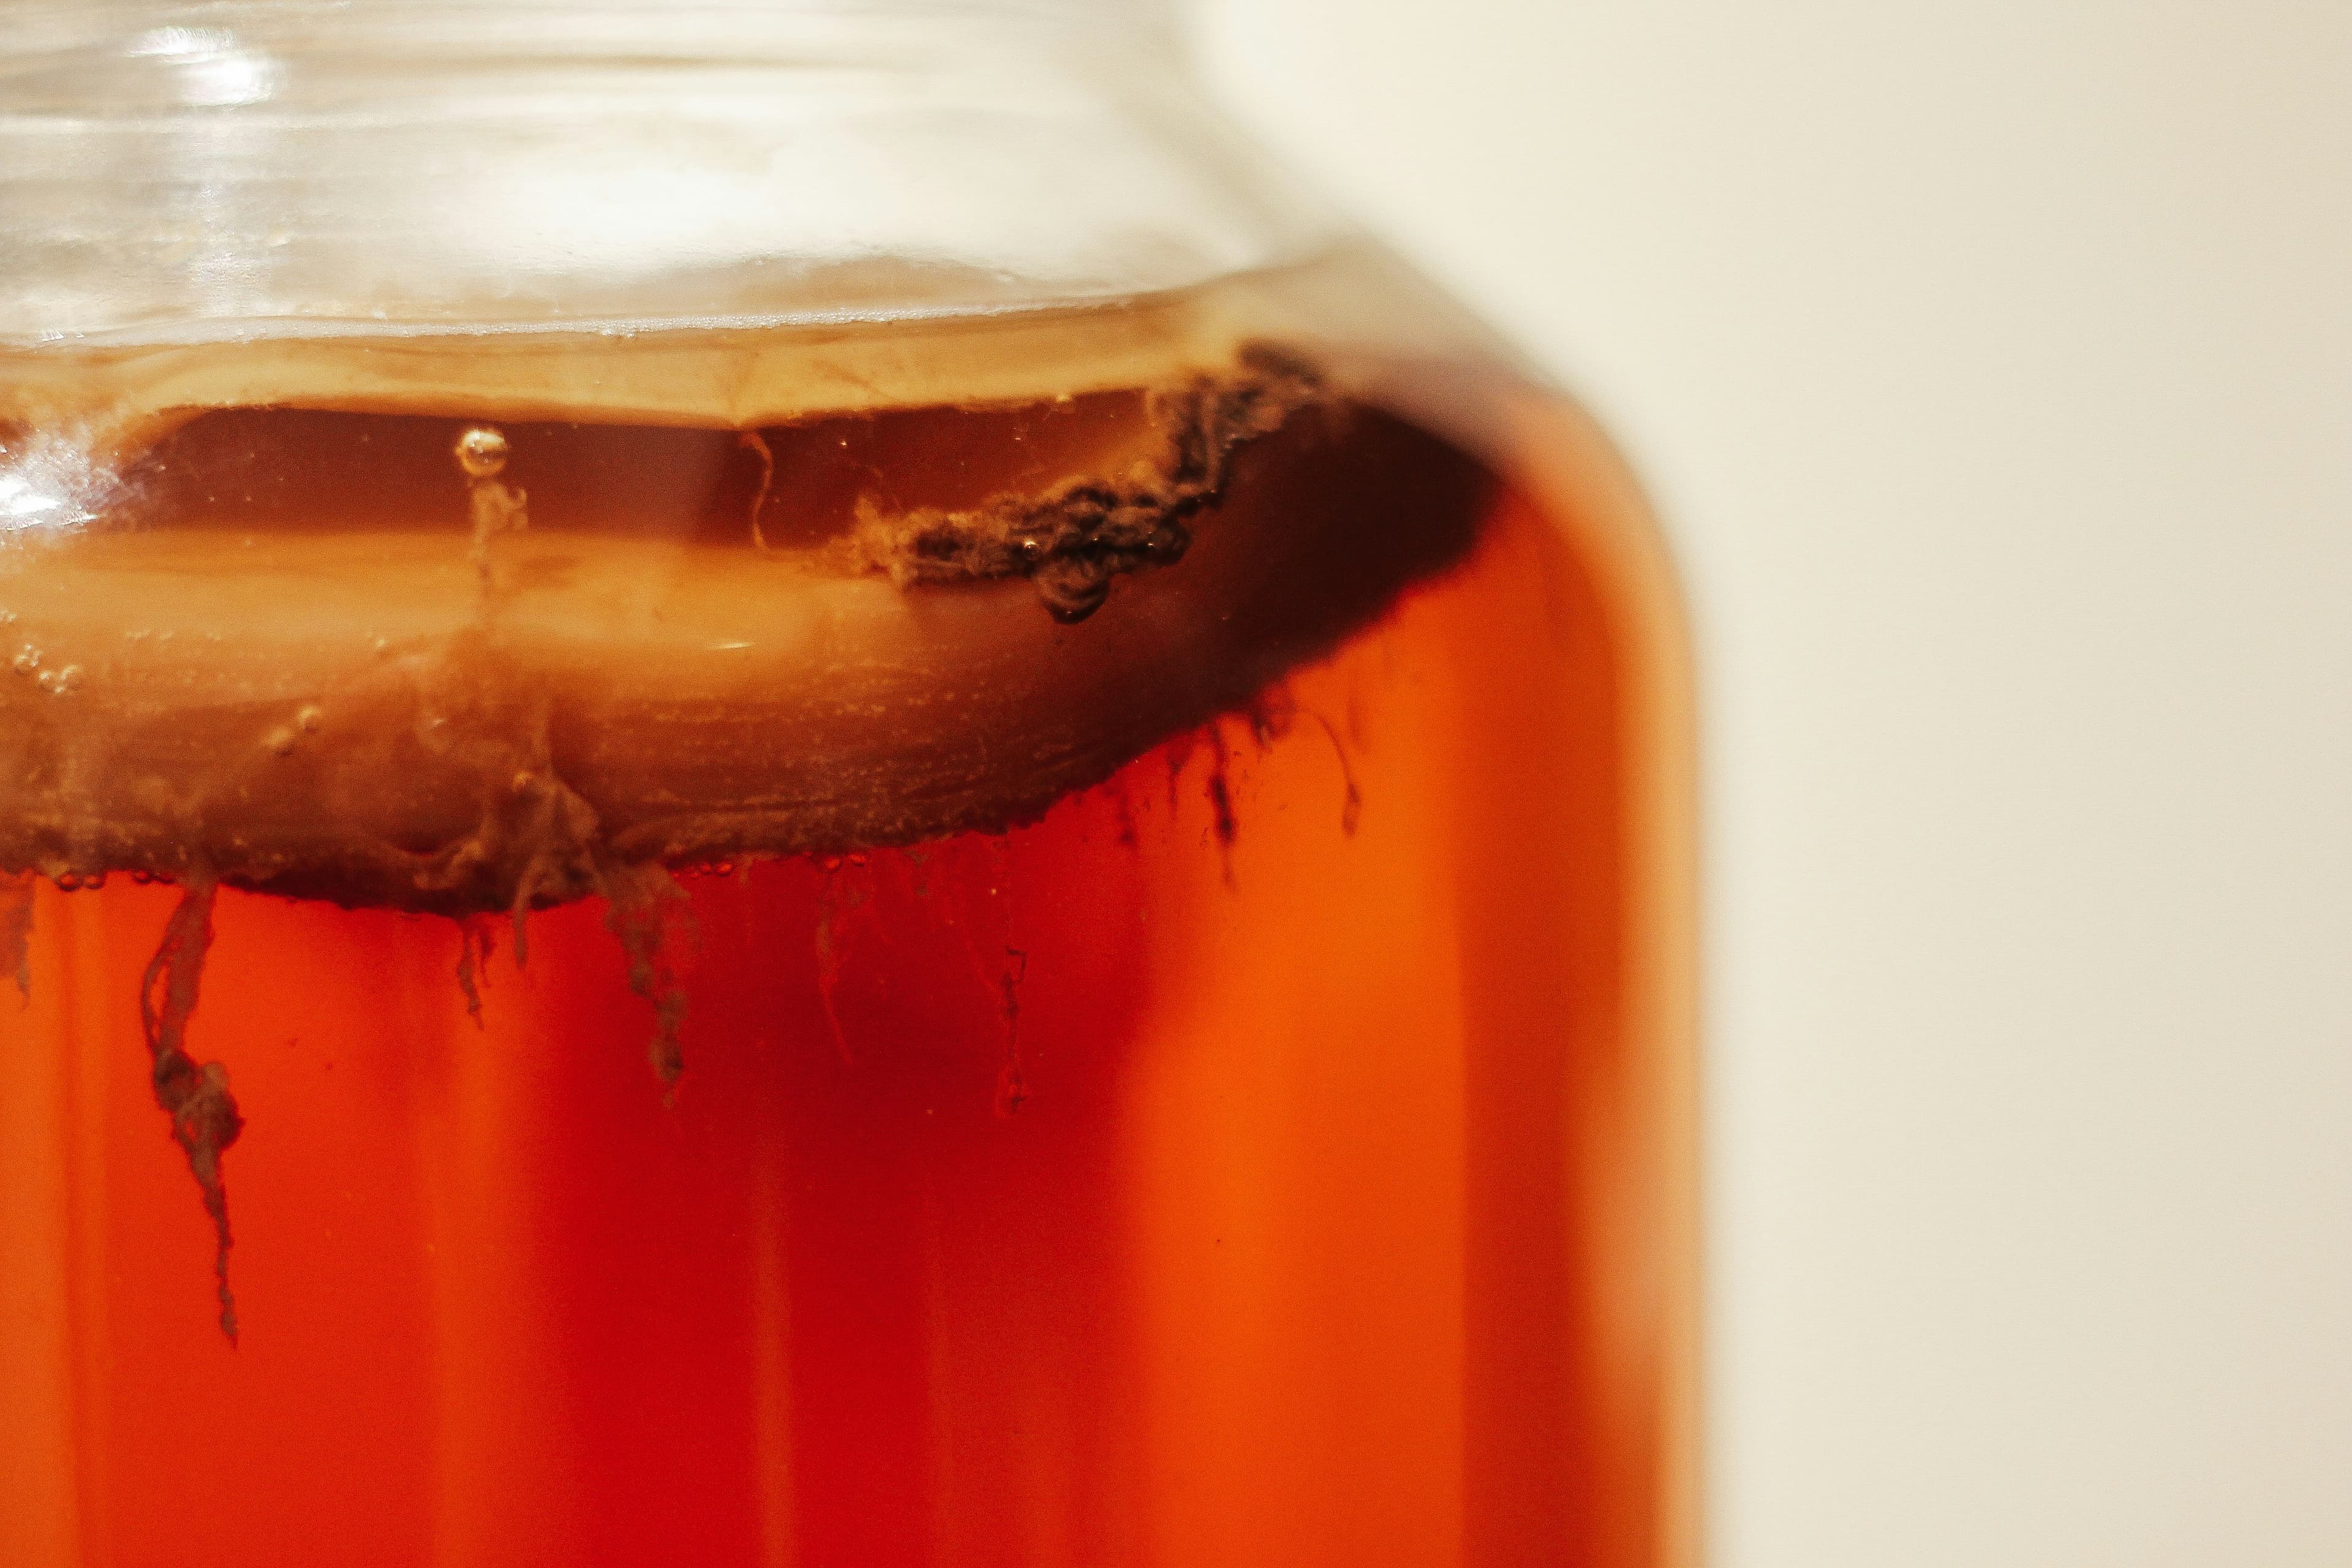
- Finished first-ferment kombucha — slightly tart, no longer sweet, with some yeast strands floating (that's normal). Temperature: 70–80°F is ideal for 1F; cool it slightly if possible before bottling.
- Swing-top glass bottles — 16 oz or 32 oz, rated for carbonated beverages. These are the most important piece of equipment for safe second fermentation. Our guide to the best swing-top bottles for kombucha covers the top options for every budget.
- Flavoring — fresh or frozen fruit, 100% juice, ginger, herbs, or citrus zest. See flavor ideas below.
- A funnel — makes bottling much cleaner and reduces spillage.
- Optional: a hydrometer or carbonation tester — not required, but helpful for consistent results.
How to Do a Kombucha Second Fermentation
Step-by-Step
- Prepare your bottles. Make sure they're clean and dry. Check the rubber gaskets on swing-top lids — replace them if they're cracked or worn (they're cheap and widely available). Worn gaskets are a common cause of flat kombucha.
- Add your flavoring. Add fruit, juice, or other flavoring to the bottom of each bottle before filling. A good starting ratio is 10–20% fruit juice to 80–90% kombucha per bottle. For a 16 oz bottle: 2–3 oz juice + fill with kombucha. For whole fruit, use 2–3 tablespoons of diced or mashed fruit per 16 oz.
- Bottle your kombucha. Use a funnel to transfer first-ferment kombucha from your vessel into the bottles, leaving about 1–1.5 inches of headspace at the top (no more than 80% full). Less headspace = more carbonation pressure; more headspace = less pressure. Start with 1.5 inches while you learn the system.
- Seal the bottles. Flip the wire bail down firmly. You should hear a click or feel it seat. The seal needs to be airtight for CO2 to build up.
- Ferment at room temperature. Leave the bottles at 70–75°F (21–24°C), away from direct sunlight. A warmer room carbonates faster; a cooler room takes longer. Keep bottles upright.
- Burp and check from day 2. Once a day, briefly open each bottle and then reseal. This releases a little pressure and lets you check carbonation level — you'll feel resistance when you open it. When opening, tilt the bottle slightly away from you and open slowly over a sink or glass.
- Refrigerate when ready. As soon as the carbonation is where you want it (good fizz, right flavor), move all bottles to the refrigerator immediately. Cold temperatures slow yeast activity dramatically, locking in your carbonation level. Do not leave carbonated bottles at room temperature for extended periods.
- Enjoy within 4–6 weeks. Refrigerated 2F kombucha keeps well for weeks. Carbonation levels remain stable in the fridge. Flavors often peak at the 1–2 week mark.
Best Flavors for Kombucha Second Fermentation
The best 2F flavors come from ingredients with natural sugars to feed the yeast and aromatic compounds to add complexity. Some proven combinations:
- Ginger-lemon: 1 tablespoon fresh ginger juice + 1 tablespoon lemon juice per 16 oz. Classic, widely loved, and produces great carbonation (ginger contributes wild yeasts that boost fizz).
- Mango-lime: 2 oz mango juice + a squeeze of lime per 16 oz. Tropical, bright, and visually striking.
- Blueberry-lavender: 2 tablespoons mashed blueberries + 2–3 dried lavender buds per 16 oz. Strain before drinking or strain the finished 2F back through a mesh strainer.
- Strawberry-basil: 2–3 tablespoons mashed strawberries + 2–3 fresh basil leaves. Press the basil gently before adding so it releases flavor.
- Raspberry: 2 tablespoons fresh or frozen raspberries per 16 oz. One of the highest-sugar fruit options, so expect strong carbonation — err on the side of more headspace.
- Pineapple-mint: 2 oz pineapple juice + 3–4 fresh mint leaves. Pineapple contains enzymes that add brightness; mint keeps it refreshing.
For more flavor ideas, see our full guide to kombucha second ferment flavors.
Troubleshooting Second Fermentation
Flat Kombucha
If your kombucha isn't carbonating after 3–4 days, check: bottle seals (worn gaskets are a common culprit), room temperature (below 65°F significantly slows yeast), and sugar content (too-sour first ferment may have depleted sugars). Add a small pinch of sugar to a test bottle to see if carbonation resumes.
Over-Carbonated / Bottle Grenades
Over-carbonation is the main safety concern in 2F. Signs: extreme resistance when burping, foaming when opened slowly, or hissing sounds from a sealed bottle. If you suspect over-carbonation, open the bottle slowly in the sink with a towel draped over it. Move all bottles to the fridge immediately. Next batch: reduce fruit quantity, increase headspace, or ferment at a lower temperature.
Too Sweet or Too Sour
Too sweet means first fermentation didn't go long enough — the kombucha had too much residual sugar before bottling. Too sour means the opposite. Your kombucha troubleshooting guide covers dialing in first fermentation timing.
Bottle Safety Note
Always use bottles specifically rated for carbonated beverages — not mason jars, not repurposed olive jars, not commercial sauce bottles. Swing-top bottles designed for brewing are built for pressure. Our swing-top bottle comparison covers the best options; most good bottles last for years with basic care (replace gaskets annually or when cracked).
Ready to Start?
Second fermentation is where home-brewed kombucha gets genuinely exciting. Once you have the basics down — right bottles, right sugar ratios, daily burping — you can experiment endlessly with flavors and produce results that are genuinely better than what you can buy. Check out our kombucha brewing kits guide if you're still setting up your first fermentation setup.