Why Homebrew?
There's something deeply satisfying about opening a beer you brewed yourself. Not in a “look what I made” way (though that part is great) — but because homebrewed beer, when done right, genuinely tastes excellent. You control every ingredient, you pick the style, and you learn more about beer in one brew day than you will in years of just drinking it.
This guide uses the extract method, which is how most homebrewers start. Instead of mashing grain (which requires more equipment and precision), you use malt extract — concentrated wort that gives you consistent results with much less complexity. Think of it as the sourdough discard recipe of homebrewing: you skip the hardest part and still get something great. Once you're hooked, you can move to all-grain brewing later.
🧼 Sanitize EVERYTHING
The number one rule of homebrewing: anything that touches the beer after the boil must be sanitized. Use Star San or a similar no-rinse sanitizer. Spray it, soak it, don't skip it. Most bad homebrew isn't bad technique — it's bad sanitation. This is the single most important thing you can do to make good beer.
Brew Day
Steep the specialty grain. Put the crystal malt in a muslin bag (like a big tea bag). Heat 2.5 gallons of water to 155°F (68°C). Add the grain bag and steep for 20 minutes, keeping the temperature between 150–170°F. Don't squeeze the bag — just lift it out and let it drip. Discard the grain.
Add malt extract and bring to a boil. Remove the pot from heat. Add the liquid malt extract and stir thoroughly until fully dissolved — extract on the bottom of a hot pot will scorch. Return to heat and bring to a rolling boil. Watch for boil-overs in the first few minutes — the foam can rise fast. Keep a spray bottle of water handy to knock it down.
Boil and add hops. Once you have a steady boil, start your 60-minute timer. Add 1 oz of Cascade hops immediately (these are your bittering hops). At 55 minutes (5 minutes remaining), add the second ounce of Cascade (aroma hops). These late-addition hops give your beer that fresh, citrusy hop character without adding much bitterness. After 60 minutes, turn off the heat.
Cool the wort. You need to get the hot wort down to yeast-pitching temperature (65–70°F / 18–21°C) as quickly as possible. An ice bath in your sink works: plug the sink, fill with ice and cold water, and set the pot in it. Stir the wort gently while the ice bath does its thing. A wort chiller speeds this up dramatically if you want to invest later. Aim for 30 minutes or less.
Transfer to fermenter and pitch yeast. Pour the cooled wort into your sanitized fermenter. Top up with cold water to reach 5 gallons total. Aerate the wort by splashing, shaking, or stirring vigorously for a couple of minutes — yeast needs oxygen to get started. Sprinkle the dry yeast directly on top. No need to rehydrate. Seal the fermenter and attach the airlock filled with sanitizer solution.
Fermentation
Wait 2 weeks. Place the fermenter somewhere dark and temperature-stable, ideally 64–68°F (18–20°C) for an ale. Within 12–24 hours, you should see bubbling in the airlock — that means the yeast is working. Activity will peak around days 2–4, then slow down. After 2 weeks, fermentation is essentially done. Resist the urge to open it, peek, stir, or taste. Just let it sit.
Bottling
Prepare priming sugar. Boil 3/4 cup of corn sugar in 2 cups of water. Let it cool. Pour this into a sanitized bottling bucket. Then siphon the beer from the fermenter into the bottling bucket on top of the sugar solution. The sugar will be consumed by the remaining yeast in the sealed bottles, creating natural carbonation.
Fill and cap. Using a bottling wand attached to the siphon, fill each sanitized bottle to about 1 inch from the top. Cap with a bottle capper. Work with a partner if you can — one person fills, one person caps.
Condition for 2 weeks. Store the capped bottles at room temperature (68–75°F) for 2 weeks. The yeast will eat the priming sugar and carbonate the beer. After 2 weeks, put a bottle in the fridge overnight and taste your creation. If carbonation is low, give the rest another week.
⏳ Patience is the hardest ingredient
Your beer at 2 weeks will be drinkable. At 4 weeks it'll be noticeably better. At 6–8 weeks it may be excellent. Beer mellows and flavors blend with time. If your first bottle isn't amazing, try waiting a few more weeks before writing off the batch. Many “meh” homebrews become genuinely good with time.
Troubleshooting
No airlock activity after 24 hours
Check the seal on your fermenter — a loose lid is the most common cause. If the seal is tight and there's still no activity after 48 hours, the yeast may not have been viable. Pitch a fresh packet of yeast. Also make sure the wort was cool enough when you pitched — too hot and you'll kill the yeast.
The beer tastes like green apples or butter
Acetaldehyde (green apple) and diacetyl (buttery/butterscotch) are common in young beer and usually clean up with time. Let the beer sit on the yeast for the full 2 weeks before bottling. If the fermentation temperature was too high, these off-flavors can be more pronounced. Keep it in the low-to-mid 60s°F for ales.
Bottles are flat after 2 weeks
Make sure you used the right amount of priming sugar and that it was well mixed. If the bottles were stored somewhere too cool (below 65°F), the yeast may have gone dormant. Move them to a warmer spot and give them another week. If still flat, you may not have had enough active yeast at bottling time.
Bottles are over-carbonated or gushing
You may have used too much priming sugar, or bottled before fermentation was complete (residual sugar + priming sugar = too much CO2). If bottles are gushing, refrigerate all of them immediately — cold slows fermentation and absorbs CO2. Open carefully. In extreme cases, this can lead to bottle bombs — take it seriously.
It tastes like cardboard or wet paper
Oxidation — the beer was exposed to too much air after fermentation. This usually happens during siphoning or bottling. Keep splashing to a minimum when transferring post-fermentation. Also minimize headspace in bottles. Oxidation gets worse over time, so drink oxidized beer sooner rather than later.
What's Next?
Once you've brewed your first batch, the world opens up:
- Try different styles — IPAs, stouts, wheat beers, porters. Each recipe kit teaches you something new.
- Experiment with hops — different hop varieties completely transform a beer's character
- Move to all-grain — mashing your own grain gives you complete control over flavor and body
- Kegging — skip the bottling hassle entirely with a keg system and CO2 tank
- Build recipes — once you understand the basics, you can design your own beers from scratch
Browse our recommended brewing equipment for starter kits, wort chillers, thermometers, and other gear we use and trust.
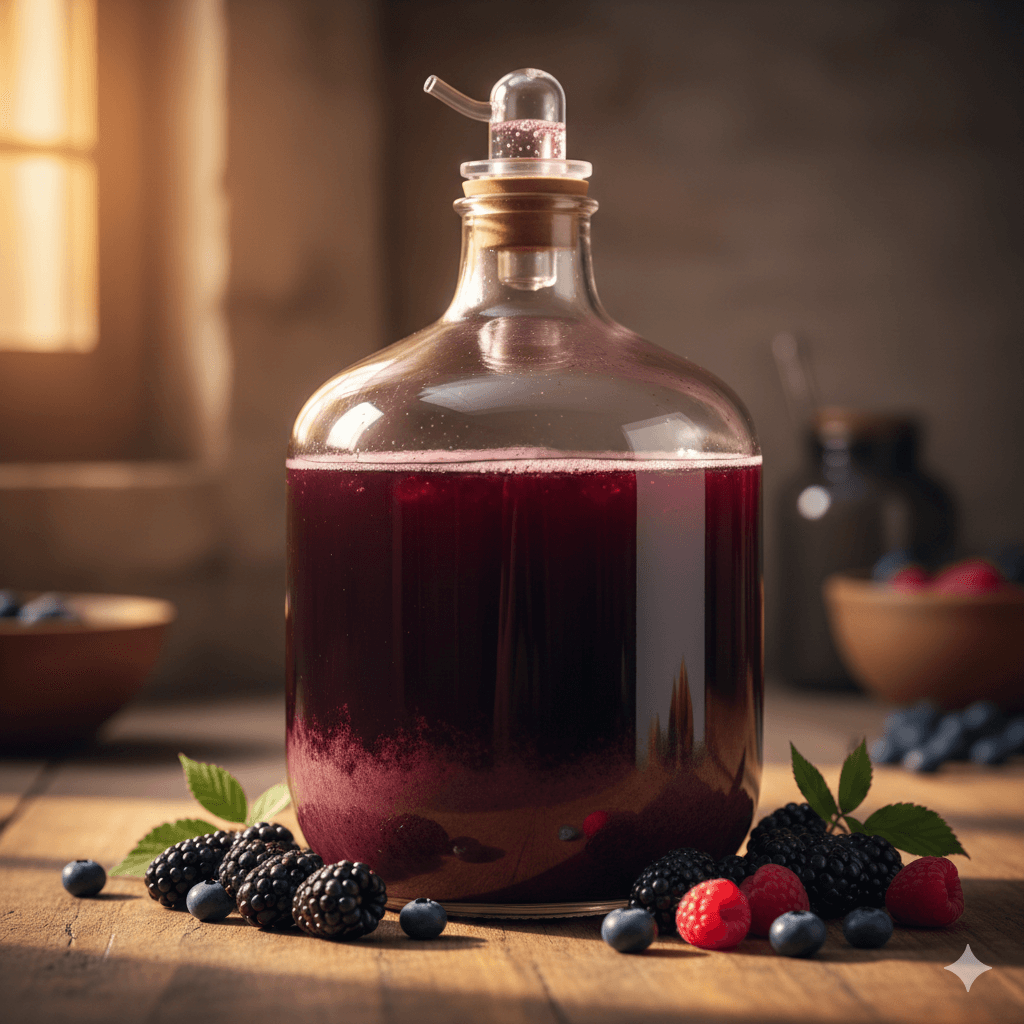
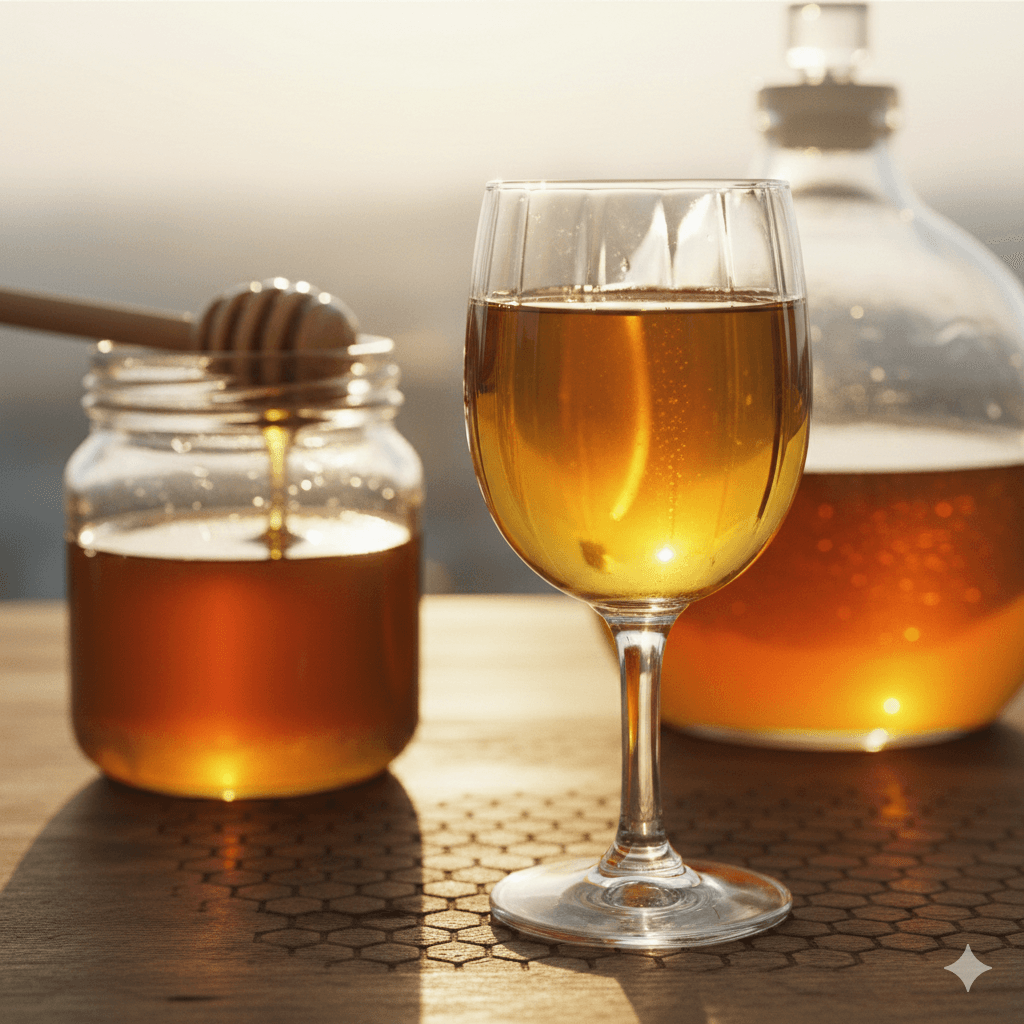
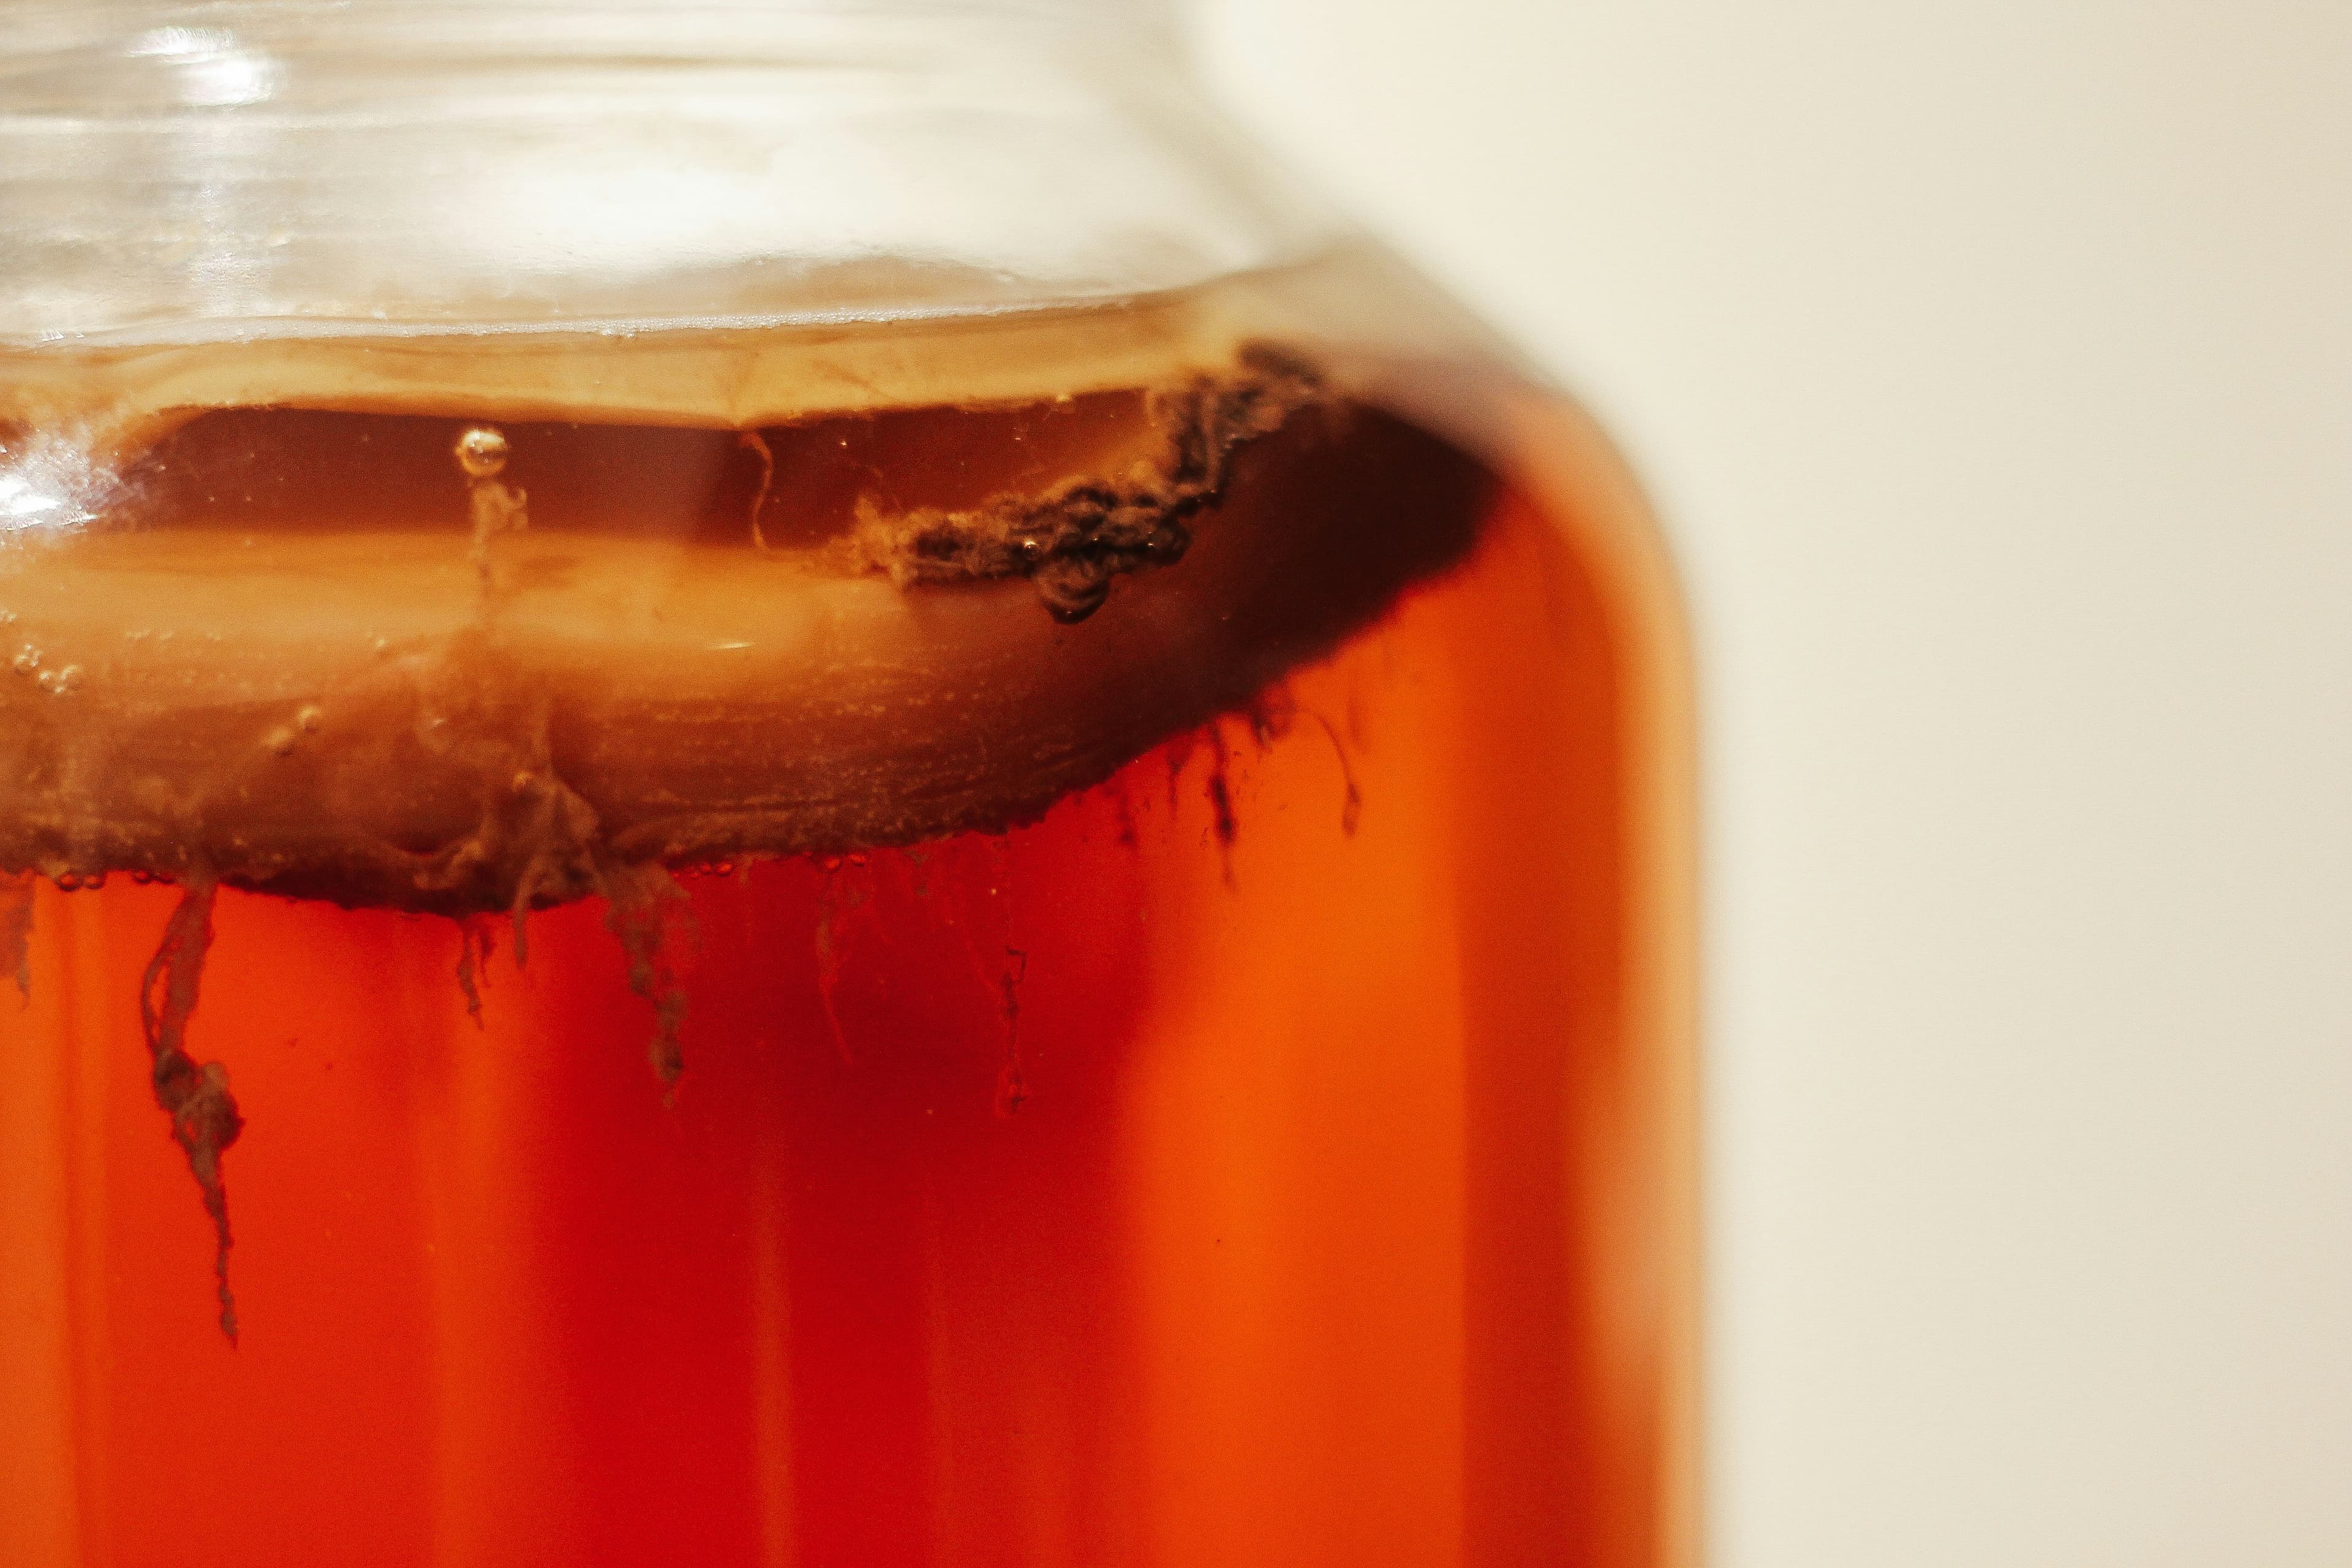
Into fermented beverages? Homemade fruit wine uses very similar equipment and gives you a different kind of fermentation to explore. Mead (honey wine) is arguably the simplest alcoholic ferment of all — just honey, water, and yeast. For non-alcoholic fermented drinks, kombucha and water kefir scratch a similar itch.