What Is Second Fermentation?
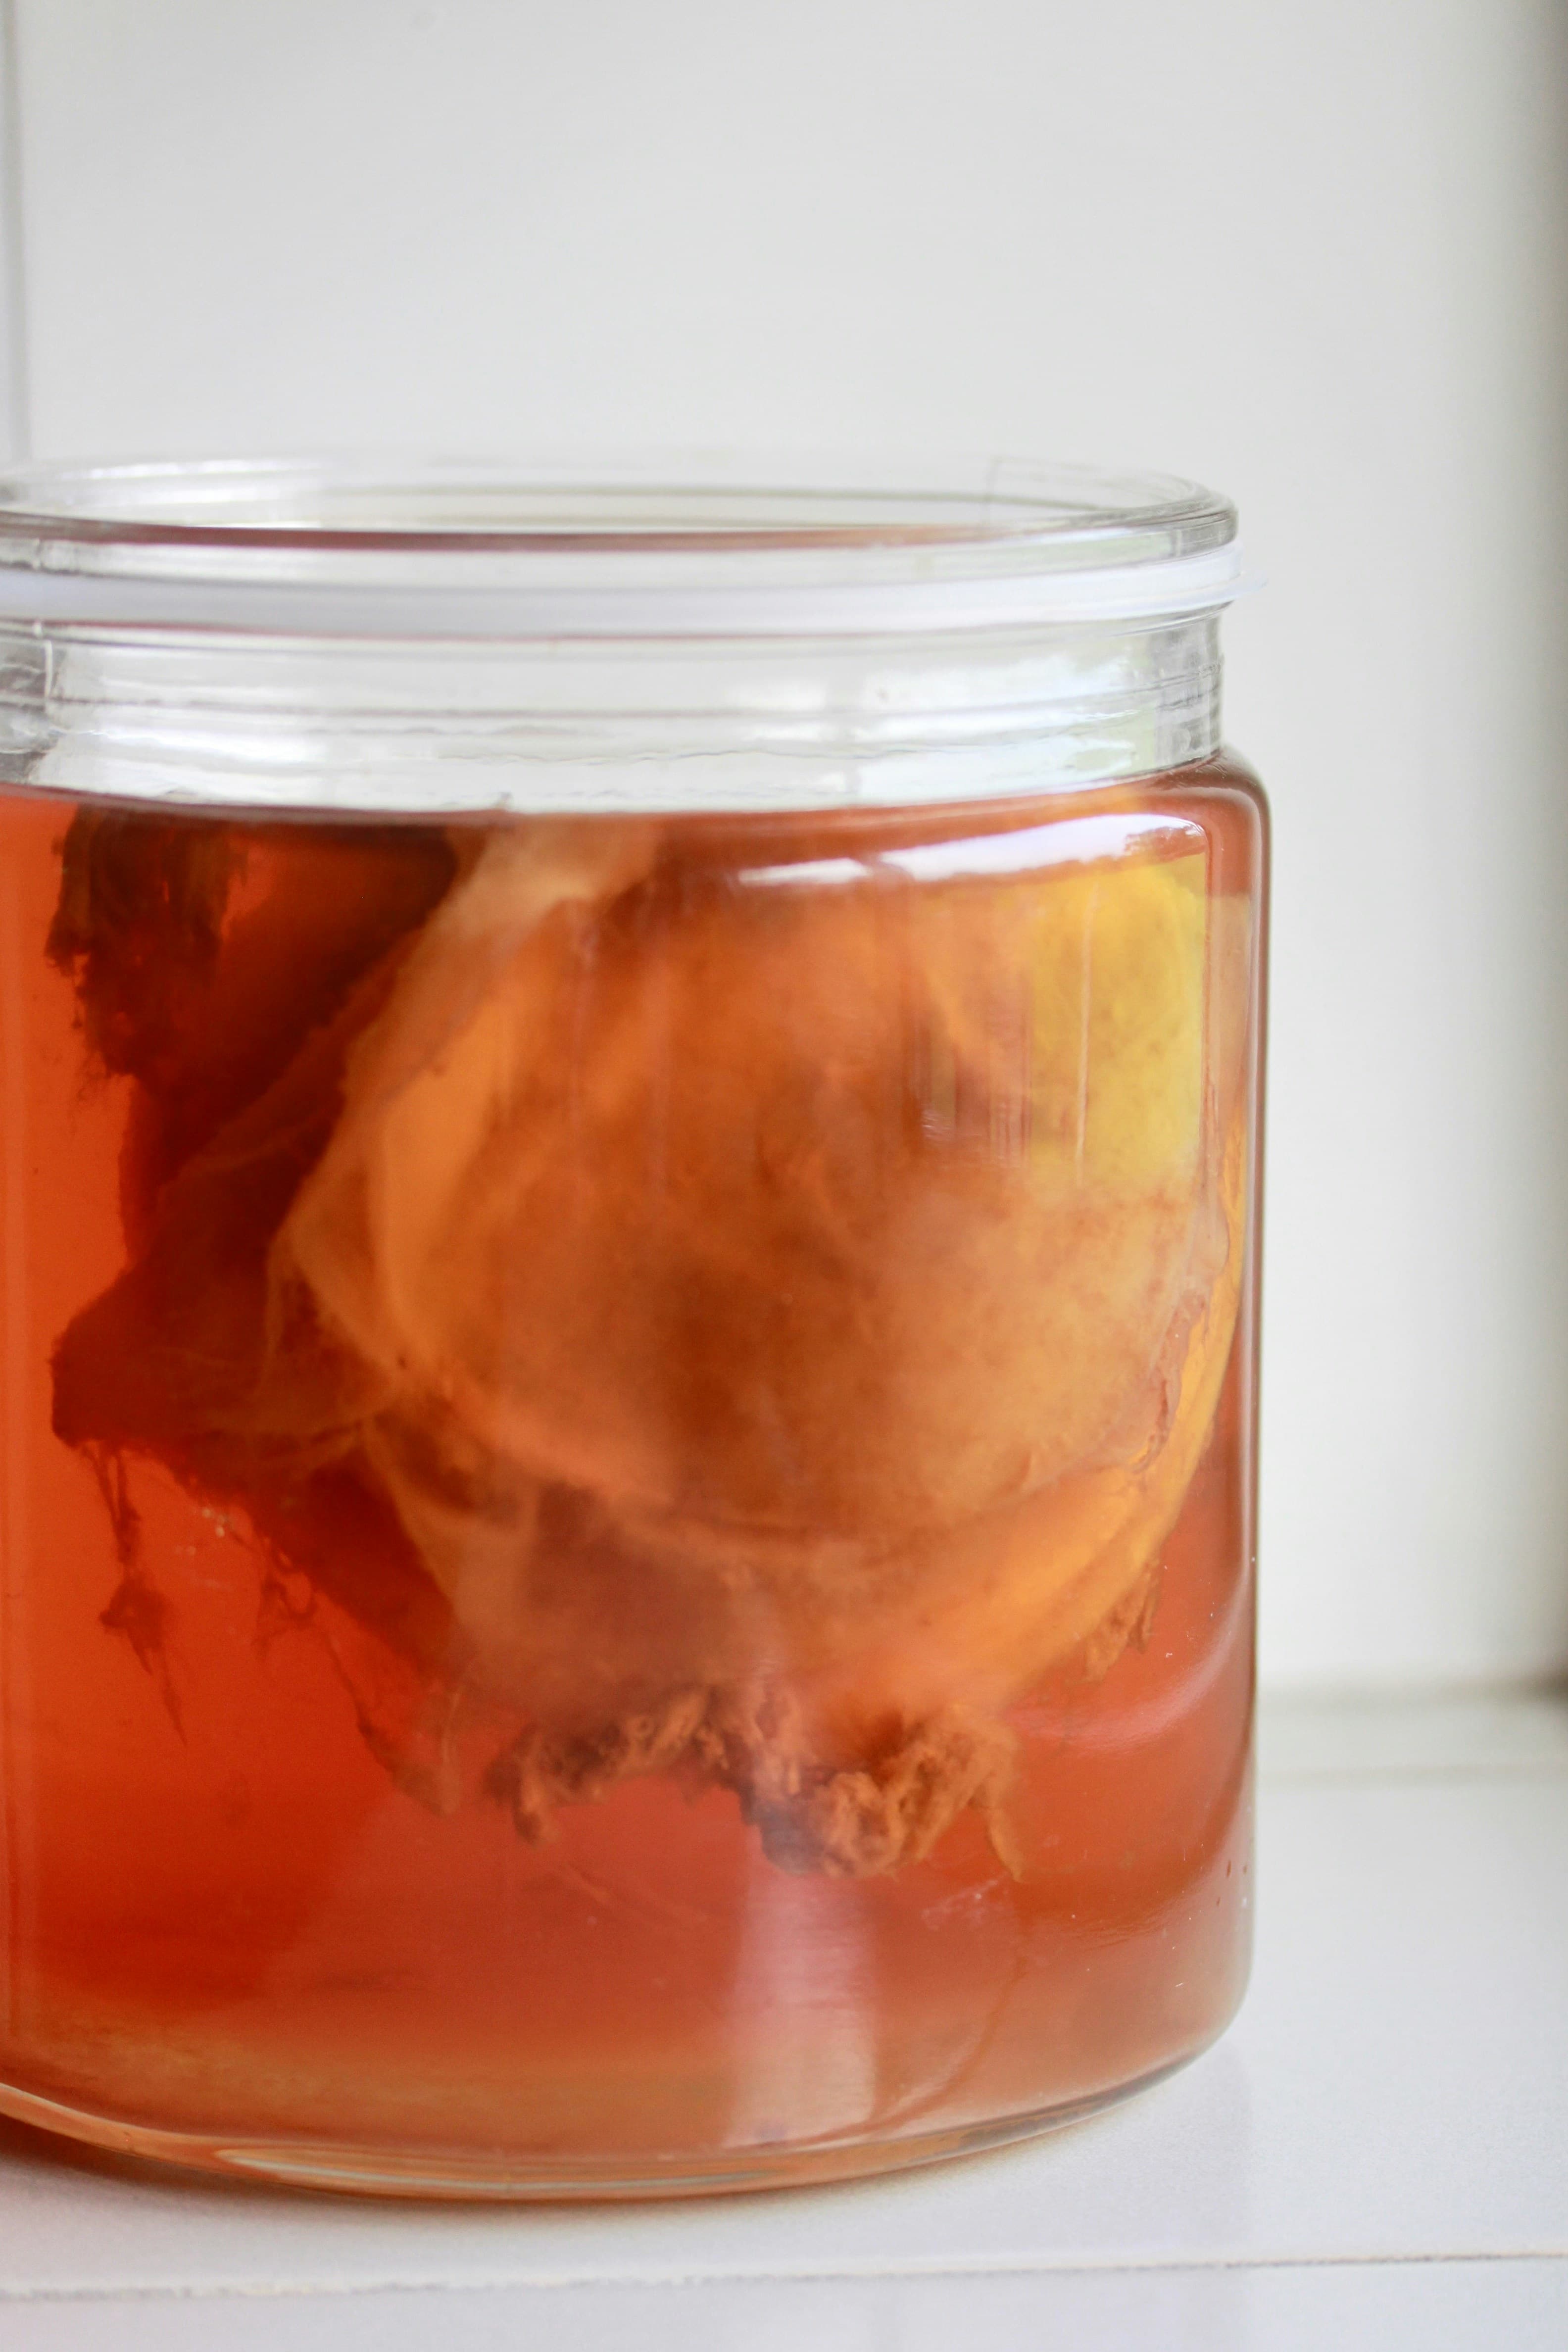
If you've already brewed a batch of kombucha using a SCOBY — that's your first fermentation, or F1. It turns sweet tea into tangy, probiotic-rich kombucha. But F1 kombucha is flat. It's got flavor and acidity, but no fizz.
Second fermentation (F2) is where the magic happens. You bottle the finished kombucha with a little bit of fruit, juice, or sugar, seal it up tight, and let the remaining yeast and bacteria do their thing in a closed container. The CO2 they produce has nowhere to go, so it dissolves into the liquid. The result: natural carbonation and bolder flavor, without any forced carbonation equipment.
If you haven't done your first fermentation yet, start with our Kombucha Brewing 101 guide. You need finished F1 kombucha before you can do an F2.
The Process
This is one of the simplest things you can do in fermentation. Five steps, ten minutes of active work, and then you wait. Here's the full process.
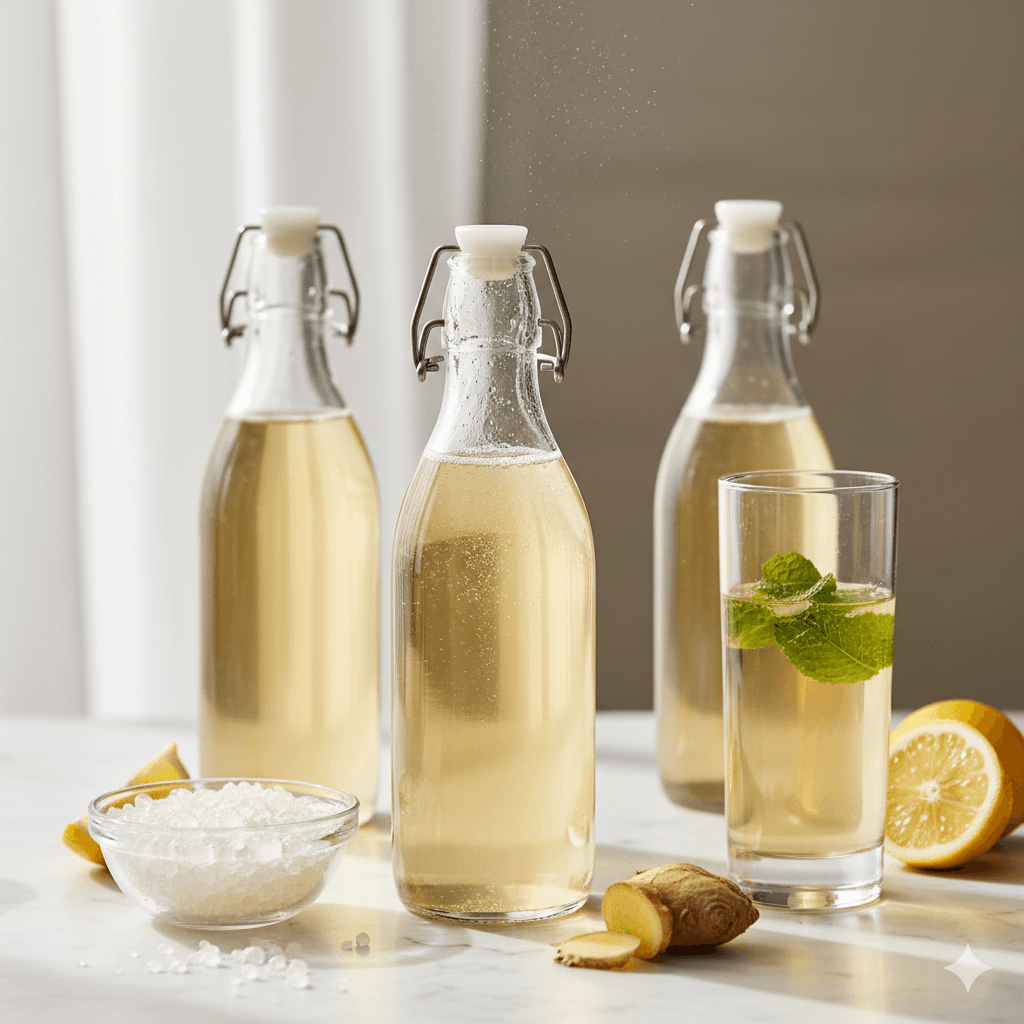
Prepare your bottles and flavoring. Wash your flip-top bottles with hot water — no soap residue, please. Chop any fruit into small pieces (the smaller the pieces, the more surface area for flavor extraction and sugar release). If you're using juice, just have it measured and ready. If you're using herbs like ginger or mint, slice or muddle them.
Remove the SCOBY and reserve starter liquid. Take the SCOBY out of your F1 vessel and set it aside in a clean bowl with 1–2 cups of kombucha as starter for your next batch. Pour the remaining kombucha through a fine-mesh strainer into a pitcher or large measuring cup. This removes any yeast strands or SCOBY bits.
Add your flavoring to each bottle. Drop in your fruit, pour in your juice, or add your herbs directly to the bottle. I like to add the flavoring first, then pour the kombucha on top — it's easier to see how much space you're working with. Leave about an inch of headspace at the top. The yeast needs a small air pocket, and overfilling increases the risk of a pressure blowout.
Seal the bottles and let them ferment. Lock the flip-top lids shut. This is the opposite of F1, where you want airflow — here, you want an airtight seal so CO2 builds up. Place the bottles at room temperature (68–85°F / 20–29°C) out of direct sunlight. Warmer temps mean faster carbonation. In summer, you might get great fizz in 24–48 hours. In winter, it could take the full 4 days.
Refrigerate and enjoy. After 2–4 days, move the bottles to the fridge. Cold temperatures slow fermentation almost to a halt and keep the carbonation dissolved in the liquid. Let them chill for at least a few hours before opening. When you're ready, open the bottle slowly over a sink. If you used high-sugar fruit, expect some enthusiasm from that first pour.
⚠️ Tip: Burp your bottles
If you're nervous about pressure buildup (and you should respect it, especially on your first few batches), “burp” your bottles once a day. Just crack the flip-top briefly to release excess CO2, then reseal. You'll lose a tiny bit of carbonation, but you'll avoid the risk of a bottle geyser — or worse, a cracked bottle. As you get more experience, you'll learn how long your specific setup takes and can skip the burping.
Flavor Ideas
This is the fun part. You can flavor kombucha with almost anything — fruit, juice, herbs, spices, even flowers. Here are some of my favorite combos, measured per 16 oz bottle. Start with these, then experiment.
Fruit-Forward
- Raspberry-lemon: 3–4 fresh raspberries + 1 tsp fresh lemon juice. Classic and crowd-pleasing.
- Mango: 2 tbsp diced mango (fresh or frozen). One of the best for carbonation because mango is loaded with sugar.
- Strawberry-basil: 2 sliced strawberries + 2 torn basil leaves. Surprisingly good. The basil adds an herbal complexity.
- Blueberry: 2 tbsp blueberries, lightly crushed. Beautiful deep purple color and a mellow, jammy flavor.
Spiced & Herbal
- Ginger: 1 tbsp freshly grated ginger. The undisputed champion of kombucha flavoring. Spicy, clean, and produces insane carbonation.
- Ginger-turmeric: 1 tbsp grated ginger + 1 tsp grated fresh turmeric. Anti-inflammatory and genuinely delicious — not just a wellness trend.
- Lavender-lemon: 1/2 tsp dried culinary lavender + 1 tsp lemon juice. Floral and refreshing. Go easy on the lavender — a little goes a long way.
- Apple-cinnamon: 2 tbsp apple juice + 1 small cinnamon stick. Tastes like fall in a bottle.
Tropical
- Passion fruit: 1 tbsp passion fruit pulp. Tart, aromatic, and one of the best for getting that store-bought level of fizz.
- Pineapple-mint: 2 tbsp pineapple juice + 3–4 fresh mint leaves. If you like tepache, you'll love this.
How Much Flavoring to Add
The right amount depends on what you're using, but here are reliable starting ratios:
- Juice: 10–20% of the bottle volume. For a 16 oz bottle, that's about 1.5–3 oz of juice. Juice is concentrated sugar, so it carbonates fast. Start at 10% if you're worried about over-carbonation.
- Chopped fruit: 10–30% of the bottle volume. Fruit releases sugar more slowly than juice, so you can use a bit more. Softer fruits like berries and mango break down faster than firmer fruits like apple.
- Ginger: 1 tbsp grated per 16 oz bottle. Ginger has a lot of natural sugar and produces great carbonation. It's hard to overdo — more ginger just means more bite.
- Herbs and spices: Use sparingly. A few leaves of basil or mint, a small cinnamon stick, 1/2 tsp of dried lavender. Herbs don't add much sugar, so if you're using herbs alone, add 1/2 tsp of plain sugar to the bottle to feed the carbonation.
The key variable is sugar. The yeast in your kombucha eats sugar and produces CO2. More sugar means more carbonation (and more pressure). If your F1 kombucha is already very tart and dry — meaning the yeast has eaten most of the original sugar — you'll need more flavoring sugar to get good fizz. If your F1 is still a bit sweet, you can use less.
Troubleshooting
Not fizzy enough
This is the most common complaint. A few things to check:
- Not enough sugar. The yeast needs fuel. Add more fruit, a splash of juice, or 1/2 tsp of plain sugar per bottle.
- Too cool. Carbonation happens faster in warm environments. If your house is below 68°F (20°C), try finding a warmer spot — on top of the fridge, near a heating vent, or in a closet.
- Bad seal. If CO2 is leaking out, you won't build pressure. Make sure your flip-top gaskets are in good shape. Worn rubber gaskets are the silent killer of carbonation.
- Not enough time. Give it another day. Some batches just need longer, especially in cooler weather.
- F1 went too long. If your first fermentation ran so long that it's very vinegary, most of the yeast may be exhausted. Try a slightly shorter F1 next time.
For a deeper breakdown, check the kombucha troubleshooting guide.
Too fizzy or explosive
The opposite problem, and a messier one. If your bottles are erupting when you open them:
- Shorten your F2 time. If 3 days is too much, try 2.
- Use less sugar or fruit. High-sugar fruits like mango, grape, and pineapple can produce a lot of CO2 quickly.
- Always refrigerate for several hours before opening. Cold liquid holds more dissolved CO2, so less escapes as foam.
- Open slowly and over a sink. Crack the lid just slightly and let the pressure release in stages.
Vinegary taste
If your F2 kombucha tastes like vinegar, the issue is almost always your F1. The kombucha you bottled was already too acidic. F2 doesn't fix sour kombucha — it amplifies whatever flavor you started with. Shorten your F1 next time, or pull the kombucha when it's still slightly sweet.
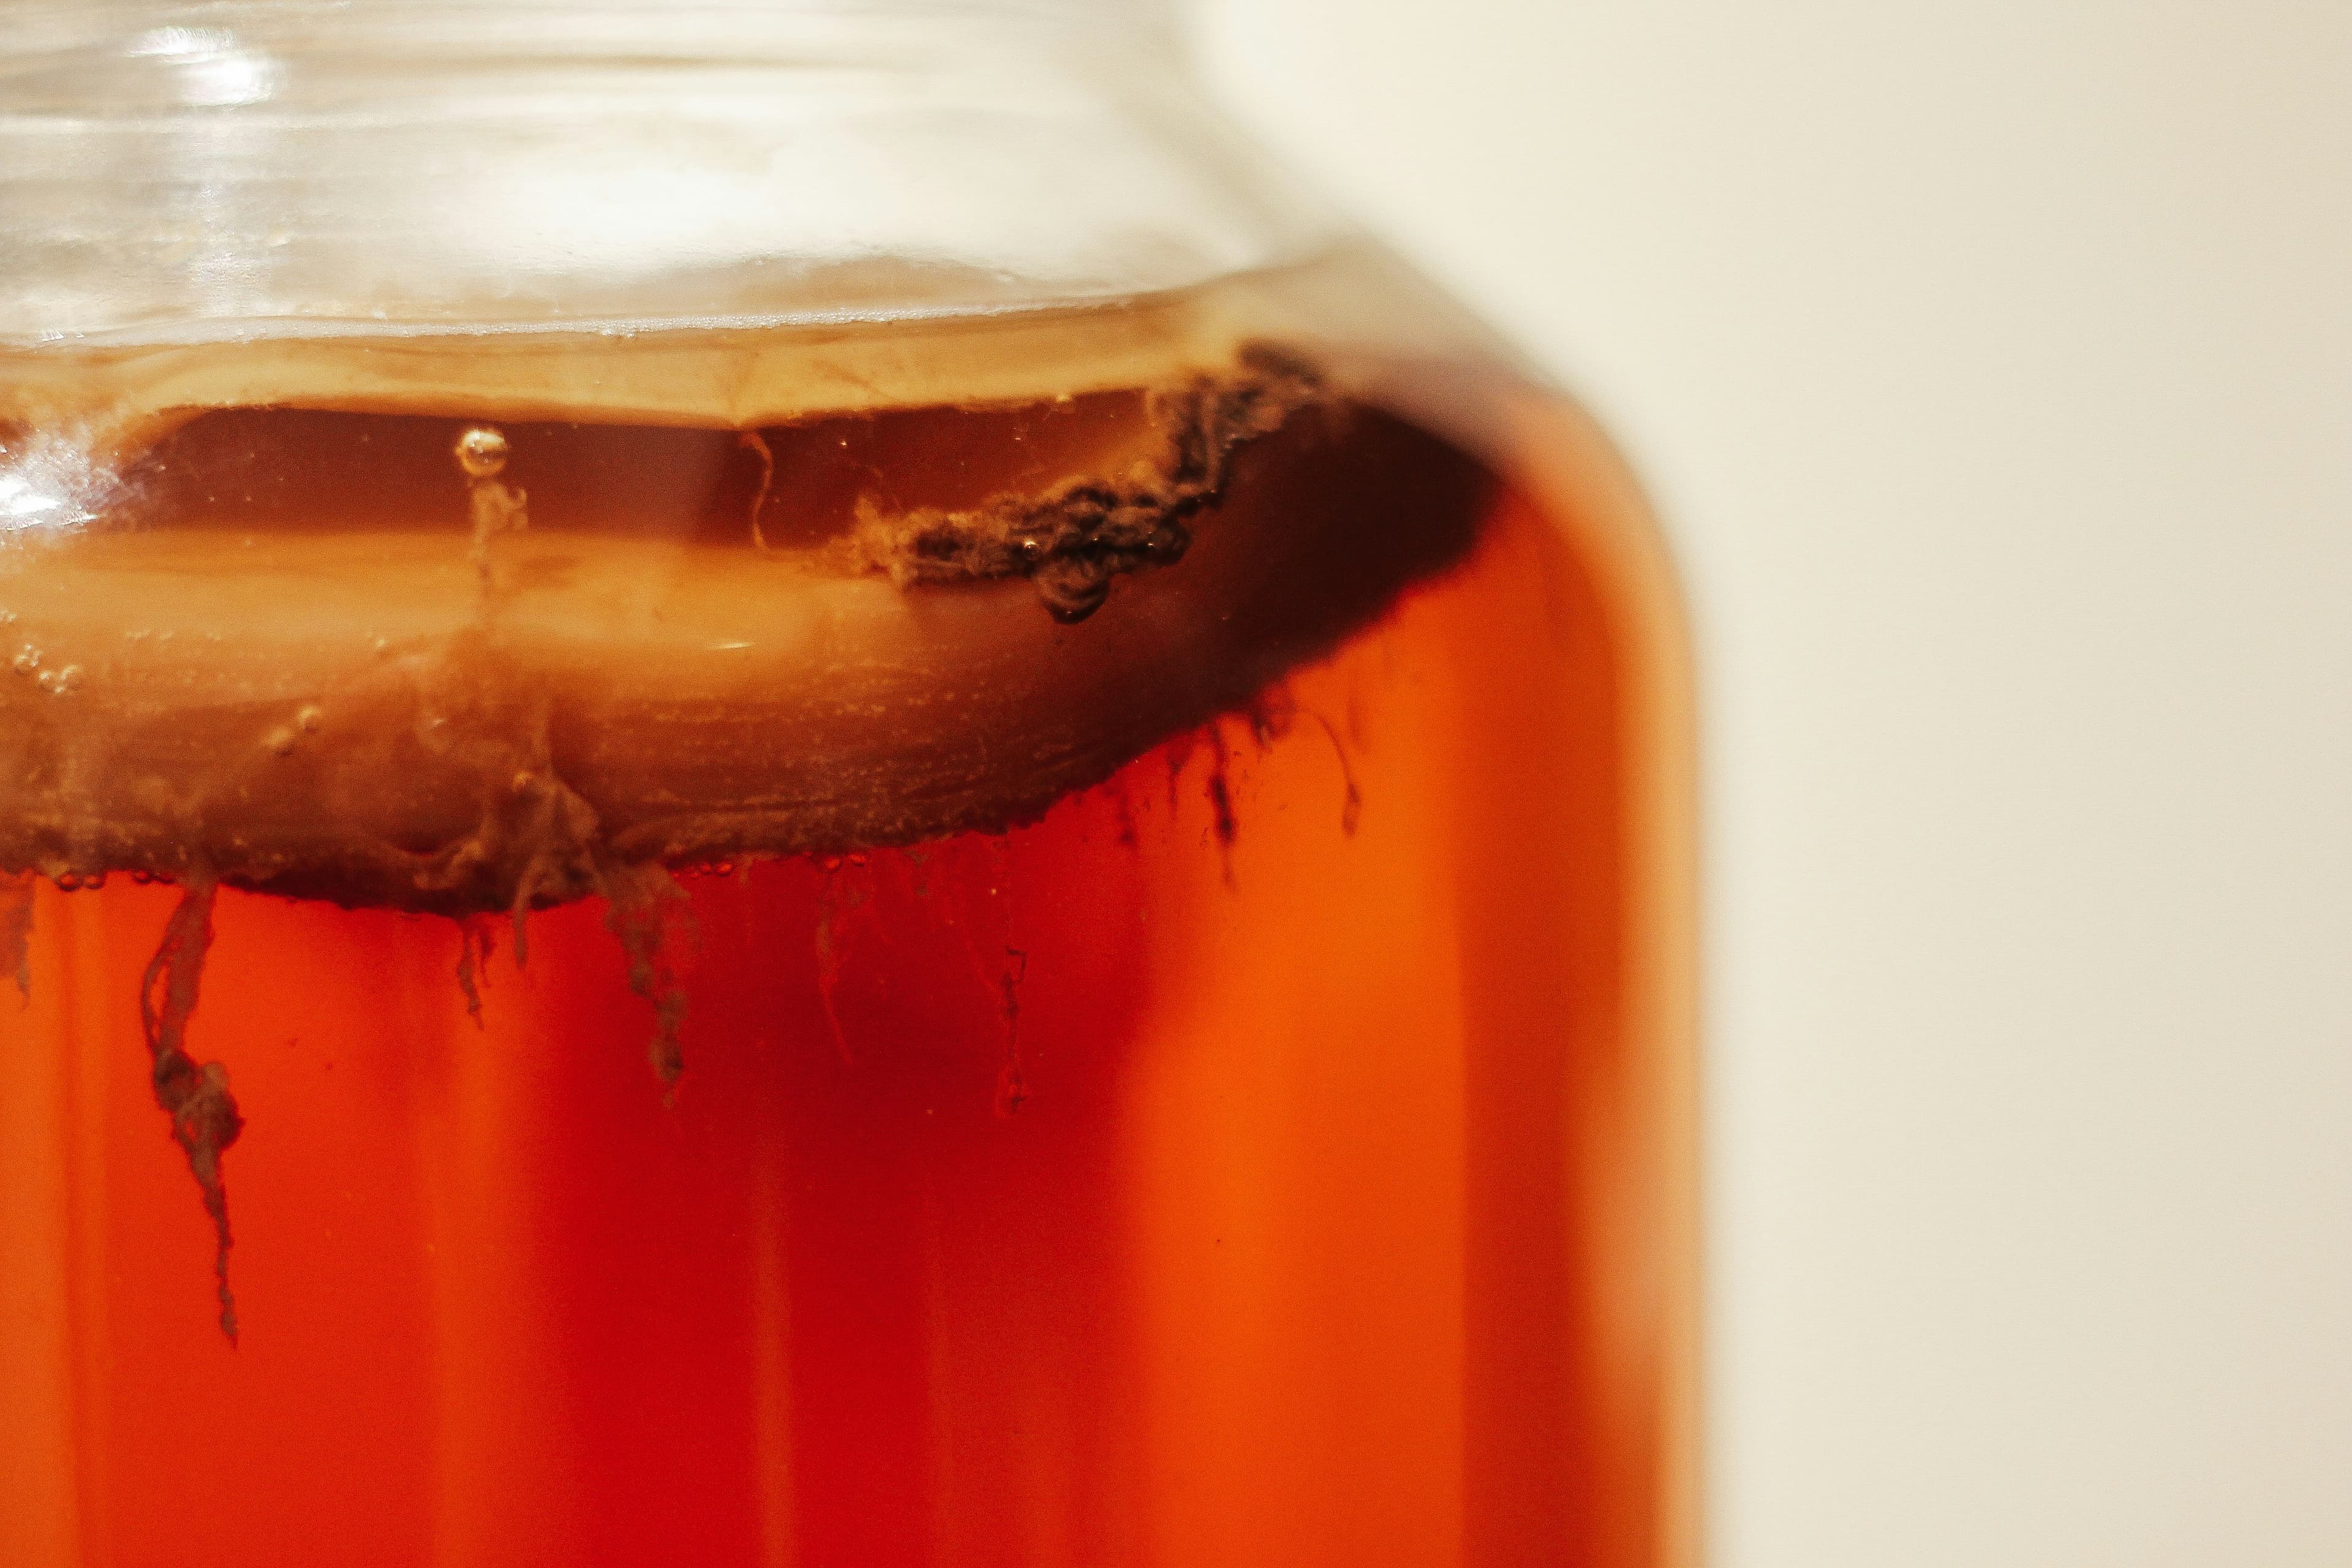
Mold
Mold during F2 is rare because the sealed, acidic environment is hostile to mold. If you see fuzzy growth (green, black, white, or pink fuzz) on the surface, discard the batch. Thin, flat, white films are usually just yeast colonies — not mold. Actual mold is fuzzy and raised. If mold keeps appearing, sanitize your bottles more thoroughly and make sure your F1 kombucha is acidic enough (pH below 4.0) before bottling.
🍾 Tip: Bottle safety
Always use bottles rated for pressure — flip-top brewing bottles or recycled commercial kombucha bottles. Never use thin decorative glass, mason jars, or anything not designed for carbonation. Open every bottle over a sink, angled away from your face. Treat each one like a tiny champagne bottle until you know how it'll behave.
What to Try Next
Once you've got second fermentation dialed in, you've unlocked the core skill behind most naturally carbonated drinks. That same concept — sealed container, a little sugar, yeast does the work — applies to all kinds of fermented beverages.
- Water kefir — faster turnaround than kombucha, lighter flavor, and just as customizable in F2.
- Ginger bug — a wild-fermented ginger starter you can use to make natural ginger ale, root beer, and fruit sodas.
- Tepache — a Mexican pineapple drink that ferments in 2–3 days. Uses pineapple peels you'd otherwise throw away.
And if you ever need gear recommendations — bottles, pH strips, continuous brew setups — check the tools page for everything we actually use and recommend.