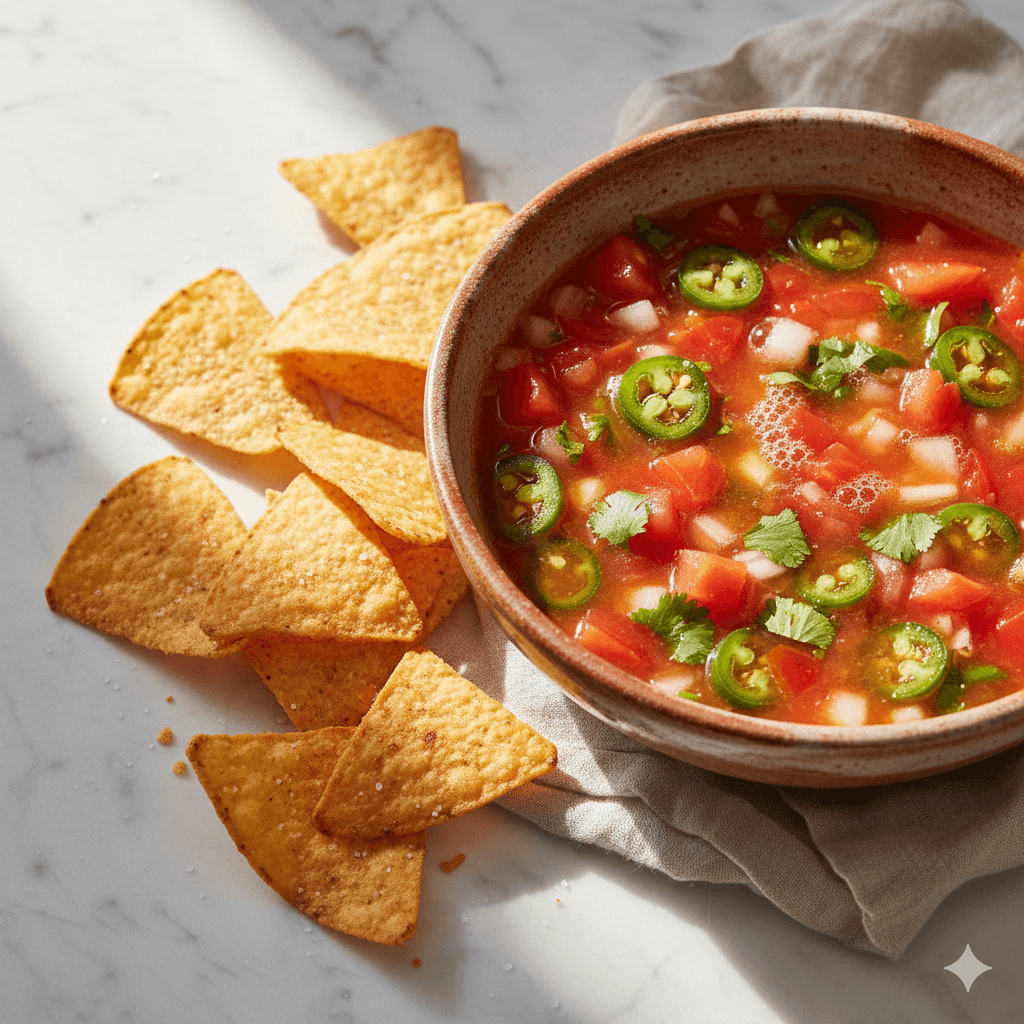
Late summer is peak corn season, and most people are looking for ways to use an abundance of fresh ears before the season ends. Fermented corn salsa is one of the best answers: it takes fresh-cut kernels, combines them with peppers, onion, and lime, and transforms the whole mixture into something tangy, alive, and far more interesting than any jarred salsa on a grocery shelf.
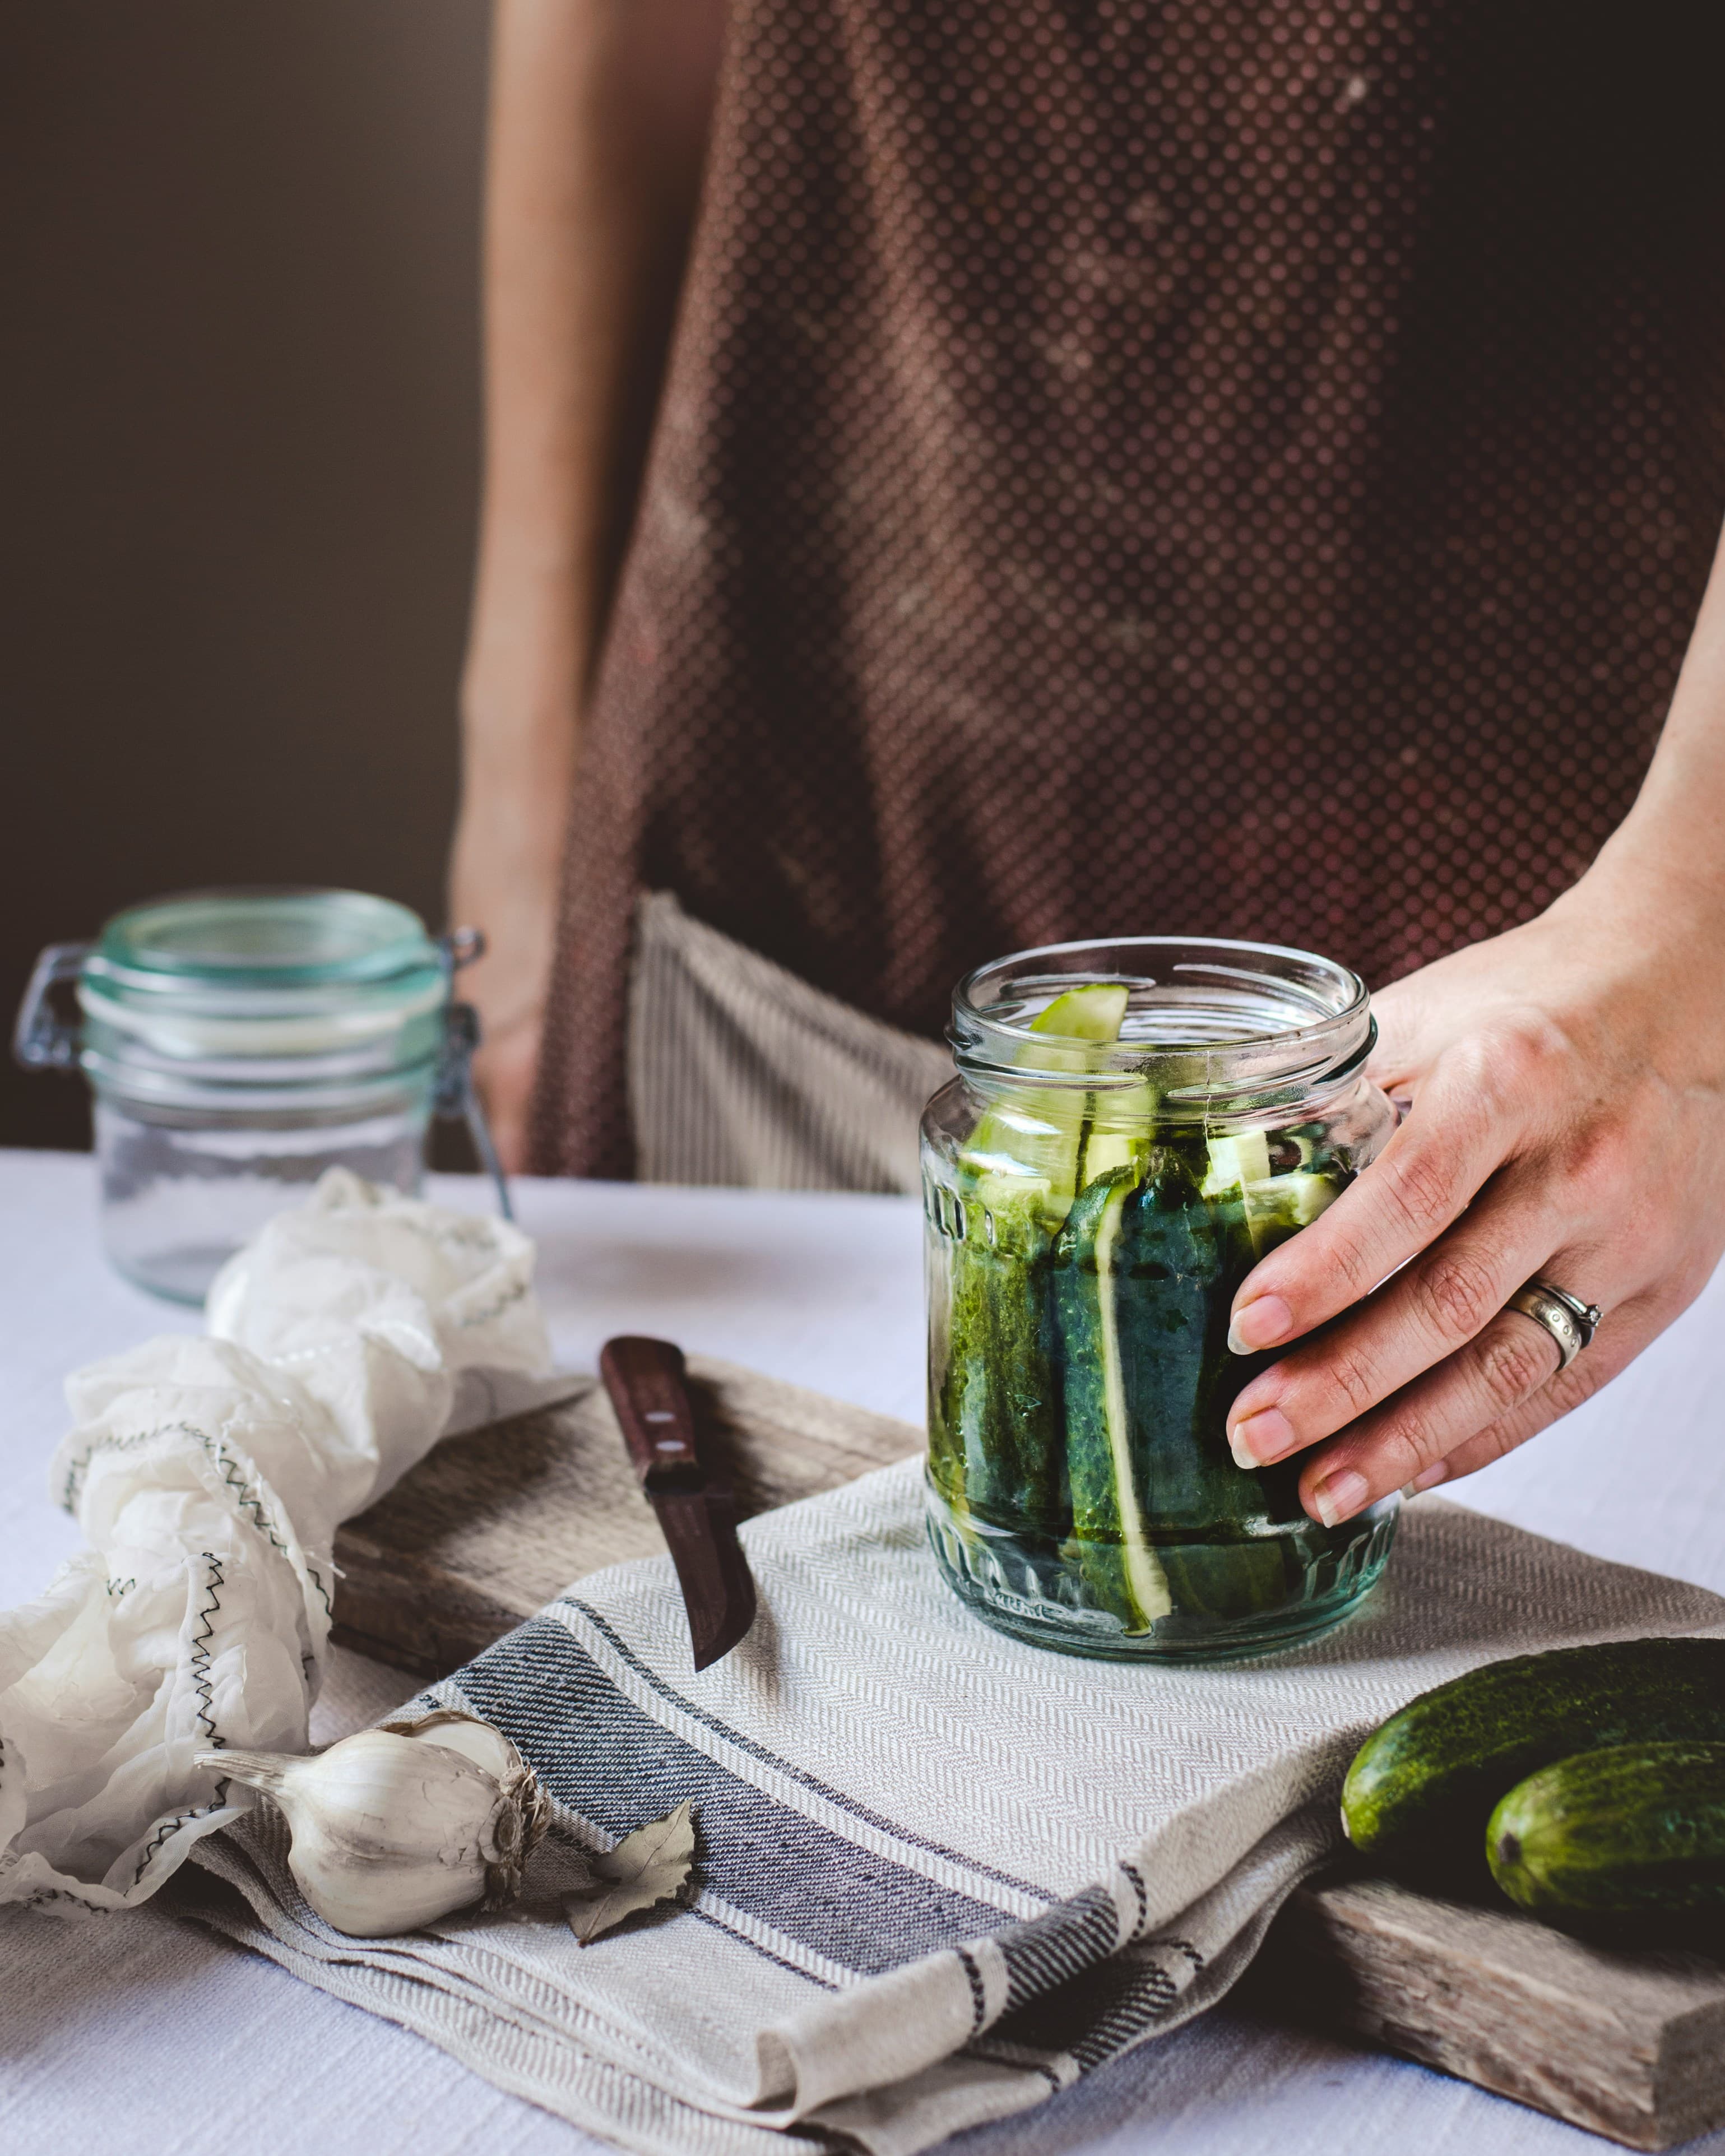
This is a lacto-fermentation recipe — the same process used to make sauerkraut, kimchi, and pickles. Naturally occurring bacteria on the vegetables produce lactic acid, which preserves the salsa and gives it a bright, pleasantly sour edge. No vinegar needed, and no canning equipment required.
What Makes Fermented Corn Salsa Different
Fresh salsa is wonderful but perishable — it lasts three to five days in the fridge before the textures break down and the flavor fades. Vinegar salsa keeps longer but trades some freshness for the sharp, one-note acidity of acetic acid.
Fermented corn salsa sits in a different category entirely. The corn kernels stay remarkably firm and slightly crunchy even after fermenting. The peppers and onion soften just enough to integrate. And the flavor that develops — a gentle lactic sourness layered over the natural sweetness of summer corn — is something you genuinely can't achieve any other way.
It also keeps for several weeks in the fridge, which makes it a practical way to preserve a seasonal ingredient at its peak. If you've been curious about fermentation but haven't tried it yet, this is one of the most rewarding starting points. For a primer on how the process works, see our guide on what is lacto-fermentation.
Ingredients
- 4 cups fresh corn kernels (from about 4–5 ears of corn)
- 1 cup finely diced red bell pepper
- ½ cup finely diced jalapeño (seeds removed for mild, seeds in for hot)
- ½ cup finely diced red onion
- 3 garlic cloves, minced
- Juice of 1 lime
- 1 teaspoon ground cumin
- 1 tablespoon non-iodized salt (kosher, sea salt, or Redmond Real Salt)
- Small handful of fresh cilantro, roughly chopped (optional)
Equipment:
- A wide-mouth quart mason jar or a half-gallon jar if doubling the recipe
- A fermentation weight or a small zip-lock bag filled with brine to keep vegetables submerged
- A large mixing bowl
Always use non-iodized salt.
Iodized table salt contains additives that inhibit the bacteria you need for fermentation. Kosher salt, sea salt, and pickling salt all work well. For a full breakdown of salt choices, see our post on salt for fermentation.
Step-by-Step Instructions
Step 1: Prep the corn. Cut the kernels off the cob using a sharp knife. Stand the ear upright in a large bowl and cut downward, rotating the cob as you go. You'll get about ¾ cup of kernels per ear. Fresh, in-season corn is ideal — the natural sugars fuel fermentation. Frozen corn works in a pinch but produces a softer result.
Step 2: Combine the vegetables. In a large bowl, mix together the corn kernels, diced pepper, jalapeño, red onion, and minced garlic. Add the lime juice, cumin, and cilantro if using. Toss everything to combine evenly.
Step 3: Add the salt. Sprinkle the salt over the mixture and toss again thoroughly. Let it sit for 10–15 minutes. You'll notice the vegetables start releasing liquid — this is the brine forming naturally. Taste and adjust if needed. The mixture should taste noticeably salty, but not overwhelmingly so.
Step 4: Pack the jar. Transfer the salsa to a clean mason jar. Press the mixture down firmly as you go so the vegetables are packed tightly and submerged in their own liquid. Leave about an inch of headspace at the top for expansion during fermentation.
If the vegetables don't produce enough liquid to fully cover themselves, mix ½ teaspoon of non-iodized salt into ½ cup of filtered water and add just enough to submerge the vegetables.
Step 5: Weigh everything down. Place a fermentation weight on top of the vegetables to keep them pressed below the brine. If you don't have a weight, fill a small zip-lock bag with a bit of brine and nestle it into the jar mouth — it'll hold the vegetables down effectively.
Step 6: Cover and ferment. Cover the jar loosely — a cloth secured with a rubber band, or a lid set on top without sealing, allows CO₂ to escape. Place the jar at room temperature, away from direct sunlight. A spot between 65–75°F (18–24°C) is ideal.
Ferment for 2–5 days. Start tasting at the 48-hour mark. At two days you'll have a lightly tangy salsa that still tastes very fresh. By day four or five, the flavor is more developed and distinctly sour. Most people prefer this salsa somewhere in the middle — around three days.
Step 7: Refrigerate. Once the salsa reaches a flavor you're happy with, seal the jar and move it to the fridge. Cold temperatures slow fermentation dramatically. The salsa will continue to develop very slowly in the fridge, becoming gradually more sour over time. Properly stored, it keeps for three to four weeks.
Serving Suggestions
Fermented corn salsa is versatile in a way that fresh salsa isn't. The tangy, probiotic flavor pairs well with:
- Tortilla chips as a standalone snack
- Fish tacos — the acidity cuts through rich, oily fish perfectly
- Grilled chicken or pork as a bright topping
- Black bean bowls or grain bowls where you want a tangy, textural element
- Scrambled eggs or avocado toast for a savory fermented kick
Variations
Roasted corn salsa. Before combining, broil or grill the corn kernels until lightly charred. The char flavor carries through the ferment and produces a smokier, more complex salsa. Ferment for two to three days.
Mango corn salsa. Replace half the bell pepper with finely diced fresh mango. The natural sugars in the mango accelerate fermentation slightly, so check flavor at 36–48 hours. The result is sweet-tart and particularly good with fish.
Tomato corn salsa. Add one cup of diced firm tomatoes to the mix. Tomatoes introduce more water, so keep a close eye on the brine level and be aware the overall texture softens more quickly. Best consumed within two weeks.
Troubleshooting
White film on the surface. A thin white or cream-colored film is most likely kahm yeast — harmless, but worth skimming off with a clean spoon. It forms when vegetables are partially exposed to air. Press everything back below the brine line.
Too salty, not enough tang. Give it another day or two. The lactic acid is still developing, and the saltiness becomes more balanced as the sour notes build. If it still tastes flat after five days, your kitchen may be too cool — try a warmer spot.
Vegetables floating above the brine. This is the most common issue with chunky salsas and vegetable ferments. Always use a weight or a brine-filled bag to keep everything submerged. Anything above the brine line is exposed to oxygen, which invites mold.
For more guidance, see our complete guide to fermented salsa and our fermented pickles guide for general lacto-fermentation troubleshooting tips.