Learning how to ferment summer peppers is one of the most practical fermentation projects of the season. Peppers are at their best and most affordable in June through August — and a quart jar of lacto-fermented peppers transforms everything from tacos to grain bowls to scrambled eggs for months afterward. Unlike a fermented hot sauce, which blends the peppers into a liquid, fermented whole or sliced peppers retain their texture and develop a complex tang that raw peppers never have.
The process is simple: salt brine, good peppers, and time. Here's everything you need to know.
Best Pepper Varieties for Summer Fermentation
Almost any fresh pepper ferments well. The question is which one matches what you want to do with the finished product.
Jalapeño is the default choice for most home fermenters. It's available all summer, affordable, and ferments cleanly. Sliced into rounds, fermented jalapeños are an endlessly useful condiment — they go on everything. Medium heat, slightly fruity when fermented.
Fresno looks like a red jalapeño and has a similar heat level, but the flavor is a bit sweeter and more complex. Excellent fermented. When they turn fully red in late summer, they're at peak flavor for fermentation.
Banana pepper is mild, sweet, and familiar — the classic deli pepper. Fermented banana peppers are tangy, slightly crunchy, and crowd-pleasing. Great if you're fermenting for people who don't want much heat.
Shishito is the summer farmers' market staple — small, thin-walled, mostly mild with the occasional hot one. They ferment beautifully left whole and are ready in as little as 4 to 5 days. Serve straight from the jar as a snack.
Habanero or scotch bonnet should be fermented in combination with milder peppers unless you want serious heat. A mix of two parts banana pepper to one part habanero produces a well-balanced fermented pepper with noticeable but not overwhelming fire.
Equipment and Setup
Fermenting peppers requires almost nothing beyond a jar, salt, and water. But there are two things worth doing right.
Use a fermentation weight. Peppers want to float, and anything exposed above the brine can grow kahm yeast or mold. A proper fermentation weight solves this. The Masontops Pickle Infinity Weights sit flush inside wide-mouth mason jars and are the most consistently recommended option — they're glass, easy to clean, and sized perfectly for quart jars. Our full guide to fermentation weights covers all the options.
Use filtered or non-chlorinated water. Chlorine in tap water inhibits the lactic acid bacteria you need. If your tap water is chlorinated, either filter it or let it sit uncovered for 30 minutes before using — most of the chlorine off-gasses on its own.
Use non-iodized salt. Iodized table salt contains additives that can slow or stop lacto-fermentation. Kosher salt, sea salt, and pickling salt all work well. The brine ratio for peppers is 2% by weight: 20g of salt per liter of water.
Step-by-Step Instructions
Step 1: Prepare your peppers. Wash thoroughly. Remove stems — they can introduce unwanted bacteria. Slice into rounds about ¼-inch thick for the most versatile result, or leave small peppers whole. Removing seeds reduces heat; leaving them in keeps it. If using garlic, peel 3 to 5 cloves and add them to the jar — garlic and fermented peppers are a natural combination.
Step 2: Make the brine. Weigh out 20g of non-iodized salt and dissolve it in 1 liter of filtered water. This produces a 2% brine, which is the standard ratio for vegetable ferments. If you're fermenting a very small batch (one pepper), scale proportionally — but 2% by weight is the constant.
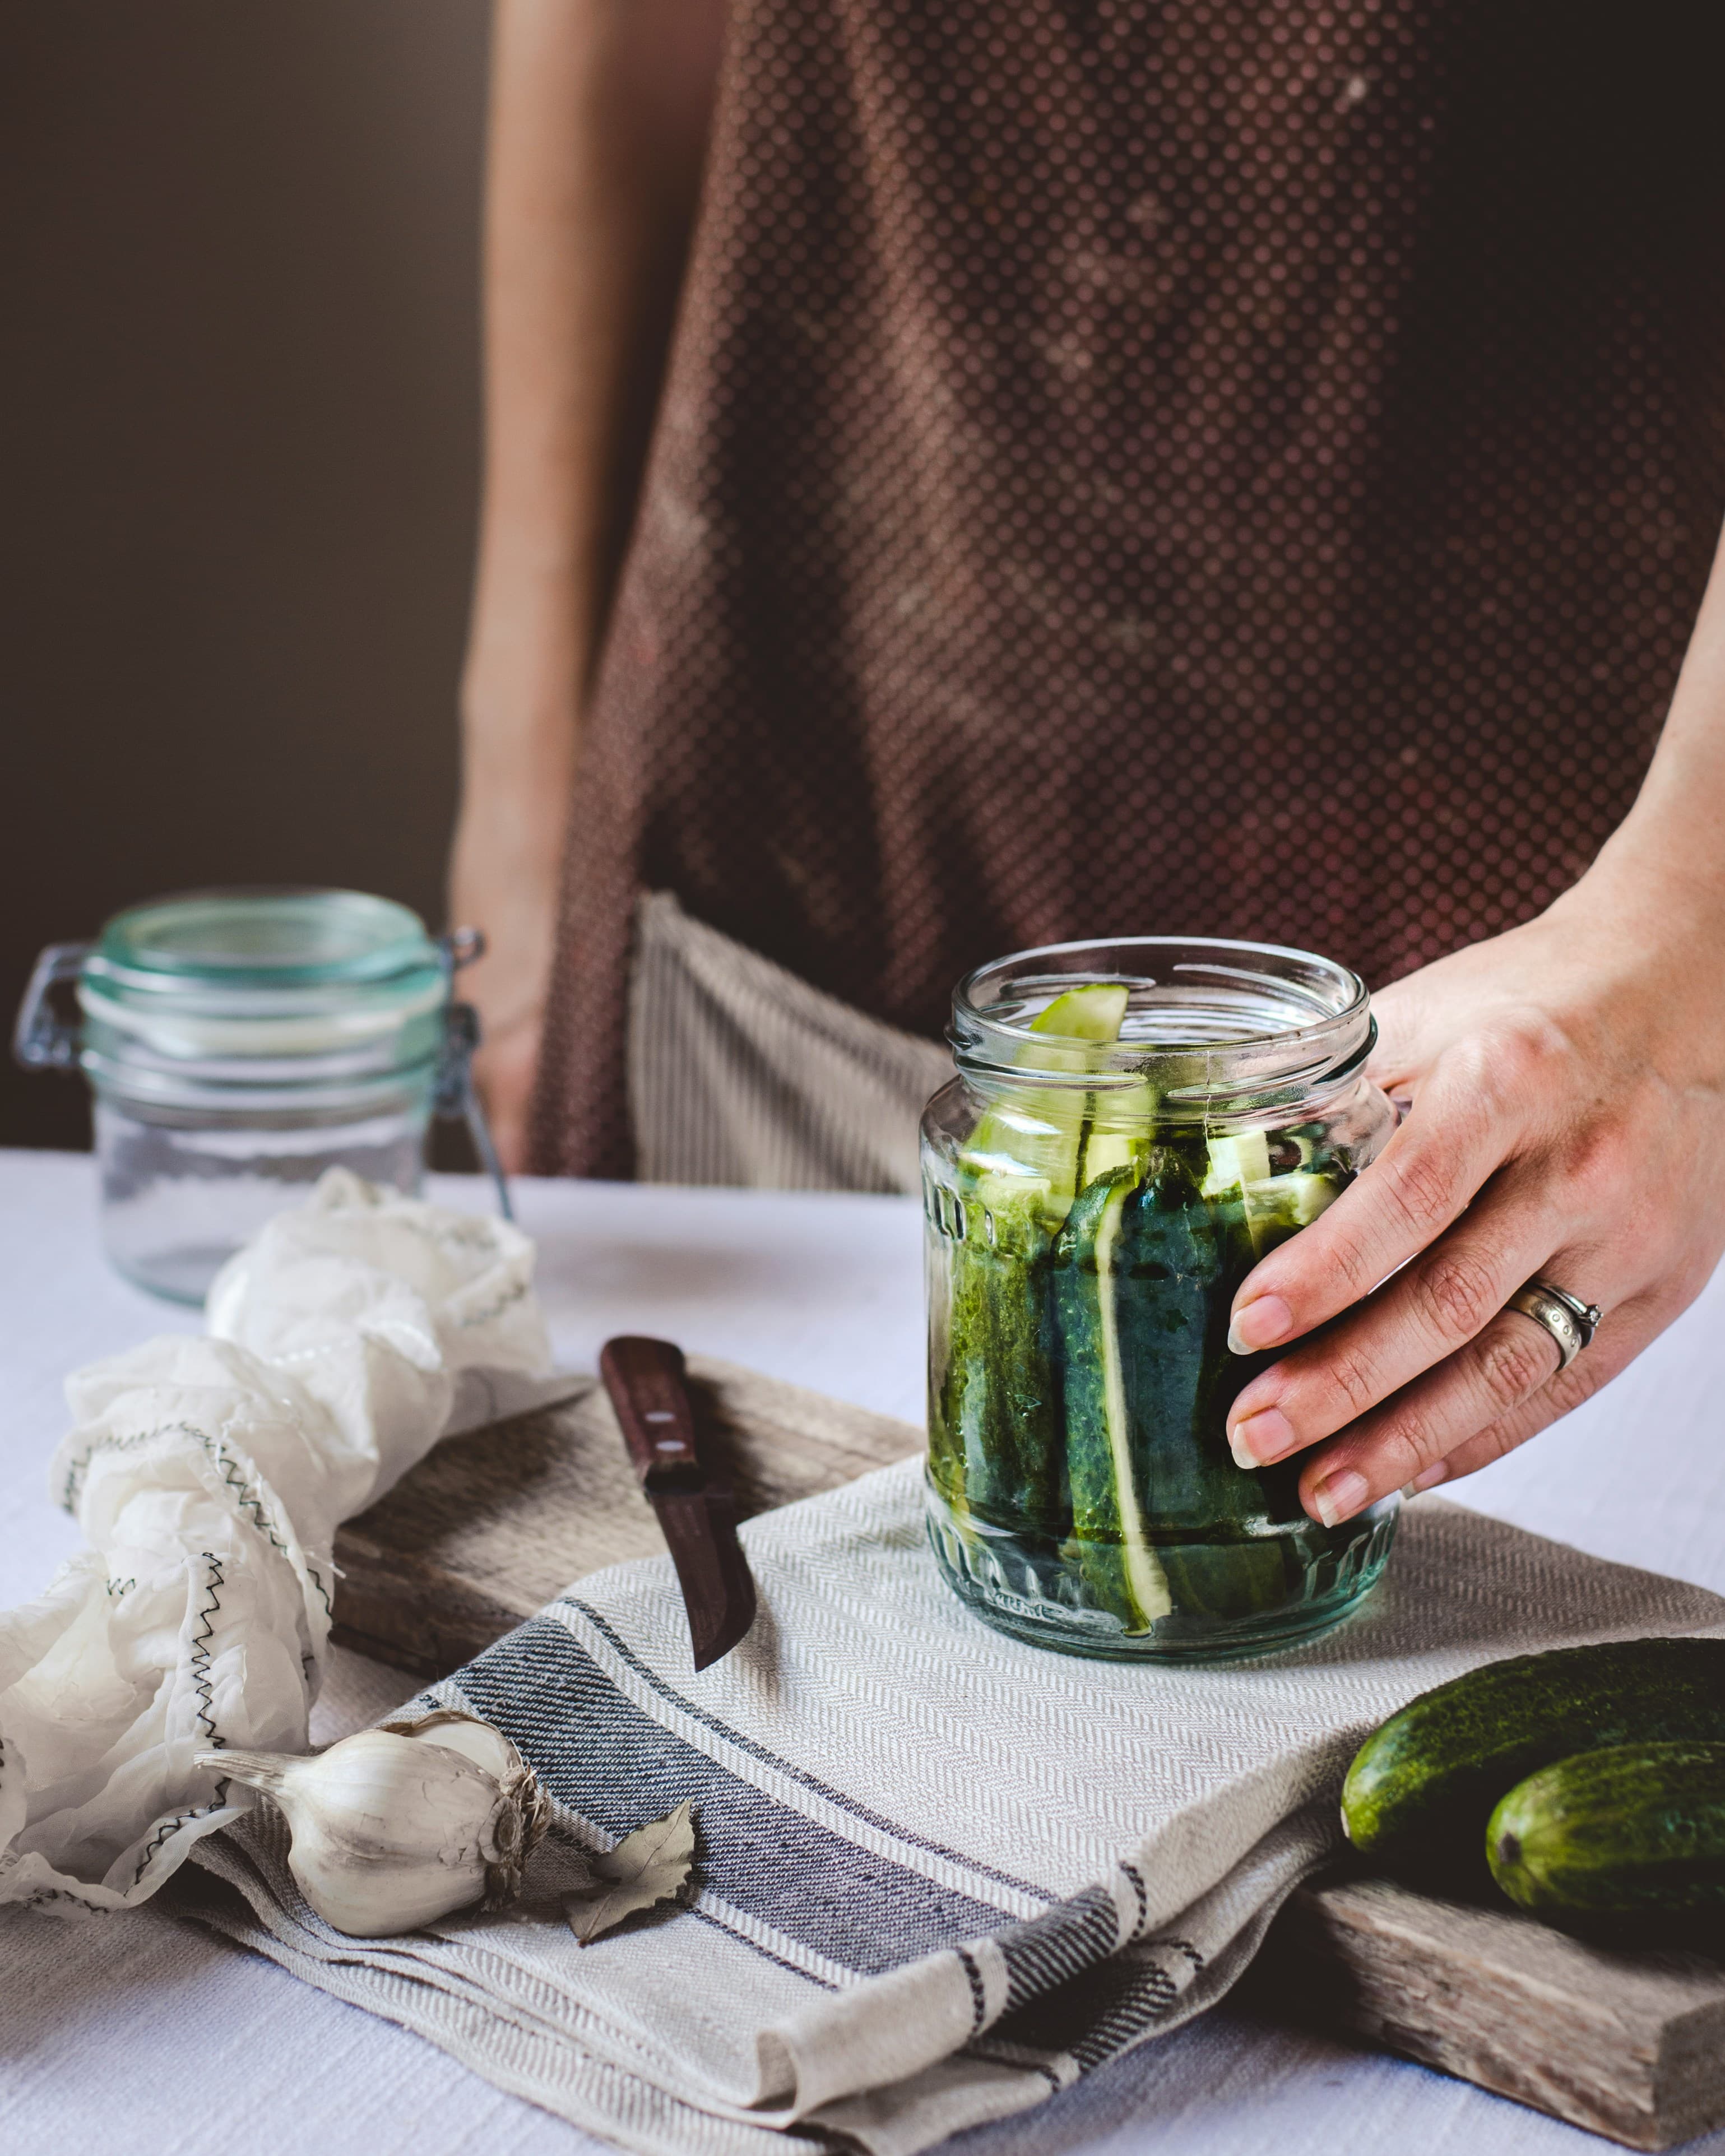
Step 3: Pack the jar. Pack peppers tightly into a clean quart-size wide-mouth mason jar. The tighter the pack, the easier it is to keep everything submerged. Leave about an inch of headspace at the top for brine.
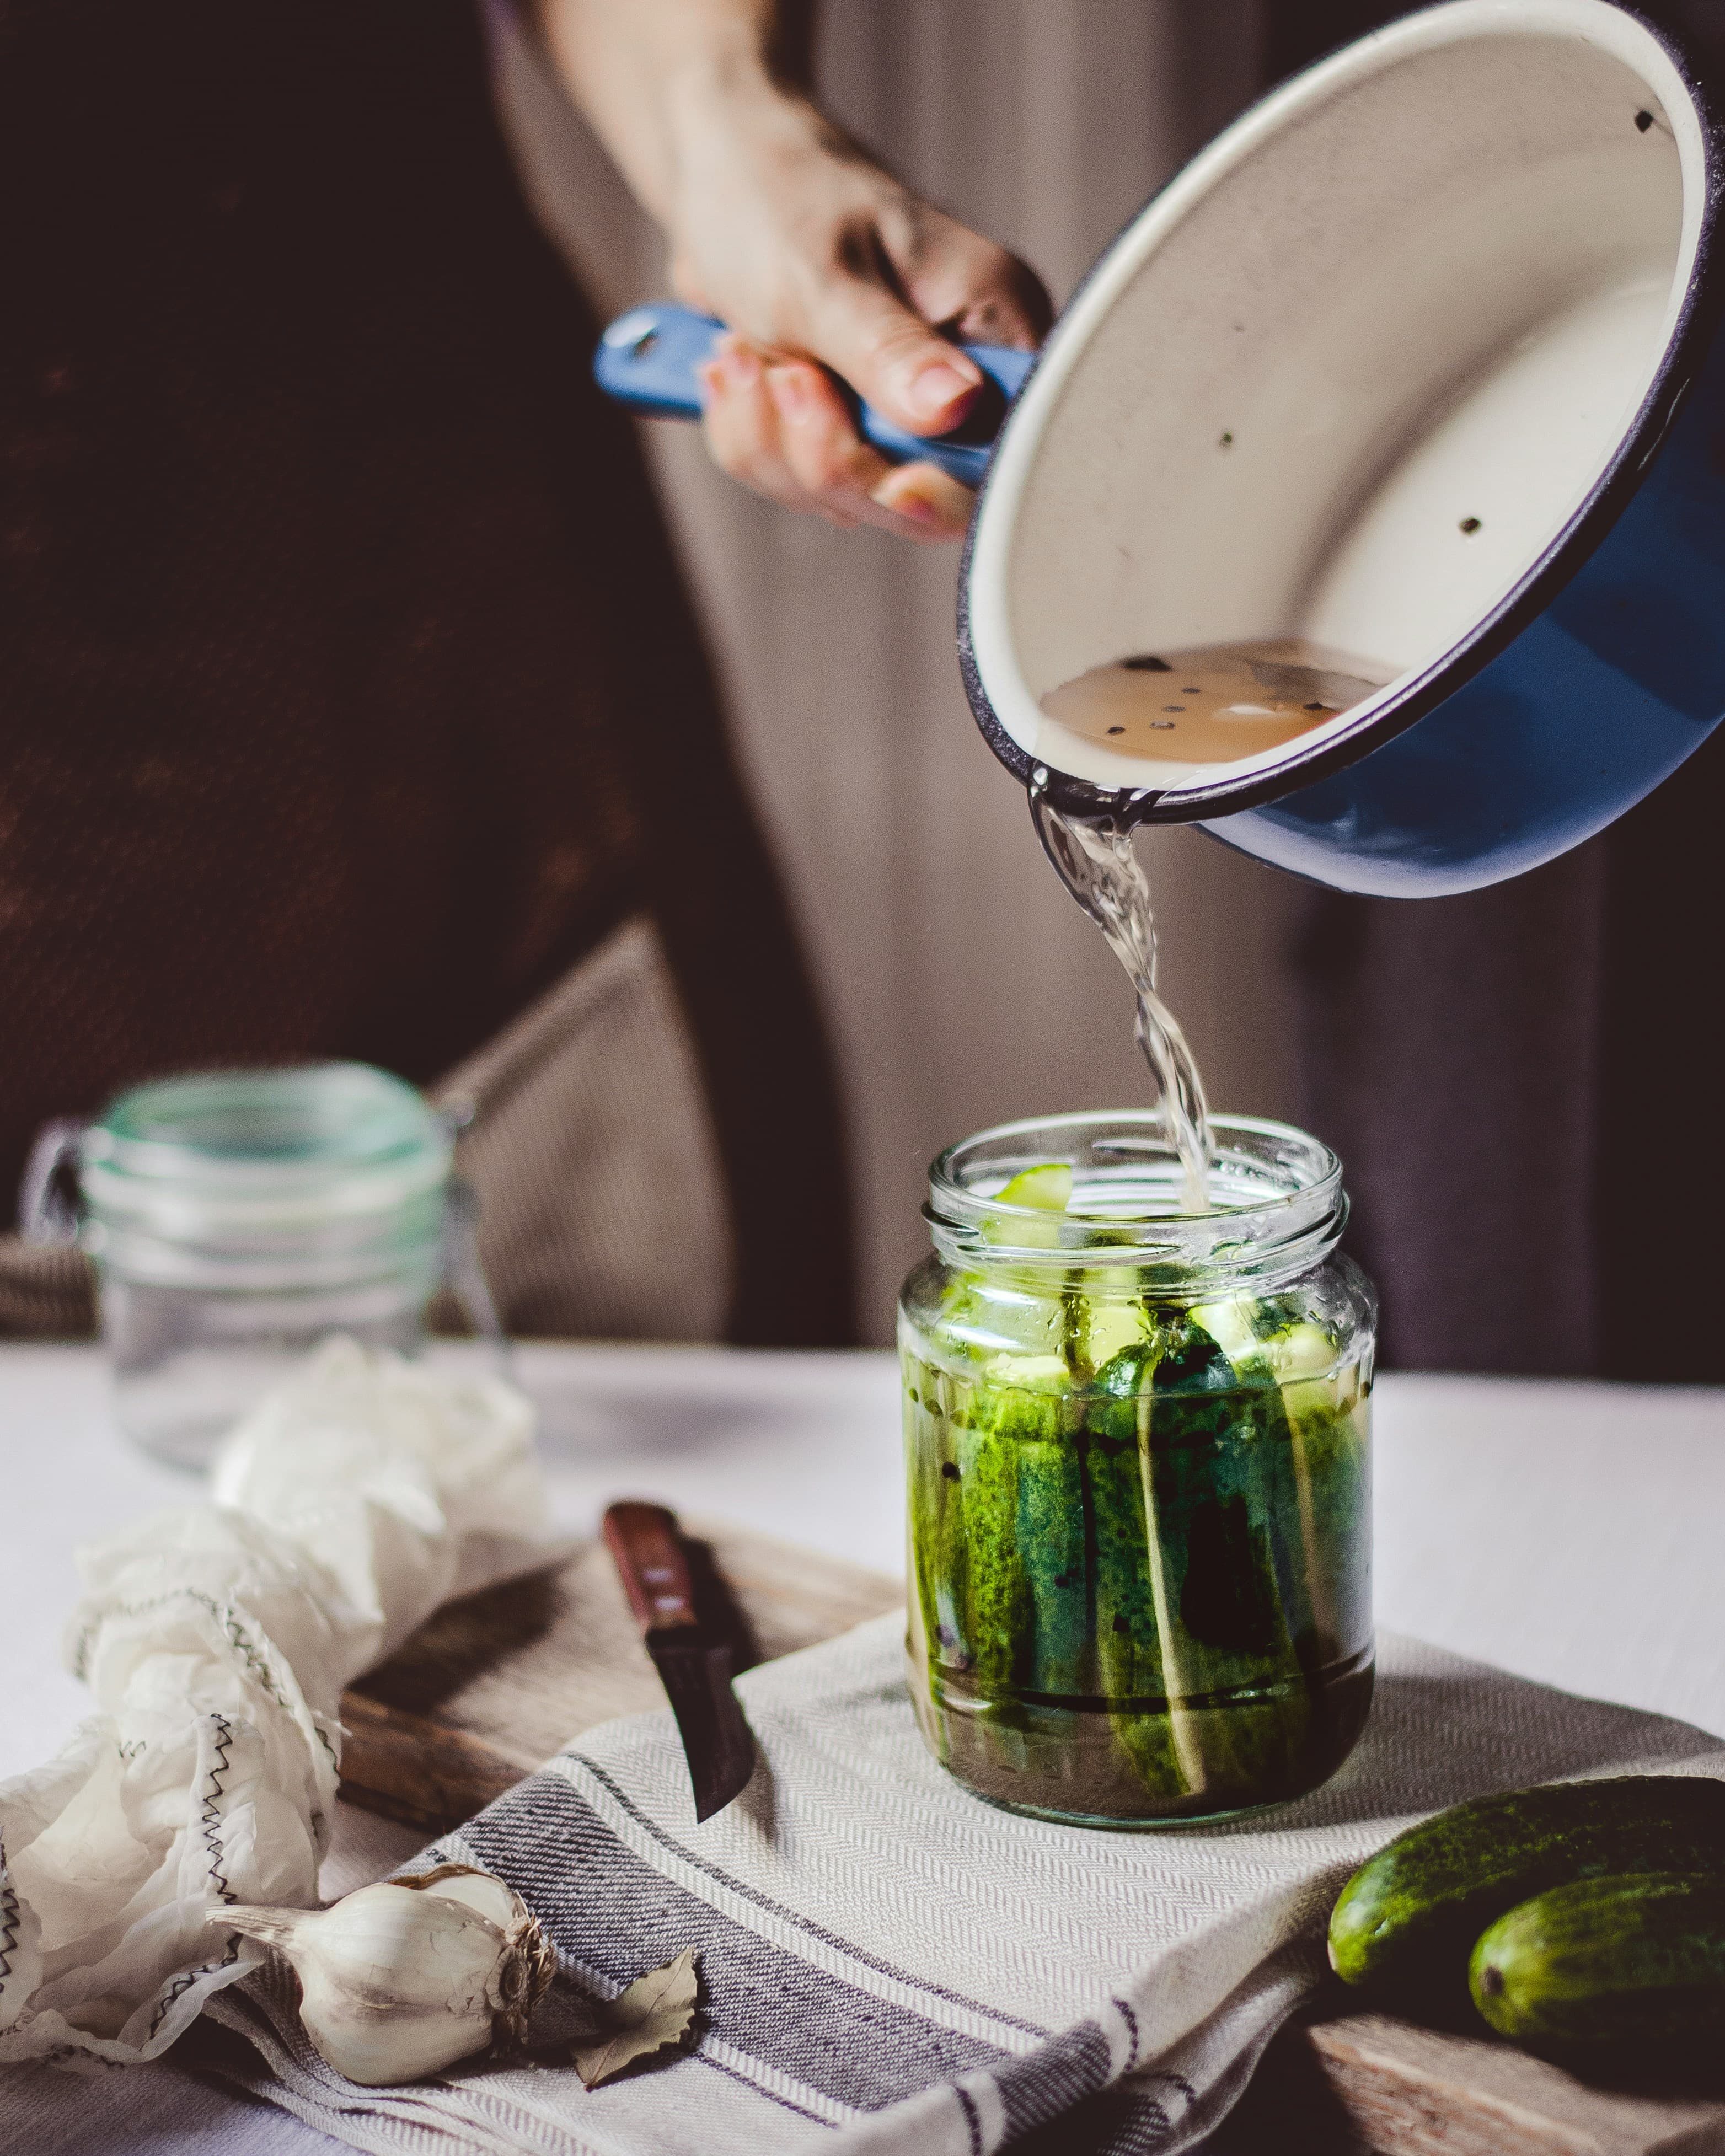
Step 4: Add brine and weight. Pour the 2% brine over the packed peppers until everything is submerged with at least a half inch of brine above the top layer. Place a fermentation weight on top to hold everything below the brine line. CO₂ produced during fermentation will try to push peppers upward — the weight prevents this.
Step 5: Cover and ferment. Cover with a clean cloth secured with a rubber band, or use a fermentation lid with an airlock. Do not seal with a regular jar lid — CO₂ needs to escape. Set the jar somewhere at room temperature (65–75°F is ideal) away from direct sunlight.
During summer, fermentation runs fast. Bubbles should appear within 24 to 48 hours. The brine will turn slightly cloudy as lactic acid bacteria multiply — this is normal and a sign your ferment is active.
Start tasting at day 5. At this point you'll notice a mild tang. By day 7 to 10, most ferments reach a bright, pleasantly sour flavor. By day 14, the flavor is deeper and more complex. Choose your endpoint based on taste.
Step 6: Refrigerate. When the peppers reach your preferred level of sourness, seal the jar with a regular lid and move it to the refrigerator. Cold storage slows fermentation to nearly a halt. Properly stored fermented peppers keep for 3 to 6 months, though they'll continue to develop flavor slowly over time.
Summer Timing: Faster Than You Think
Lactic acid bacteria work faster at warmer temperatures. A ferment that takes 10 to 14 days in a 65°F kitchen in early spring may be done in 5 to 7 days in a 75°F summer kitchen. This is generally a good thing — faster fermentation means you can fill more jars over the course of the season — but it also means you need to taste more frequently to catch the ferment at the right moment.
If your kitchen gets above 80°F, move the ferment to a cooler spot: a pantry, a basement, or even the coolest corner of your home. Very warm fermentation produces a softer, more acidic pepper faster — which isn't wrong, but it limits the flavor development time.
Keep the brine level up
Some brine will evaporate or bubble out during active fermentation, especially in warm weather. Check every day or two and top off with additional 2% brine if the peppers are no longer fully submerged. Running low on brine is the most common cause of surface mold in vegetable ferments.
What to Do with Fermented Summer Peppers
Fermented peppers are immediately useful. Here are the most versatile ways to use them:
As a condiment, straight from the jar. Fermented jalapeño rounds on tacos, grain bowls, eggs, or sandwiches. This is the simplest use and the one that makes fermented peppers worth making every summer.
Blended into fermented hot sauce. The peppers are already fermented — you can blend them with some of the brine and a splash of apple cider vinegar for an instant fermented hot sauce with no additional fermentation time needed. See our fermented hot sauce guide for blending ratios and bottling tips.
Chopped into fermented salsa. Fermented peppers can replace fresh peppers in salsa for a fermented version with more depth. The peppers are already acidic, which helps the finished salsa last longer in the fridge.
In marinades and dressings. Mince fermented peppers and add them to vinaigrettes, marinades, and dipping sauces. They add both heat and the complex tang of lacto-fermentation — more interesting than just hot sauce.
Fermented vs. Vinegar-Pickled Peppers
Fermented peppers and vinegar-pickled peppers look nearly identical in a jar, but they taste completely different. Vinegar pickling is fast — peppers are ready in hours — but the sourness is sharp acetic acid from the vinegar, and the process kills any live cultures. Fermented peppers develop their acidity from lactic acid produced by bacteria, producing a rounder, more complex sourness with live cultures intact. For a deeper look at the differences, see our post on fermented vs. vinegar hot sauce.
If you're stocking up on fermented peppers for the whole year, a larger vessel is worth considering. The Humble House fermentation crock holds 5 liters — enough for a full-season batch — and the water-sealed lid creates a natural airlock without any additional equipment. Our fermentation crock comparison covers this and other options across price ranges.